Best film emulation presets for your digital photos in 2023
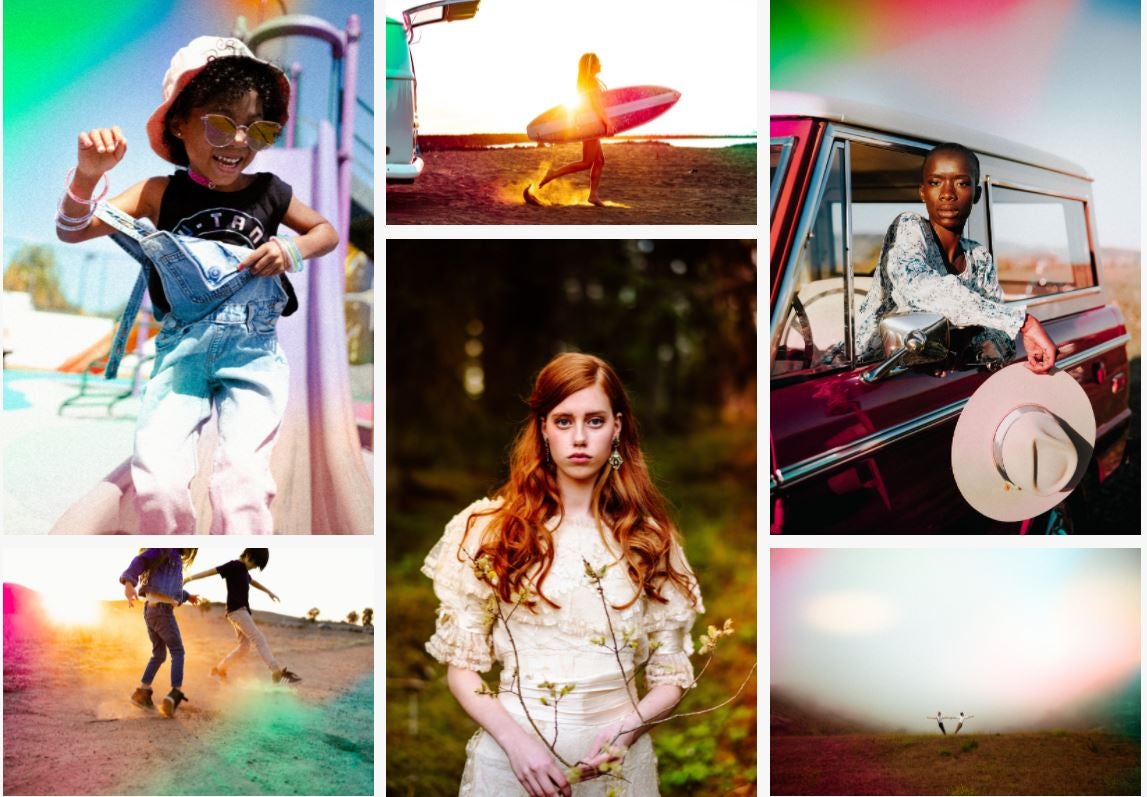
Film emulation presets can make your digital images look like they were shot analog.
| Authenticity |
|
Mastin Labs presets | SEE IT |
These carefully designed presets loyally recreate popular film stocks. |
|
| Light and airy |
|
Noble presets | SEE IT |
These presets match a style that’s extremely popular with high-end photographers. |
|
| Options |
|
RNI All Films 5 | SEE IT |
You get more than 180 presets with the RNI pack. |
We may earn revenue from the products available on this page and participate in affiliate programs. Learn more ›
The best way to get your photos to look like film? That’s easy: Shoot film. Unfortunately, film prices have been on the rise lately. In fact, the secondary camera market has been getting a little out of hand, too. So, what should you do? Look for the best film emulation photo editing presets.
These simple styles adjust the tones, colors, and often the grain in your images to give them a decidedly analog look even if they came from your modern camera. There are tons of different presets out there and it can be hard to sort through them. We put together this guide to some of the most popular film emulation photo editing presets to help you figure out which ones work best for you.
- Best film emulation presets for authenticity: Mastin Labs
- Best film emulation presets for experimental work: Looks Like Film
- Best film emulation presets for lots of options: RNI
- Best film emulation presets for the “light and airy” look: Noble Presets
What are film emulation presets anyway?
Whatever program you’re currently using to edit photos probably already has a set of presets already baked in. You likely don’t use them very much because, frankly, most of them kinda suck. Both Adobe Lightroom and Capture One (which calls them styles) ship with a stock selection of built-in presets.
When you click to apply a preset, it automatically adjusts the program’s settings to try and give the photo a specific look. Take a simple one like Adobe’s built-in high-contrast black and white setting. It switches the image to monochrome and bumps the contrast up with one click. That’s about as basic as presets get.
When you start getting into more complex presets, they can involve tons of tiny tweaks in just about every aspect of the image. Apply an advanced preset to an image in Lightroom, then go looking through the adjustment panels. You’ll likely see tweaks made to sliders you’ve never even touched. Sure, some of us have gone in and said, “I think there’s just a little too much green in the shadows of this photo,” but not everyone goes to that extent.
Why would I want to use presets?
Some people dislike the idea of buying into a pre-packaged look for their photos. I get it, but I don’t agree with it. In truth, this kind of thing has been part of photography since the film days. When you went out shooting, you took film with you that produced the specific colors and tones that fit your needs.
Now, when you take your digital camera out in the world, you’re not getting a totally unbiased image of what’s happening in the real world. The photo is a product of the camera’s own processing system as its designers saw fit.
Think of choosing a preset like you’d select a film stock.
Pick your platform
Before you go buying preset packs, you should make sure you’re solidified in your choice of the best photo editor for you. Typically, companies will require you to buy and download presets for specific platforms. Presets meant for Lightroom, for instance, won’t simply work as Styles for Capture One Pro. They’re entirely different things and they take the same amount of work to create. That’s why companies often charge you twice if you want to get presets for both programs.
Once you know what program you’re using, you’ll have to know how to actually install the presets. Some packs will come with installer files that will automatically put the data where it needs to go for the presets to show up in the software’s interface.
Here’s a direct link to Adobe’s guide on how to install profiles and presets for Lightroom. And here’s the Capture One guide to using presets and styles with its software.
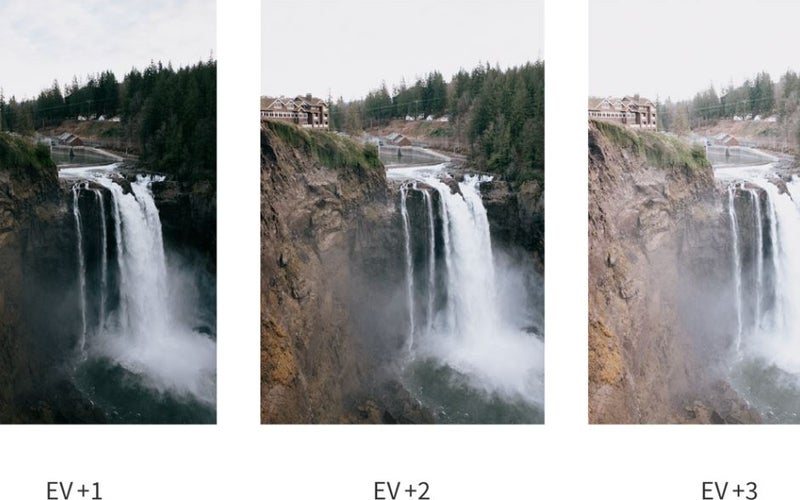
How much accuracy do you want in your film emulation?
It’s easy to think about film as this magical romantic thing here in the digital age. In reality, however, film was often a pain in the butt. Once you loaded up a roll, you were stuck with that stock until you finished it unless you wanted to needlessly waste a bunch of frames.
Film also just acts weird sometimes. I love Kodak Ektar–it’s my favorite stock–but if youtube over-expose it, skin tones get wacky and the contrast gets out of hand. Some preset makers embrace these quirks when trying to recreate a film stock. They try to create a look that’s close enough to match real Ektar film if you were to shoot both at the same time.
Some film presets, however, try to match the overall vibe of a stock rather than mimicking its exact performance.
Best film emulation presets for authenticity: Mastin Labs
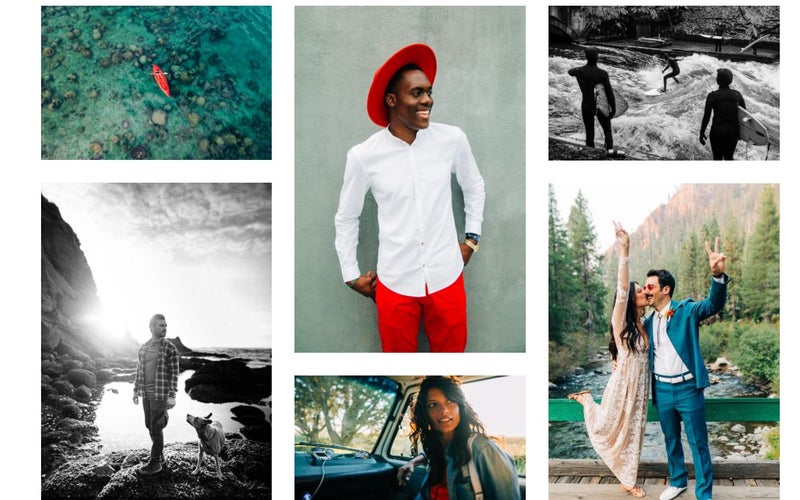
Mastin Labs
Mastin Labs offers some of the most popular film-specific presets around at the moment and for good reason. The looks closely mimic their analog inspirations thanks to extensive research during the development process. As a result, these aren’t the cheapest preset packs you’ll find. Each pack costs $99 and contains between three and four different film options as well as tweaks you can apply to each one. The Fuji Original pack, for instance, offers Fuji 160 NS, Fuji 800Z, and two versions of the now discontinued (and sorely missed) Fuji 400H.
Mastin offers presets that work for Lightroom on PC, Capture One Pro, and Lightroom Mobile. The mobile profiles cost $30, but they’re built specifically to work on mobile without any weirdness that sometimes pops up when you try to port desktop presets.
I personally like the Adventure Everyday pack, which includes Kodak Ektar, Kodak Gold, and Tri-X. Hard to argue with that lineup.
Don’t be afraid to tweak your presets
Just because you can apply a preset with a single click doesn’t mean you’re necessarily done with your editing. Some presets look great right off the bat, but others can require some tweaking. Plus, not every preset is made to work in every type of light. That “light and airy” preset you’re using (more on that in a few), may not do what you want it to in muddy overcast light.
If you apply a preset and it doesn’t work, try some others or just give it some nudges in the settings. As you use your presets more, you’ll generally find that you get a sense for what it will need in a specific photo.
Once you’ve dialed in your tweaks, both Capture One and Lightroom let you save new presets with those adjustments. So, rather than adding a preset and making the same adjustment every time, you can make your own and save some clicks.
Best film emulation presets for lots of options: RNI All Films 5 Pro
RNI
Description: Shell out the $192 for RNI All Film 5 Pro and you’ll get more than 180 different presets that emulate different types of film. Sure, that’s not a cheap entry price, but it’s a lot more affordable than it would be to actually buy that much film. Plus, some of these don’t even exist anymore.
The list includes big hitters like Kodak Ektar and Portra, as well as Fuji 400H and Velvia 100 (RIP). Each specific film also typically offers several versions to emulate things like pushing (overdeveloping to create a denser negative to make up for underexposure).
While I like the look of many of RNI’s emulations, they don’t read as accurately as some other options. Depending on your outlook, that could either be a benefit or a detractor. You either love the absurd Ektar greens or you hate them. There’s no in-between.
Embrace the vintage feel
There was a time when “vintage” photo filters dominated the social media photography landscape. Some of you may remember VSCO’s iconic film packs which had photographers running toward lifted blacks and muted colors for every single thing they shot. It wasn’t about nailing a perfect impression of a specific stock. It was about capturing a general “film look” that felt older than it was. At first people loved it. Then, a lot of people decided they hated it. Now, things have evened out and this look has a very real place at the stylistic table.
Some presets also go beyond simply changing tones and brightness levels. Some offer drastic shifts and overlays that change the entire look of an image. They don’t just look like they were taken with a film camera. They look like they were taken with a film camera that’s broken in a very aesthetic way. They’re liked ripped jeans. Yeah, they look cool, but they’re a little hip and your grandpa might make fun of you for them.
Best film emulation presets for experimental work: Looks Like Film
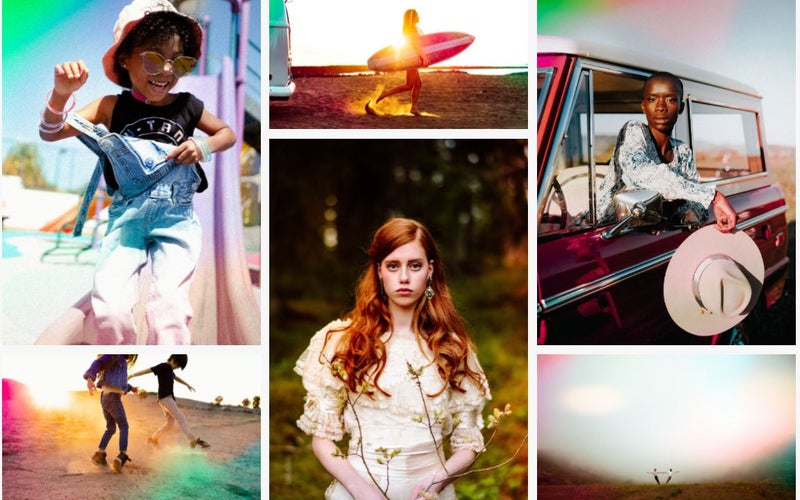
Looks Like Film
Looks Like Film offers several very cool preset packs at the moment, all of which seek to create photo sets with cohesive vibes. The $99 Brazen collection includes a total of 44 “buildable” presets, which means you set individual variables about the overall look. You can opt for one of the “one-click” edits and then add overlays to emulate light leaks or other weirdly compelling effects.
The $79 Melanated preset pack also deserves specific mention because it sets out to provide simple accurate editing for darker skin tones which can often get “white washed” by other presets. The results look excellent.
Shoot for your style, not your preset
When presets were new, photographers would dive into them wholesale. They would shape their shooting style around the look of a preset and adopt it as their overall aesthetic. It worked for many photographers, but also sometimes stifled their growth.
It’s important to realize that a preset does not define your overall shooting style. You want to look for presets that will complement and accentuate your style, not dedicate it.
Best film emulation presets for the “light and airy” look: Noble Presets
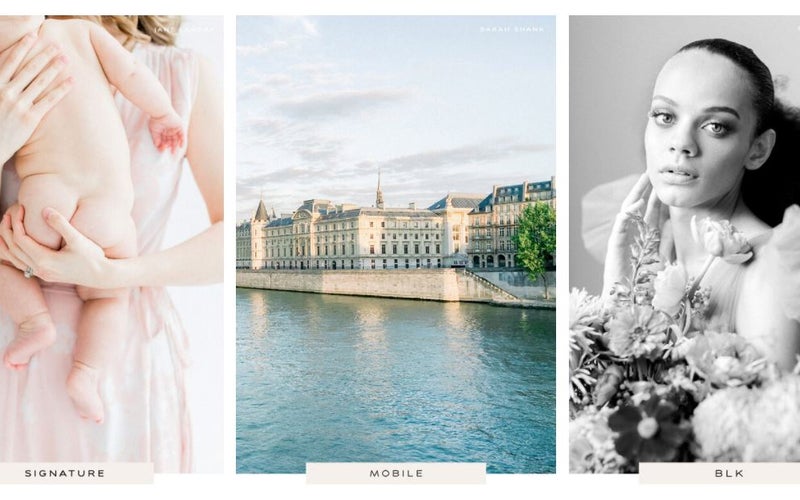
Noble presets
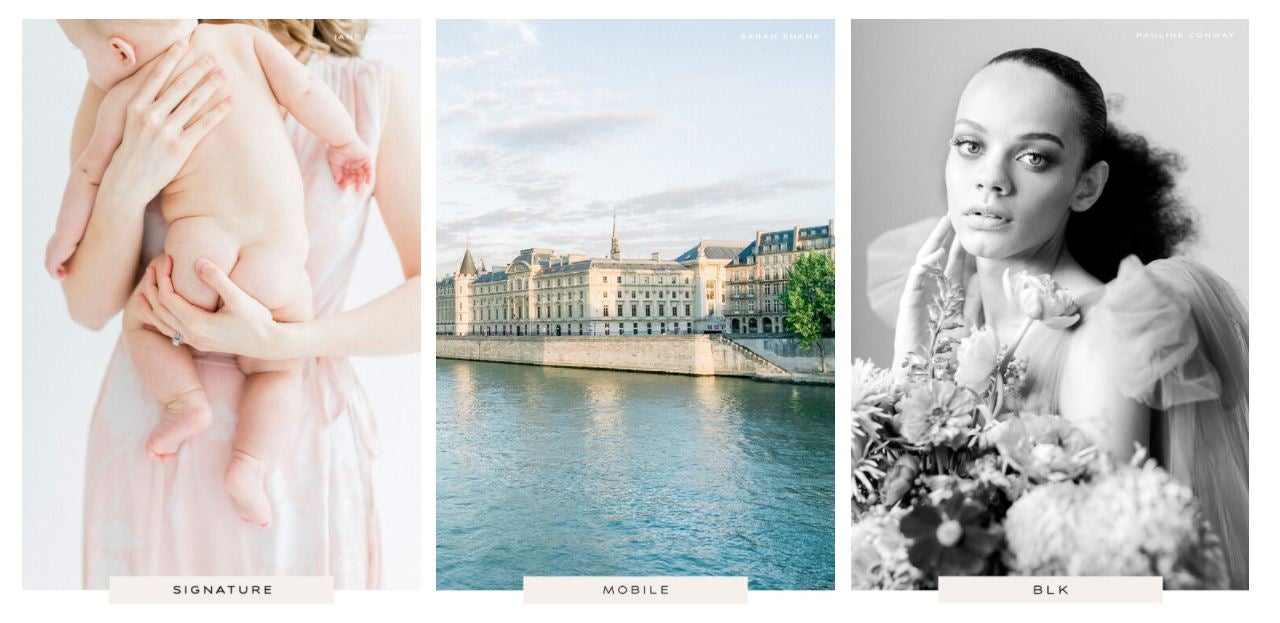
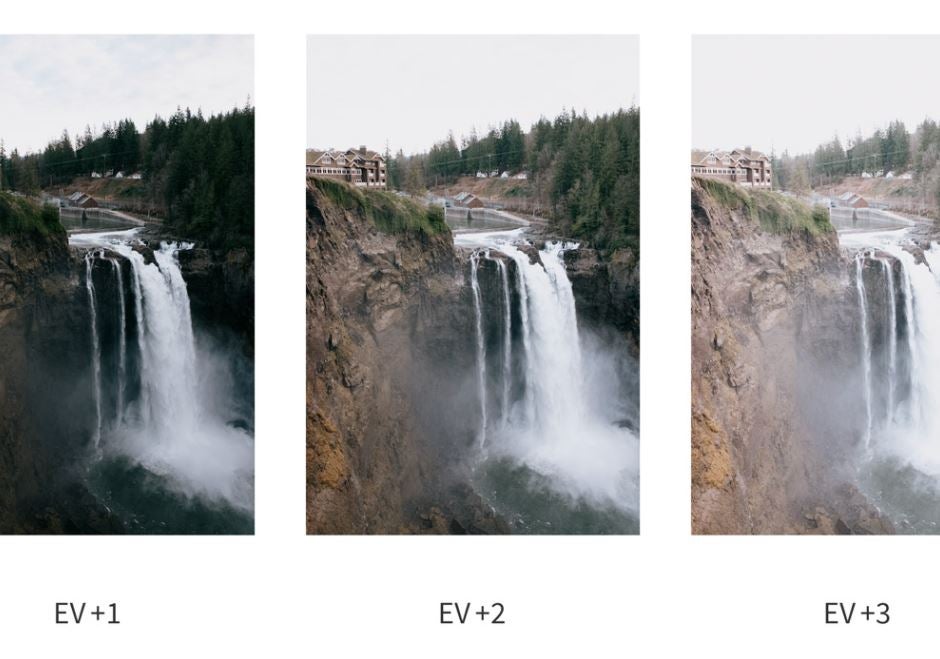
Overexposing negative film often gives it a bright, clean look that’s somewhat difficult to emulate with digital. It can easily start to look harsh or blown out. The Noble presets do a very solid job of taking bright images and making them look vibrant instead of jarring. The company offers three packages: color, mobile, and black-and-white. The names do a good job explaining what you can expect from them.
FAQs
Q: What is film emulation?
Individual film stocks handle scenes differently. They have their own unique ways of interpreting light and color. Film emulation presets try to match those colors and tones. Or, they at least try to give an overall filmy feel to your images.
Q: Do professionals use presets?
Absolutely. I’m a professional and I use presets. Many high-end shooters even develop their own presets to sell and use in their own work.
Q: How do you install presets in Lightroom?
Some presets will come with a built-in installer that will put the preset files where they need to go. Others require you to put the files there yourself. Your best bet is to check the site from which you bought the presets for a guide. You can also check here for Adobe’s official guide.
A last word about film emulation presets for your digital photos
While I still encourage you to go out and try shooting film, I definitely appreciate the preset makers who are trying to keep the look alive. Even if none of these presets match your style, it’s good to know that the old school aesthetic still rings true to photographers today.
