How to set a timer on your iPhone camera
Learning how to set a timer on your iPhone camera can open up more possibilities of how you can use your phone's camera.
Self-timers have been common on cameras since the early film days. Modern cameras, including the one built into your iPhone, still offers a timer function and it can be extremely useful for various photography situations. It can open up more opportunities to use your camera and even help you take better photos in some circumstances. While older models of iPhones don’t have built-in timers, if your device has iOS 8 or newer, you should have access to this setting.
Why use a camera timer on an iPhone?
If you want to take photos of yourself that don’t have the selfie look with the arm extending out, the timer will give you time to get into position in front of the camera. Sometimes you need some time to adjust or move something into place before the shutter goes off, and if you only have one set of arms, that can be a challenge. The self-timer helps with those situations.
Group photos also represent good opportunities for self-timer photos. If you have a group gathered but no one to take the photo, the photo timer on your iPhone makes the shot possible. The longer timer options can even make photos of big groups that have to be far away from the camera possible, as you will have time to set it up and run back into place.
Beyond selfies and group photos, the timer can be helpful for other reasons. For example, if you want to use your camera in darker conditions and need it to be steady with no movement, the timer can help. That way, nothing is touching the phone to potentially cause camera shake when the shutter goes off. Tapping the screen or pushing the shutter button can introduce photo-ruining shake. It can also be helpful for using your phone to take product shots that may need either a hand model or things held into position.
How to set your phone up
No matter what you are using the timer on you iPhone camera for, there is one thing that you need to do first: Make sure to set your iPhone up in a stable, sturdy manner. You could lean it against or wedge it into something, as long as the camera isn’t obstructed and the phone won’t slide down. Of course you could avoid all of that inconvenience by simply using a tripod.
There are lots of phone-specific tripods out there, or even tripod mounts for regular tripods. Many of them do the job excellently. Some phone tripods are small and meant to be on tabletops or other surfaces. They won’t extend very high, if at all, so you’ll be stuck with the height of whatever surface you are using, plus the limited size of the tripod. Some extend to heights like standard camera tripods, which may be ideal if you need something more versatile.
How to set a timer on an iPhone camera
- Open the camera on your iPhone.
- Select either Photo or Portrait mode. The timer will work with only these two modes and either the front or rear-facing cameras.
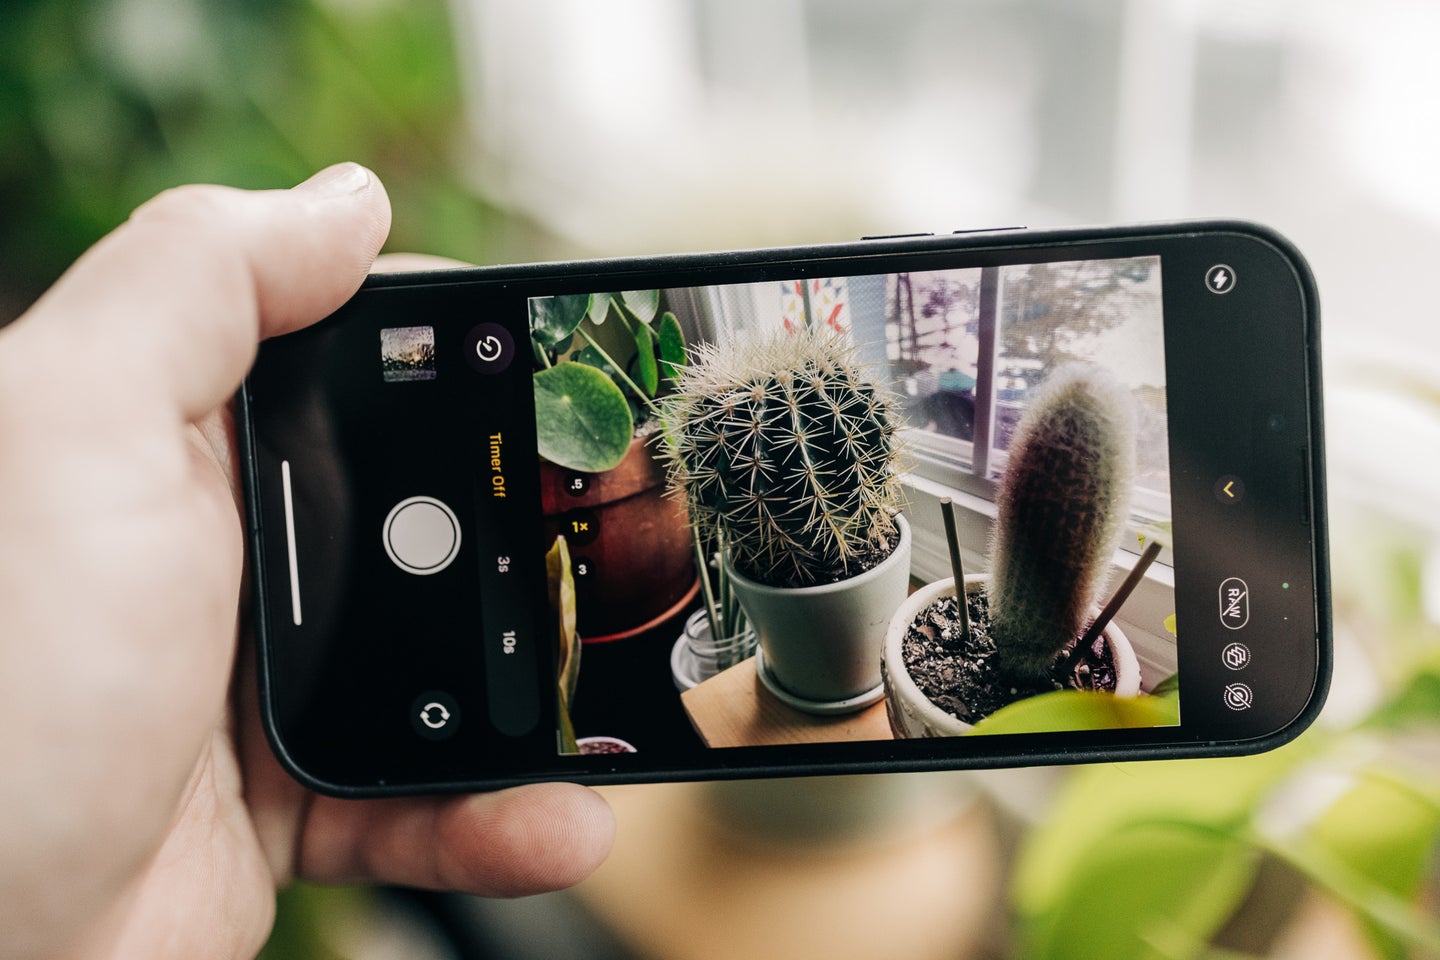
- Tap the arrow (^) at the top of the screen, or swipe up from the camera mode menu at the bottom to access Mode Settings. On older iOS versions, this may be at the top.
- Tap the shutter timer icon, which looks like a stopwatch.
- Choose either 3 seconds or 10 seconds for the timer duration. Note: the timer will stay on until you turn it off.
- Set up your phone on a tripod or in some other sturdy way, and get the shot framed and ready.
- Tap the shutter button, which starts the timer, and get into position.
- The countdown will be visible on the screen. When it reaches zero, your phone will take a single picture. If you have Live Mode on, the phone will take a burst of 10 photos.
Once you know how to set the timer on your iPhone camera, go experiment with it. While these tools have practical uses, the real fun stuff comes from experimentation.
