Affinity Photo review: An affordable Photoshop alternative with some compromises
If you're sick of paying a subscription for your photo editing software, Affinity Photo provides a relatively powerful option.
We may earn revenue from the products available on this page and participate in affiliate programs. Learn more ›
Photography can get expensive. Even once you’ve paid off those credit card debts on a camera body and lenses, you still have to consider the accessory expenses. Memory cards can get pricey and you want a good camera bag but those don’t come cheap. And to top it all off, you’ll likely end up paying a subscription fee for your favorite photo editing software. Affinity Photo offers an awesome Photoshop alternative for the price. Its relatively full-featured photo editing software costs just $50 for a forever license—no subscription required.
It can’t do everything Photoshop can do. And it lacks some of the very handy organizational tools you’ll get with Capture One Pro or Lightroom. But, Affinity Photo is a great starting point and a powerful photo editing tool once you get the hang of it.
Stan Horaczek
What is Affinity Photo?
When you go hunting for photo editing software, most titles fall into one of several categories. Some offer a full workflow solution. This applies to software like Capture One Pro and Lightroom. They handle everything from importing, sorting, and tagging images, to full edits and final exports. If that’s what you’re looking for, Affinity Photo doesn’t fit your bill.
Affinity Photo acts more like a Photoshop alternative. It’s meant to handle one or a handful of images at once and allows you to dig into more advanced edits. So, it’s more for spending considerable time with a few photos rather than blasting through a wedding edit with 3,000 raw files.
The program first debuted back in 2015 to considerable acclaim and its parent company, Serif has put considerable effort into improving it with every version. The Windows version recently got hardware acceleration capabilities, which can make for a considerable performance improvement if you have a powerful editing machine.
As stated above, there’s no subscription fee for the software. The $50 license gets you perpetual use. The company semi-regularly offers half-price discounts on top of that already low price.
Getting started with Affinity Photo
Whether you’re new to advanced photo editing or transitioning from another platform, you’re going to encounter a fairly sizable learning curve. Luckily, Affinity Photo offers a guided tour of the software when you get started to show off some of the most common features. It’s tempting to skip this, especially if you’re a relatively advanced editor, but I recommend checking it out. Even if you have enough basic skills to find your way around the interface without the intro, you may pick up some useful tips along the way.
For instance, Affinity Photo doesn’t have a true full-screen mode, but you can press tab to hide most of the interface elements to get a cleaner look at the photo you’re working on. I learned that from the tour and have used it many times since.
Navigating the interface
Affinity Photo offers several different editing modes, which it calls Personas. It’s a touch dramatic, but I like it. Each Persona has a different focus. Photo mode has, as you might guess, typical adjustments you’ll need when editing a still image. Liquefy is where you’ll be able to mess with the structure of the image by squishing and mashing the objects in it (more on this later). If you find yourself unable to find the adjustment you’re looking for, there’s a good chance you’re under the wrong Persona.
Within the interface, there are more than two dozen adjustment modules you can move around to create your perfect workspace. This is reminiscent of Photoshop’s workspace arrangement tools, but it feels a little clunkier overall. That could be partially due to my Photoshop chops making it hard for me to adopt a new, but similar, system.
Affinity Photo tools
Running along the top of the interface, you’ll find even more tools that include the auto adjustment buttons, as well as the snap-to and pixel alignment controls.
The left side of the screen houses the specific cursor tools to handle everything else, including cropping, dodging, burning, painting, cloning, selecting, headline, and blurring. If you’re used to Photoshop, your knowledge of these tools will transfer nicely. Holding down on one of the icons will bring up the other iterations of each specific tool. For instance, if you hold down on the Dodge tool icon (or brightening specific areas of an image), you’ll find the Burn tool (for darkening areas), as well as the sponge tool, which allows you to selectively adjust saturation.
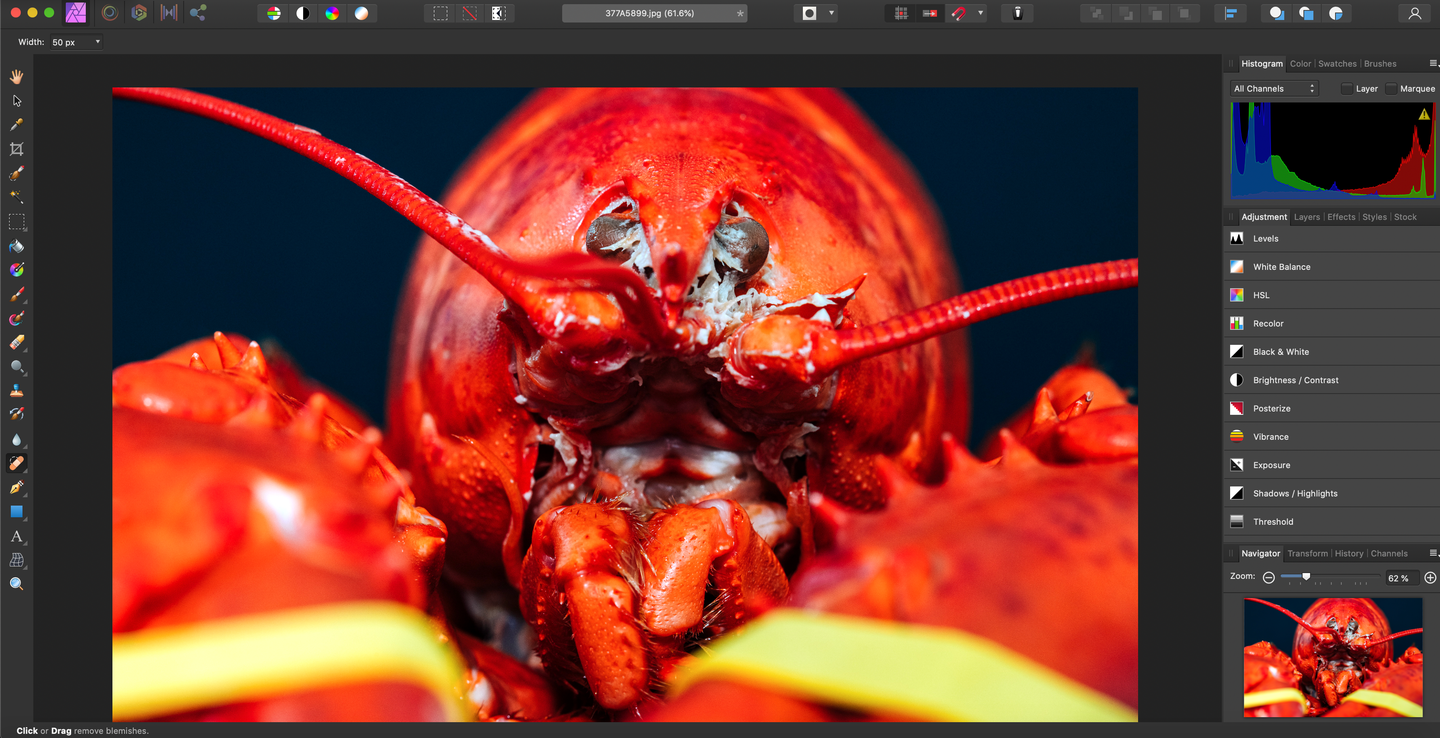
Affinity Photos gives you a ton of options and tools. But, if you’re used to Adobe products, you may notice that Affinity’s features aren’t always as advanced. For instance, Adobe’s content-aware healing function makes removing small marks simple. Affinity’s blemish removal tool performs a similar task, but it’s not as reliable and works best on small, clearly defined marks. Still, for this price point, the Affinity feature is impressive.
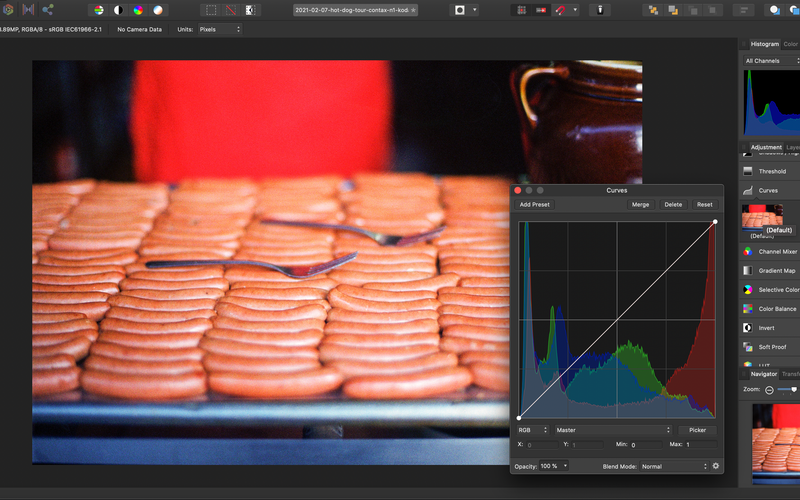
Editing raw files with Affinity Photo
Like other advanced editor software, Affinity Photo supports many popular raw photo formats. When you open a raw image, it pops directly into the main editing area. There’s no pop-up dialog like you’ll get with Photoshop. You do have to go through an initial stage during which you can apply some adjustments like lens corrections and noise reduction. Then, you have to “develop” the photo, which takes roughly 10 seconds on a fast machine.
Once you’re into the main editor, you can apply the normal corrections you’d expect to find in just about any other bit of photo editing software. You can’t go back and change things like the lens correction or noise reduction adjustments once you’ve passed the develop phase.
Again, this feels like a compromise between Photoshop and a dedicated raw photo editor software title like Capture One Pro. The automatic adjustments are hit-or-miss, which is what I’d expect by now.
Advanced editing
Once you get into the features, you’ll find a somewhat curious collection of built-in tools. You get a robust set of brushes as you’d expect to get with a Photoshop competitor. The text tools for adding words onto your images also offer a lot of customization. Vector graphic support allows you to bring in illustrations or other pieces of artwork that you can edit along with your photos. All of this falls outside the normal use case for a typical workflow product like Lightroom.
The Liquefy feature is also worth noting. As in Photoshop, this feature allows you to push, pull, and squish your image with unique tools. I personally don’t use this all that often in Photoshop, but it’s a very resource-intensive process that will quickly soak up computer resources. It works. It’s not super fast, but it’s responsive and offers extensive options.
Overlays
While Affinity doesn’t use typical presets, it does offer overlays. They use the layering system, so they can add some unique changes that typical presets can’t. If you want to add snow to a scene, for instance, an overlay can do that. When you register your software, the program actually grants you a handful of free overlays to use for free.
Who should buy Affinity Photo
Affinity Photo has come a long way since its launch. Its $50 perpetual purchase price makes it appealing, but it’s also a full-featured option that deserves a spot in the best photo editor conversation. It has some quirks and, if you’re moving off of Photoshop, there are some things you will miss. But, Serif is constantly working to improve the program and it shows.
While you’ll likely have to spend some time sitting down to actually learn how to use it, you’ll eventually appreciate the tools it makes available and the image quality it offers.
