How to shoot redscale film
Give your regular roll of film a new look in a few easy steps.
The complexity and unpredictability of film fascinates me. As a career software engineer, most of my time is spent in the world of computers. So, after clocking out for the day, I tend to gravitate towards things that are a bit more tangible. When I decided to try out photography, film immediately drew me in. A strip of silver halide crystals can hold extremely high-quality images? This technology has been around since the mid-19th century!? Color film can even exist!?!? Mind-boggling.
Not only did I want to become involved in each step of the film process, but I wanted to experiment with manipulating these steps to achieve interesting results. One of the first experimental things I tried was shooting redscale film.
Related: A TikTok photographer shot both sides of a roll of film, with otherworldly results
How the redscale film effect works
If you’ve spent any amount of time browsing the web for interesting films to try, you may have stumbled upon any number of “redscale” films on the market. Lomography, CineStill, and many others have released their own versions of redscale films. At first, I thought this was a style of unique film emulsion, but I quickly learned that it’s actually much simpler than that.
Redscale films are all created the same way–by rolling any regular color negative film into a canister the wrong way, so that when the film is exposed, light travels through the base side first instead of the emulsion side first.
The reason this works the way it does is because of how color film is structured. Simply put, color film consists of a series of photosensitive layers, each responsible for replicating a particular color. Typically, the red-sensitive layer is exposed to light after the blue and green light has been retained by their respective layers. But when you shoot through the wrong side of the film, everything happens in reverse. This results in the red-sensitive layer being by far the most dominant, leading to images with a strong red/orange/yellow cast.
Related: Best color film
Supplies needed to redscale film
Redscaling your own film is a straightforward process that is absolutely worth trying at least once. There are just a few supplies you’ll need to get started:
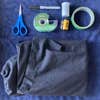
- Some fresh film that you want to redscale
- A camera that allows you to manually set the ISO/film speed (this is technically not a requirement, but it makes things a lot less confusing)
- A pair of scissors
- Some scotch tape
- An empty film canister with a small “tail” (if you don’t develop your own film, just ask your lab to give your empty canisters back for “hand-rolling” film)
- A way to label your film (I use a marker & painter’s tape)
- A light-proof “changing” bag or a thick blanket and a reasonably dark room.
Related: How to edit your digital photos to look like film
How to redscale film
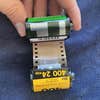
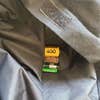
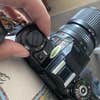
Once you’ve collected these supplies, flipping the film around is simple. For the steps below, note that the roll of Fujifilm is the film that I’m redscaling, and the roll of Kodak is my empty canister.
First, cut the leader off the film you want to redscale, so the edge is straight.
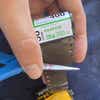
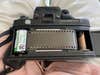
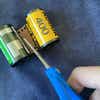
Then, get your new film and the empty canister, and orient them such that the same sides are touching if you line them up (e.g., the base side of the fresh film is touching the base side of the empty canister’s tail).

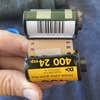
Next, line up the first or second set of holes on both films, then tape them together. Make sure they’re taped securely, since this tape will be the only thing keeping your film attached to the canister when you’re shooting.
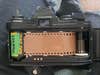
Soon you’ll be transferring the new film to the old canister, which must be done in complete darkness. Just before doing this, I like to carefully get the end of the new film into the opening of the old film canister. I find this can be a bit of a pain to do in the dark because the film tends to catch on the edges when going in.
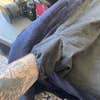
Now comes the most important part, moving the film from the new canister to the old one. Put your film into your lightproof bag if you have one. If not, just go into a dark room and tightly wrap a blanket around your arms and the two film canisters. Then, turn the knob on top of the old canister counterclockwise so that the film is pulled from the new canister into the old one. Once you can no longer twist the knob, it’s safe to bring the film back into the light.
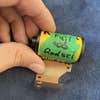
Once you’re in the light again, just cut the two rolls of film apart (ideally leaving a tail on the formerly full canister for future re-use). Your redscale film is now ready to go in the old canister!
The final thing you need to do is pull a bit of the now redscaled film out of the canister and cut a new leader into it. I also usually label it at this point, so I don’t think it’s just a regular roll when I go to shoot it.
Tips for shooting redscale film
Before you load it into a camera, make sure you’re able to manually set the film speed (ISO). If not, grab an external light meter or download an app for your smartphone. My personal favorite is myLightMeter PRO, but there are plenty of free options out there.
Redscale film needs to be overexposed because light will pass through the film base before hitting the emulsion, so less light will make it to the photosensitive layers. Typically, you’ll want to overexpose redscale film by two to three “stops.” To calculate what speed to shoot it at, halve the ISO listed on the film for each stop you want to overexpose by.
For example, I redscaled a roll of Fuji Superia Xtra 400, so one stop of overexposure would be 200 ISO, two stops would be 100 ISO, and three would be 50 ISO.
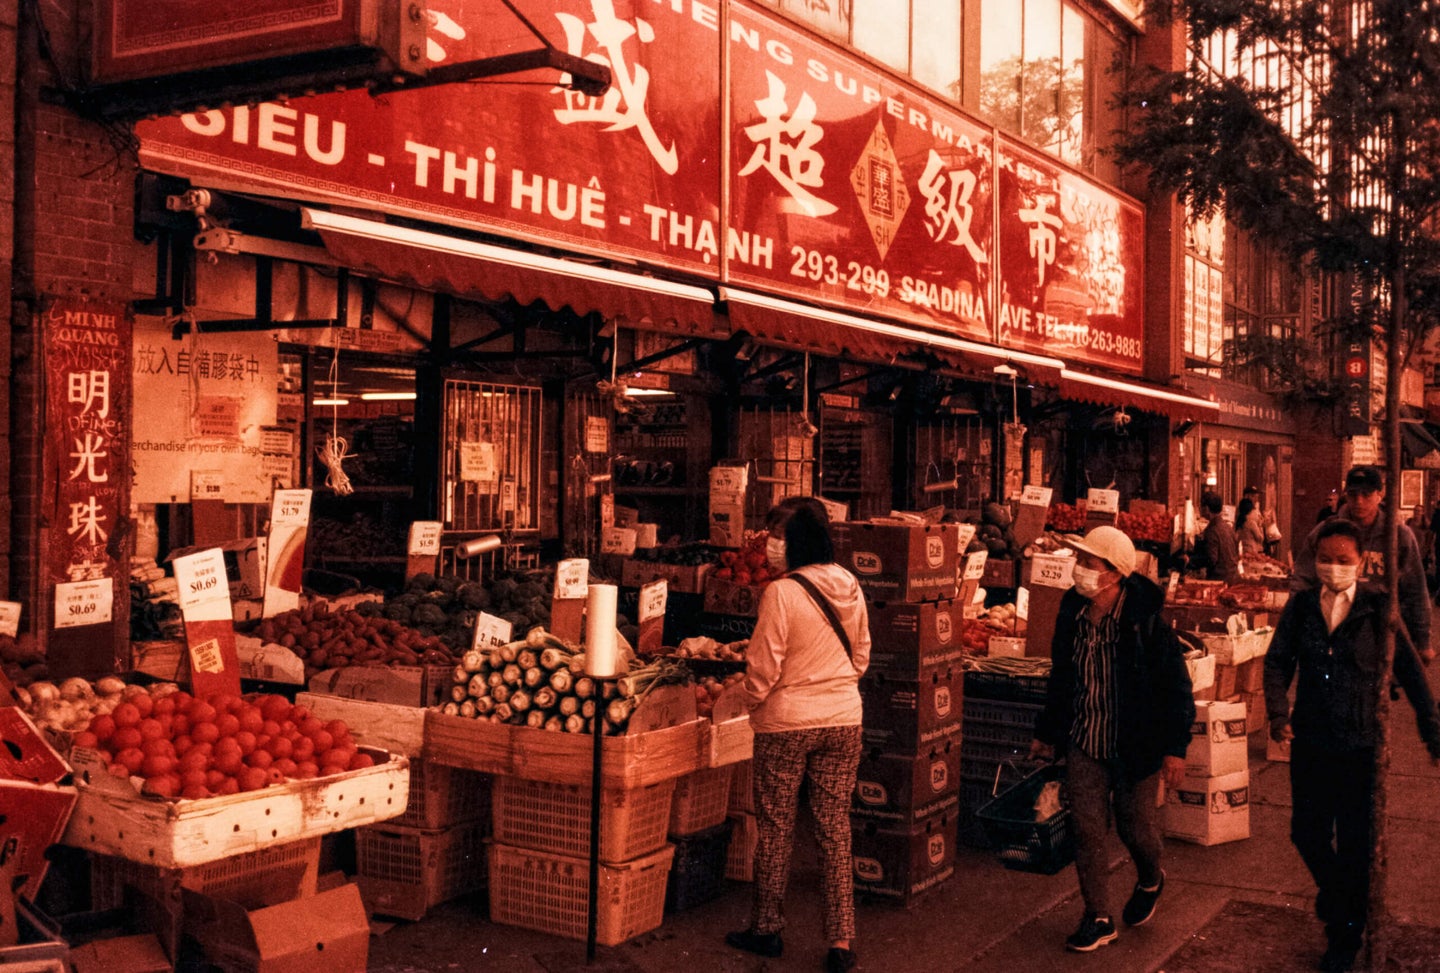
The exact amount of overexposure you’ll need really depends on the film and the look you’re going for. I’d recommend playing around with it and taking some notes when shooting your first roll so you can get an idea of what you like best. For this roll, I shot a few frames at one stop (200 ISO), two stops (100 ISO), and three stops (50 ISO) overexposed. Here’s an example photo of each (note that these photos are unedited from the original scans):
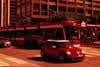
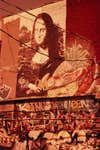
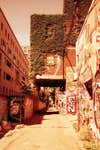
Personally, I liked my results at 100 ISO (two stops overexposed), but you may find you prefer something else. Don’t be afraid to experiment and find what you like.
If you enjoyed this guide on how to redscale film yourself, I often experiment with film on my TikTok and Instagram pages, so check those out if you want more analog photography tips. Be sure to tag #popphotofilm so we can see your results.
