Everything you need to develop your own film at home
Get back to the roots of photography and develop your own rolls.
In the last few years we’ve seen an uptick in enthusiasm for film photography. While analog photography has seen a bit of a renaissance, it’s increasingly challenging to find a lab that will actually develop film for you. The good news is that developing rolls of black and white film at home is easy, fun, and doesn’t require a huge investment to get started. Here is everything you need to turn your spare closet or bathroom into a tiny darkroom.
Black and White Film
Ilford
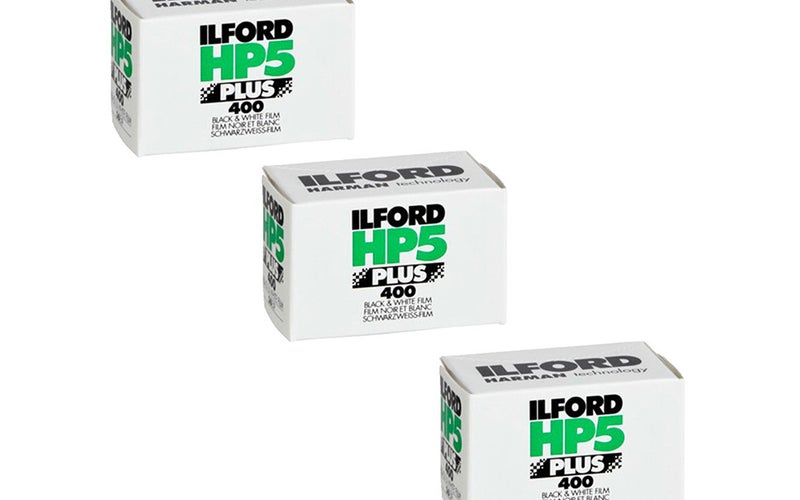
To get started, you will need to grab some rolls of black-and-white film. Ilford HP5 is a versatile black-and-white 400 speed stock that’s forgiving if you screw up or want to experiment with alternative methods of development. It’s a popular film stock with students with a medium grain that has a flexible latitude. If you are just starting out, and happen to miss an exposure, HP5 will give you a bit of leeway to rescue those precious images. You can buy it in packs of three or five to bring the cost down.
Film Changing Bag
VANZAVANZU
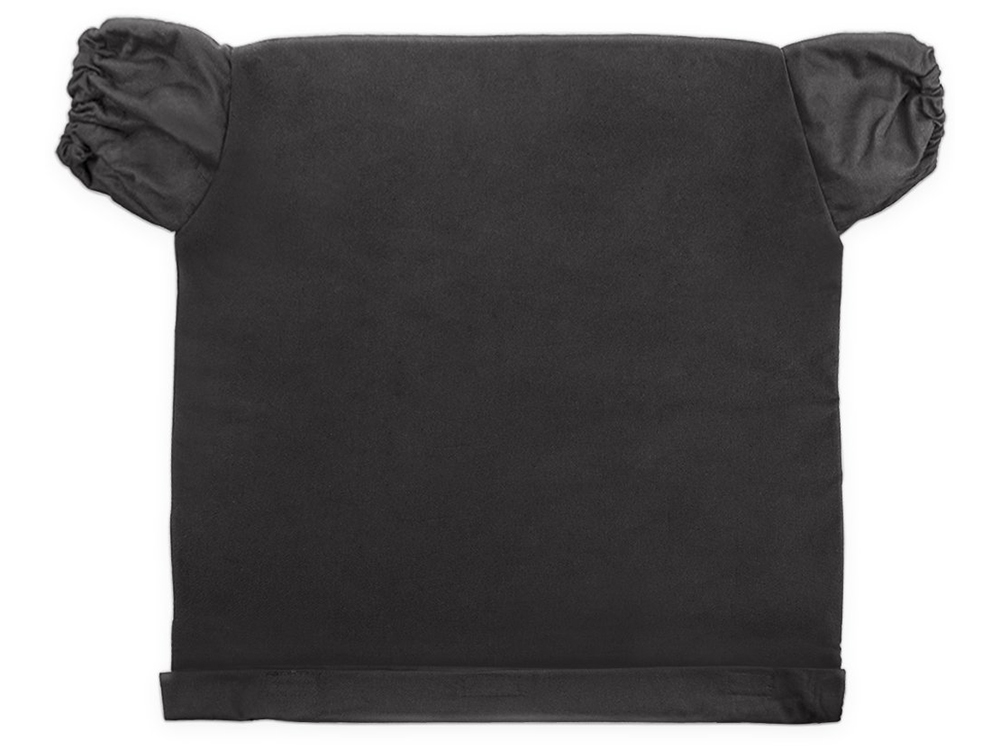
You need to get the film out of the can and into the developing tank in complete darkness. If you don’t have a windowless room handy, this simple bag will do the trick. The double-zippered enclosure looks a bit like a shirt, and allows you to slip your hands into the sleeves to get to work. It’s also handy if you’re uncomfortable in the pitch dark.
Film Canister Opener
eTone
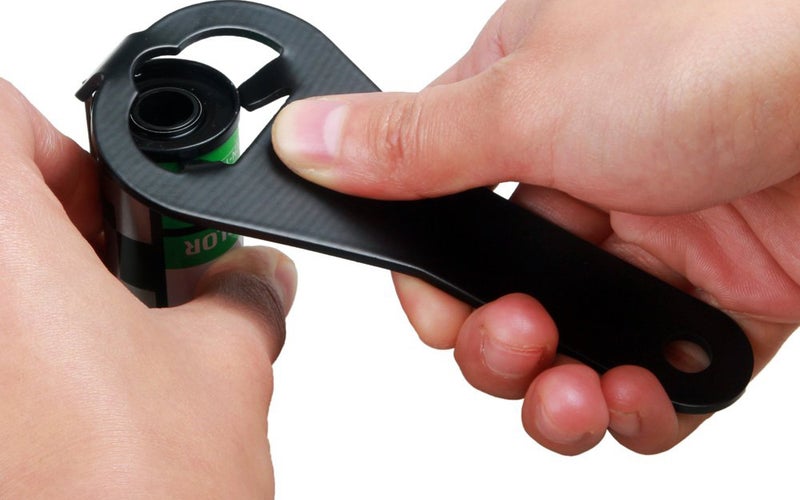
Any bottle opener will help pry your film out of the canister, but, a dedicated film canister opener can be helpful in the beginning as you get used to working without seeing what you’re doing. This one has a matte black finish to cut down on reflections, is made of solid metal, and has a dedicated metal edge to slide under the lid of the canister. Once you’ve popped the top of the canister off and rolled the film onto your reel, use a pair of scissors to cut the film from the plastic cylinder in the middle of the roll.
Patterson 35mm Developing Tank
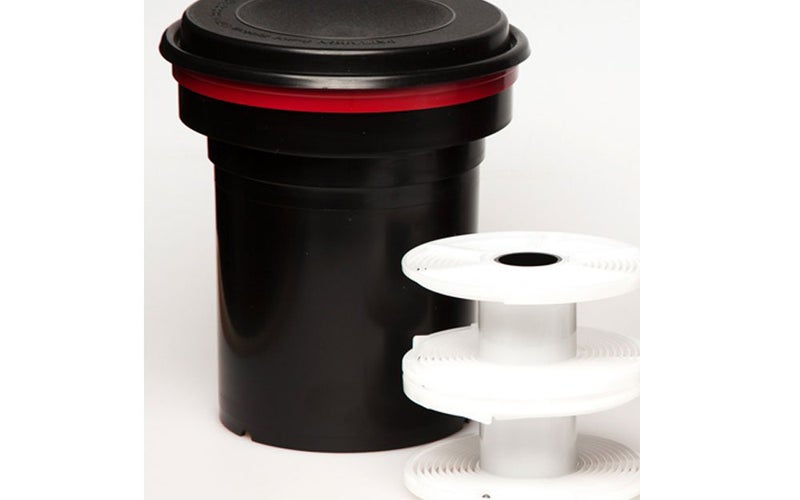
Paterson
There are two kinds of reels and each seem to have a dedicated following. We personally prefer the plastic Patterson reels and developing tank to the metal reels. It’s much easier to get the film on the reel straight (which means even-distribution of photo chemicals) and require less agitation during the developing process. Simply feed the undeveloped film onto the plastic reel and then plop it within the light-tight tank. Keep in mind that all of this needs to be done in the dark, so you will want to add your Patterson reels and tank into your dark bag before you pop open your film canisters. This tank can develop two rolls at a time, but if you only have one you can simply leave the second reel empty. Before you develop your first roll of film it’s good to trash a roll of cheap film just to see how the film will feed onto the reels.
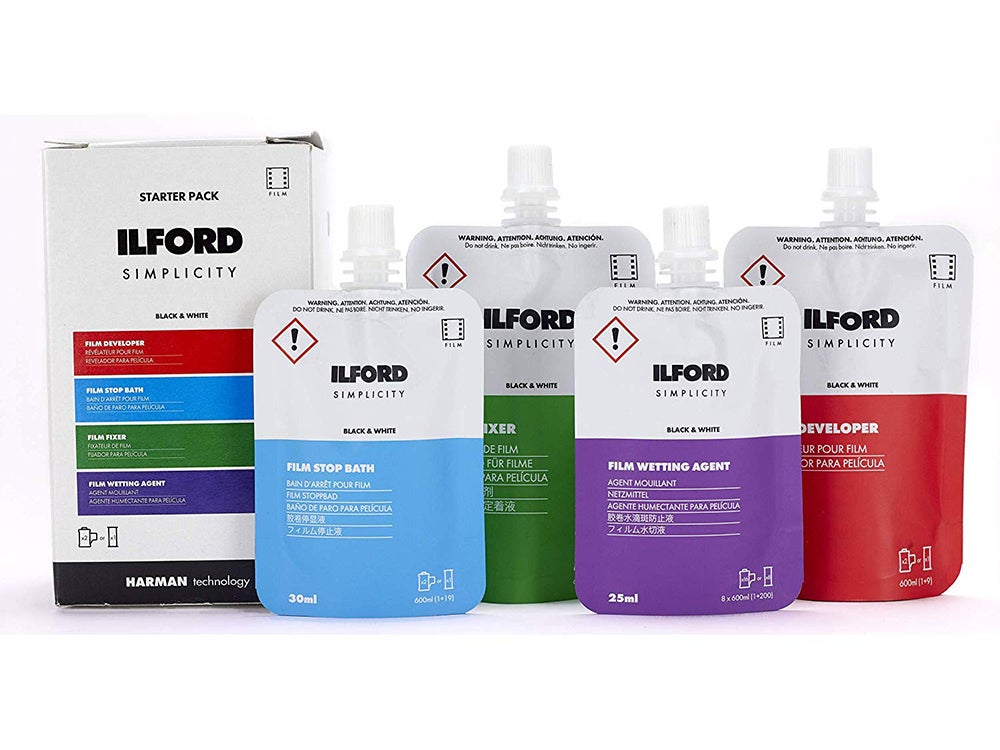
Ilford Simplicity Starter Kit

Darkroom chemicals typically sell in large quantities and, unless you’re processing a lot of rolls all the time, you are probably going to end up with a lot of unused fluids. The Ilford simplicity starter pack contained all of the chemistry you need to develop exactly two rolls of film. The kit contains single-use sachets of developer, stop bath, fixer and a film wetting agent. This is a great way to experience developing film at home, without investing a ton of money into darkroom chemicals.
Graduated Cylinders
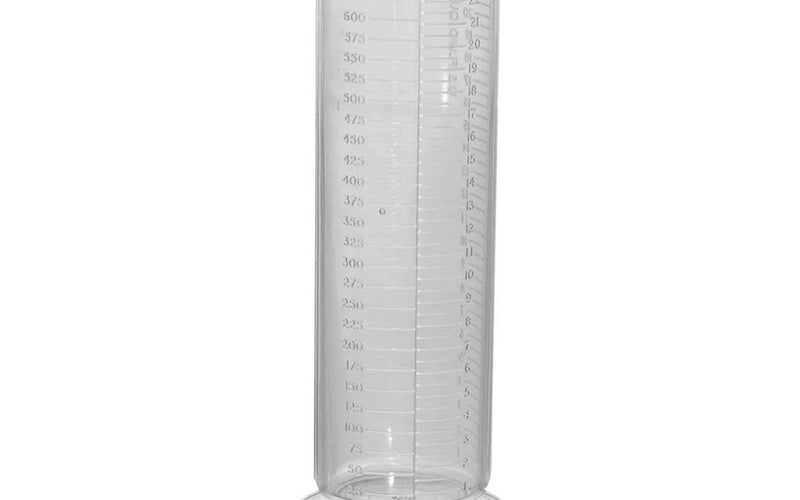
Paterson
You will need a place to hold your chemicals and that is where these graduated cylinders come in handy. You will want to invest in three to get you started—one for each other chemicals involved in the developing process. These polystyrene models are chemical-resistant, easy to read, have a tip-free base to keep you from knocking chemicals everywhere and a dripless spout. The sturdy cylinders will also make it easy to heat your developing chemicals to the proper temperature before you begin.
Precision Thermometer
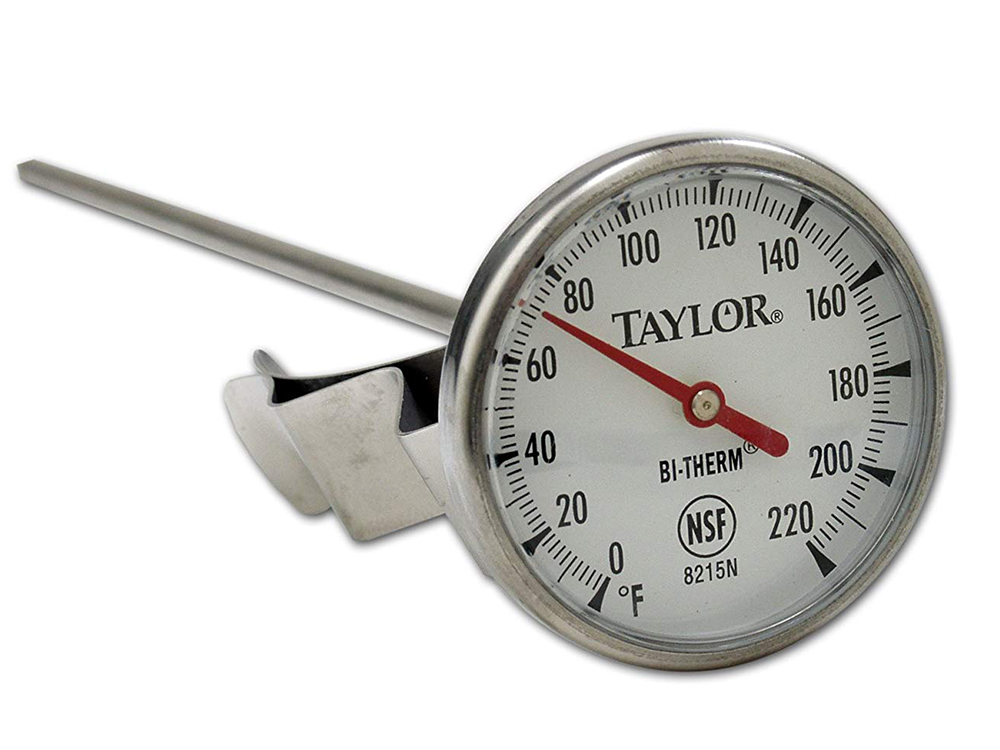
Taylor Precision Products
Temperature is crucial in the development process. Just a few degrees off and you can drastically change the look of your film. This thermometer will ensure that things are properly heated before you begin. It conveniently clips to the side of your graduated cylinder so you can keep a hands-free eye on the process.
Film Clips
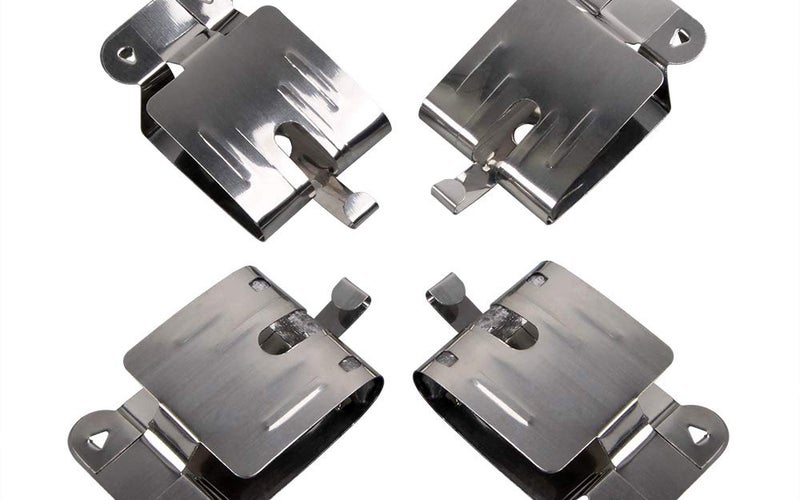
eTone
Once you’ve finished developing your rolls, you will need a safe place to let them dry. Although a fancy film drying cabinet is ideal, for a lot of photographers developing at home, leaving rolls in the shower will suffice. These film clips will help keep the wet film from curling in on itself as it dries.
Negative Storage Sheets
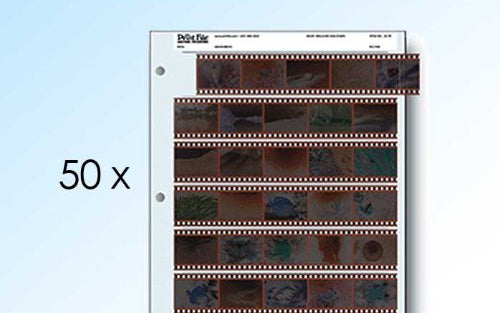
Print File
Once your film is developed and dried you will want to store it in a way that prevents dust and scratches. Archival negative storage sheets will keep your strips safe from the elements, make them easy to view and store and will even allow you to clearly label what’s included on every roll. If you are planning to work in a full-blown darkroom these also provide a seamless way to create a contact sheet, which shows you small versions of all your photos so you can choose which ones you want to print.
Film Scanner
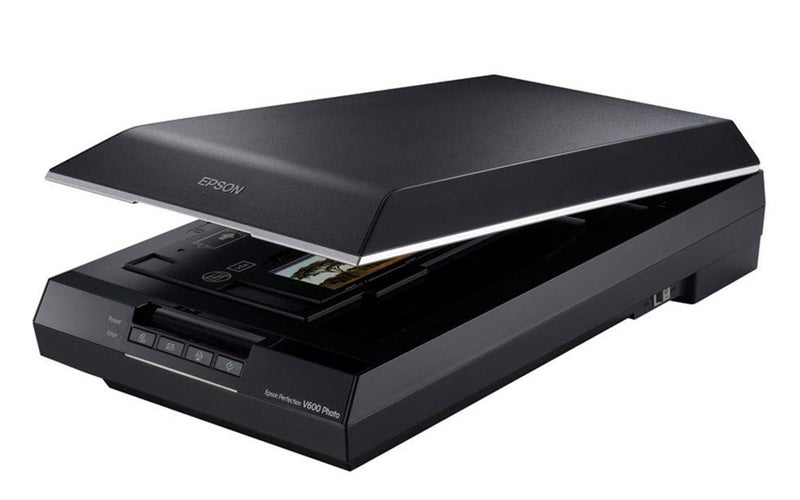
Epson
If you don’t have access to a darkroom where you can make old school prints its worth investing in a film scanner to scan your negatives and process the images digitally. The Epson Perfection V600 is our choice for getting the job done. Although it isn’t technically a professional-grade scanner, it can scan at a max resolution of 6400 x 9600 dpi, has 3.4 Dmax for excellent dynamic range, and Epson’s Digital ICE technology which can automatically remove small imperfections from your film.
