Tips from the pros: 3 keys to taking better bird pictures
Three top bird photographers share their unique approaches.
This post on better bird pictures has been updated. It was originally published on June 3, 2015.
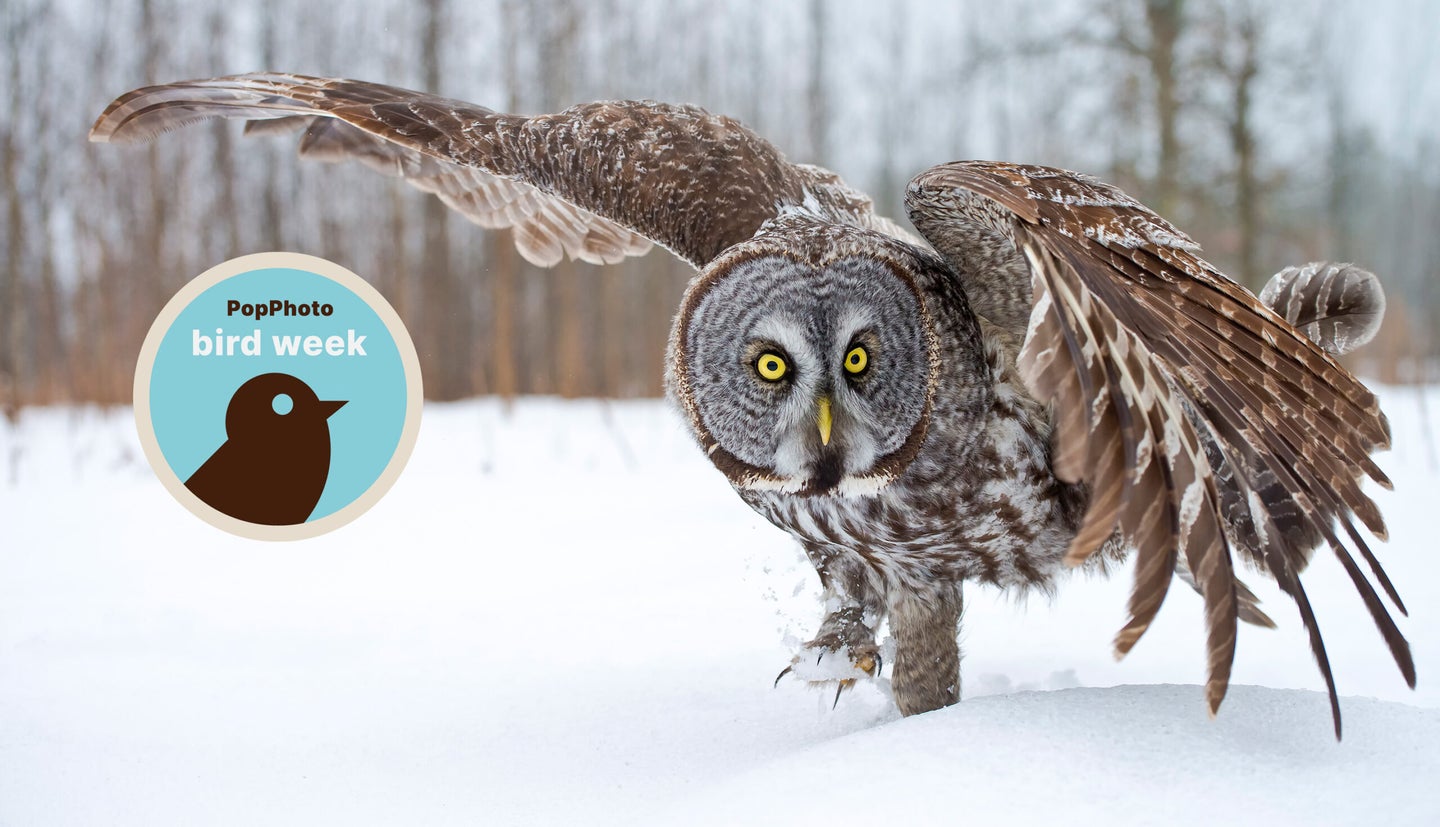
At once challenging and wondrous subjects, birds are fast, elusive, biologically diverse, and can be stunningly beautiful. “There are about 10,000 species of birds in the world, and their range of behaviors is very wide,” says William Majoros, a North Carolina–based scientist and avid bird photographer. “Capturing images of them in the wild is difficult but rewarding.”
Majoros, who was a serious bird-watcher before he even thought about photographing the creatures, believes the reward is in the search itself. “I recommend to new bird photographers that they try to enjoy just being in the field with the birds and have fun—don’t get stressed out about missing a great shot,” he says. Of course, this is like telling a fisherman not to worry about catching anything. “If I get a few good photos,” Majoros maintains, “that’s icing on the cake.”
While their approaches vary, each of the three bird shooters we interviewed sees the process as a labor of love. Dutch photographer Roeselien Raimond relies on behavior-based field techniques to capture her subjects, while Finnish lensman Jari Peltomäki experiments with the aesthetics of birds in motion. And Majoros takes a scientific approach, using precise settings and powerful equipment. We asked all three to share their bird-shooting secrets.
Get close with basic gear

Roeselien Raimond based in Gouda, Holland, counts birds among the many types of wildlife subjects she shoots. “I’m interested in the secrets of animal life,” she says. “With birds, the hidden moments—when a bird feels comfortable and not spied on—are my favorites. This can be a photo of a sleeping duckling, or a kingfisher cleaning its plumage, or a bittern pretending to be a reed.”
Raimond prefers close-up shots of birds, in part because of the portable but relatively low-powered lenses she carries. “I use a 300mm f/4L IS Canon EF telephoto, but it is rather short for bird photography,” she says. “If you have the money, a 500mm lens will give you better shots with less effort.” She adds a similar disclaimer about her camera body: “My Canon EOS 5D Mark III is a great camera—but with bursts of 6 frames per second it’s not the fastest. For birds-in-flight photography, you want something with around 10 fps.”
Still, Raimond likes the challenge of getting as close as possible to birds without disturbing them. “Many birds are scared of humans,” she says. “It helps to use camouflage. Birds have their comfort zones, and as a photographer, it’s important to respect the borders. How closely you can approach a bird depends on the species and the individual. In some cases, you can gain the trust of the bird and it will grant you more privileges. Be calm, don’t act like a predator, and always be respectful.”
For finding the birds, typically in nature preserves and coastline settings, Raimond believes advance research is key. “I enhance my success ratio by collecting information about the subject of choice and I go there prepared,” she says. “Sometimes a friend tells me a location; sometimes I find information on the Internet—patterns, daily routines, specific behaviors of species—and that’s where the journey begins.”
Capture flight & motion
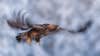
For wildlife photographer Jari Peltomäki, who lives in Liminka, Finland, birds are especially beautiful in action. “What I try to achieve most is the motion-blurred images of birds in flight,” he says. “I love it when you can see the movement in bird wings and also in the background, but the head of the bird is still sharp.”
With this in mind, Peltomäki typically applies manual settings to his full-frame camera and 600mm f/4 lens (he also shoots with a 200-400mm f/4 with a 1.4x teleconverter attached). “I set the ISO, shutter speed, and aperture beforehand so I have full control,” he says. “If I want to show the movement then my shutter speed might be between 1/15 and 1/125 sec. With larger birds, it is often 1/60 sec. With such slow shutter speeds, many of the frames will be rubbish—but occasionally you will get great shots with nice movement and a sharp head of the flying bird!”
Conversely, Peltomäki often freezes the action with faster exposures. “If I would like to get sharp flight shots of large birds like eagles, I set the speed to 1/1600 sec and aperture to f/6.3 (depending on the lens). My ISO depends on how much light there is—quite often it is between 800 and 1600. Smaller and fast-moving birds need faster shutter speeds: 1/3200 sec is enough to stop the movement for most birds, but this also depends on lens and shooting distance.”

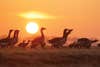
Peltomäki advises shooting in horizontal light. “Bird photographers should take images early in the morning or in the late afternoon when the sun is lower in the sky,” he says. “In the middle of the day sun is often so high that you will not get the light in the bird’s eye or the full color of the feathers.”
He often uses hunting blinds as camouflage and tries to blend with the environment. “It is a great advantage to know the bird songs and calls that help to locate certain species; by listening to the calls you can also learn what the birds are doing,” he says. “I can be waiting in my eagle [blind] and without looking outside, I know by the raven calls which raptor will appear next to my feeding station. Ravens have different alarm calls for golden eagles, white-tailed eagles, goshawk, or gyrfalcon. It helps to study these things.”
Maximize detail & showcase your bird
As the author of bird-photography books including Secrets of Digital Bird Photography, William Majoros makes a distinction between aesthetic images and educational ones. “In artistic bird photography one generally tries to keep the background uncluttered—if the scene includes lots of distracting background elements such as leaves or branches, I won’t even take the shot, because I know it won’t satisfy my artistic standards,” he says. “For documentary work, however, I don’t always apply those standards—anything that captures interesting behavior is fair game.”
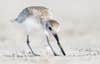
Majoros likewise varies his approach according to the species he’s shooting. “One of my specialties is warbler photography,” he says. “For these tiny, rapidly foraging birds, the best strategy is to use a shorter lens at close range—a 400mm f/5.6 lens lets you stay mobile so you can follow the birds and navigate the crowds at popular birding destinations, where a big lens might be an encumbrance. But for larger birds like herons, egrets, and raptors—which typically don’t let you get close—you’ll want to use a longer lens such as a 600mm or 800mm. This enables the types of shots I like—frame-filling photos of the birds with massive amounts of minute feather detail.”
For peripatetic subjects, Majoros relies on autofocus. “It’s best to get the bird’s eye in focus, and the beak if possible,” he says.
However, Majoros sets his exposures manually. “The best way to choose camera settings in the field is to ignore the camera’s metering system and shoot as bright as possible without blowing highlights,” he says. “In the field, I take a number of test shots of the scene and check the preview of each shot on the camera’s LCD, with highlight alerts turned on. This maximizes the information content of the image and allows more flexibility later during editing on the computer.”
Majoros often finds his bird subjects in woods, wetlands, and nature preserves. “I’ve found that city parks, where there are people around, can be more productive than wilderness settings because in the city birds are used to seeing people and don’t spook as easily,” he says. But, he adds, many habitats can become overrun with other birders.
Sometimes beauty is in your own backyard. “I use my house as a bird blind. I set up bird feeders close to my window and sit there waiting for birds to perch,” Majoros says. “Obviously, shots of a bird on a feeder aren’t very aesthetic, but you can set up branches near your feeder and shoot the birds there to obtain a more natural-looking scene. And it’s a joy just to be in their company.”
