Organize your catastrophic camera roll
It’s time to get your digital photo library under control, here’s how to start.
Since we started carrying smartphones with decent cameras in our pockets wherever we go, we’ve collectively taken more and more photos. Over the past decade, I’ve shot maybe 50,000 with my iPhones, which makes for a hell of a lot of mediocre pictures—and very few good ones.
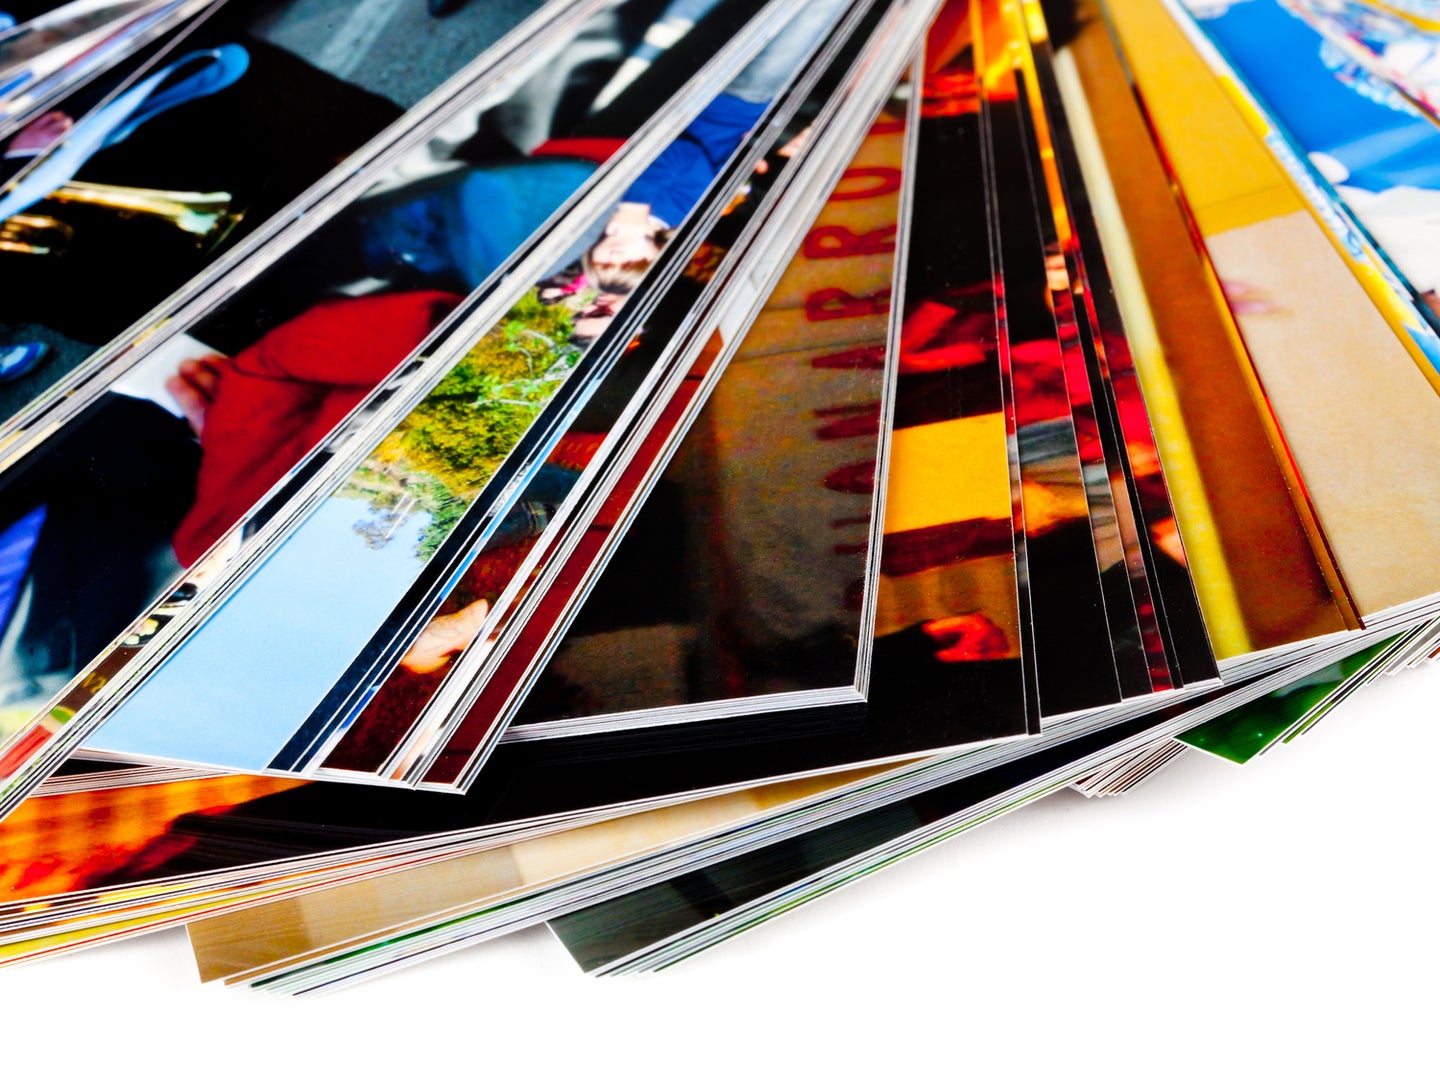
If you’re reading this, chances are you’re in a somewhat similar situation: years of shooting smartphone photos have given you an entirely unsorted, multi-thousand-picture camera roll.
Digital photos are wonderful, but there’s no point shooting them if you just leave them sitting on your smartphone, totally ignored. Sure you’ve thought about putting everything in place, but just thinking about diving into those folders most likely scares you. Don’t worry—I’m here to tell you that sorting that photo mess of yours can be done, though it won’t be quick.
Keep or cull
There are two main strategies when it comes to sorting through thousands of photos, depending on how you feel about them: You can either aim to keep the good photos or you can cull the bad ones.
Keeping the good photos is easier and will give you a much smaller library. You’re essentially adopting a “hell yeah” or “nope” approach. Simply work your way through all your photos and pull out the ones you think are objectively great. Anything that doesn’t hit the mark gets deleted.
The problem with only keeping the technically good photos is that you throw a lot of baby pictures out with the bath water. Most people have hundreds or thousands of OK photos that won’t pass the test, but it’s also kind of a shame to lose them because they hold so much sentimental value. They’re the repetitive photos of your dog, sunset snaps, or shots from your trip to London with an ex. You can’t say you love every photo or that you’ll ever print them off, but they’re a record of your life, and maybe you’ll just want to have them in the future.
Culling all the actively bad photos is the better long-term solution. Rather than only keeping great pics, you delete all the bad ones—the random screenshots, the duplicates, all those out-of-focus images, the myriad of terrible selfies, and so on. At a guess, I’d say this kind of photo makes up between 50 to 75 percent of what you have on your camera roll.
By purging all the bad photos, you end up with a functioning photo library. All the images in it are meaningful—even if there are thousands of them. It might not be as good as your grandmother’s perfectly sorted albums, but it’s a workable solution for most people.
Just keep in mind that both of these methods will reduce your photo library considerably, but they won’t solve the overall issue—your photos will still be in a huge, unsorted pile, and, if you keep snapping at the rate you are without making any changes, it’ll all become a mess again in no time.
Gather your photos
The only thing worse than one messy photo library is two messy photo libraries. Most people now really just have one: the collection on their smartphone. However, if you still have some holdover photo library on your PC, an old phone, Facebook, or somewhere else, you should probably sort that at the same time.
Choose what you’re going to use as your master photo collection going forward and add all the unsorted photos from anywhere else to it. Boom—one really huge mess instead of several big ones.
For this, I’d really recommend either Apple’s Photo app (with iCloud Photos) or Google Photos, depending on your platform of choice. They both have web, smartphone, and desktop apps so you can access your images from anywhere (provided you have enough cloud storage, but we’ll get to that). A tool such as Lightroom is great if you’re a professional photographer, but is serious overkill for most people: it’s expensive and won’t play nice with your phone.
Get enough cloud storage
The year is 2020: flying cars glide through the neon-lit metropolis and no one ever accidentally deletes or loses a photo to a hard drive error…
Okay, we’re still waiting on the flying cars but there is no excuse for accidentally losing all your precious baby photos because you left your smartphone in the seat pocket of an airplane. Google Photos and iCloud Photos (plus Dropbox and a few other apps) can automatically back up your photos to the cloud. This is a big deal.
For years, the hardest part of having a photo library was making sure it was backed up. External hard drives dying and taking entire collections of important images with them was a real problem. I lost hundreds of photos I thought were backed up but actually weren’t.
Unless you shoot RAW photos on a professional camera, the cost of enough cloud storage to protect all your photos is almost nothing. iCloud offers 5GB of free storage space, which is not a lot of space, but charges 99 cents a month for 50GB—enough for about 15,000 photos. For bigger libraries, you’ll need to pony up $2.99 a month for 500GB, which should be enough to handle any photo library. If it can’t, you’re not sorting yours very well.
Google takes a slightly different approach. It won’t cost you anything to back up unlimited “high-quality” photos (marketing speak for images compressed and cropped to 16 megapixels and videos limited to 1080p). If you want to keep your images uncompressed and in their original quality, you’ll get 15GB of free storage and then plans start at $1.99 a month for 100GB. Be warned though: everything you store on Google platforms (Gmail, Google Drive, Google Photos, etc.) uses the same space in the cloud. If you have a lot of files backed up on Google Drive, that means less space for photos, and vice versa.
Also, note that you can use Google’s platform even if you have an iPhone—it’s just not as integrated with the whole Apple ecosystem. If you want those free photo backups, grab Google Photos from the App Store.
If you want to, you can buy an external hard drive for $50, but then you have to back things up manually. And since the whole point here is to sort things out once and for all, it’s better to go with the easy option: put everything in the cloud and treat any monthly fee as insurance against losing any important photos from #WolfpackTrip2K17.
Bring out the big guns
Alright—you’ve got one master library packed with thousands of unsorted photos on your smartphone and on the cloud. Now it’s time to sort things out for real. But first, the bad news: this is going to take time.
Unless you only recently took up photography, your photo library is likely a problem that’s been building for years. This isn’t something you’ll be able to fix in a few minutes. Yes, there are apps out there, like Gemini Photos for iOS, that can help you find duplicate or blurry shots, but if you want to get things done right, you’re going to have to go through your library photo by photo—no AI can yet do the job for you.
But that doesn’t mean you have to do it all by yourself. My favorite tool for the job is Slidebox, which is basically Tinder for your photo library—swipe up to delete an image, left to leave it unsorted, or tap to add it to an album. It’s a lot quicker than using the built-in photo app on iOS or Android when you’re going through a lot of photos.
And even with Slidebox, sorting your whole photo mess will take time. If you review an average of 30 photos a minute, 1,000 photos will take just over half an hour. Depending on the size of your photo library, you’re probably facing at least a few hours culling.
A couple of tips to get it done and not die trying:
- Do something else at the same time. Don’t just go through your photo library—throw on a podcast or Netflix in the background. It’ll distract you and you won’t feel like you spent three hours just looking at your phone, though you totally did.
- Do it in blocks. Spend 10 minutes every evening going through your photo library. Or snatch two minutes while you’re waiting for a train. Don’t try to do it all in one horrific go. It might take you a few weeks to get through everything, but you’ll finish the job sane.
To tag or not to tag

Adding photos to albums, naming all the files better, or adding tags to your images is a suggestion you see in most articles like this one—but I’m against that whole idea. In theory, I love perfectly tagged, album-ized photo libraries because they appeal to the productivity geek in me, but I refuse to believe anyone actually has one.
Photo albums made sense when a roll of film had 36 pictures and had to be developed and stored. It’s easy to go through two or three rolls worth of pictures and sort them, but your iPhone can shoot 36 photos in a couple of seconds. Your crazy-into-photography grandmother might have shot 100 photos just last month, and you probably shoot that at a single event.
Now, it’s ludicrous to suggest that most people sort their photos neatly into albums. If it’s something you want to spend hours doing, absolutely go for it. But for the majority it’s just not a realistic option. (I can’t even keep my professional photos accurately tagged.)
Instead, the better solution is to harshly downsize your photo library to a minimum and let technology do the heavy lifting. If you use an app like Slidebox, create big buckets instead of specific folders—I have one named “Travel and Stupid Stuff,” rather than creating one for every trip—and then use the built-in tools to find photos as you need them.
You want photos from your trip to Miami? Your smartphone geotagged them. What about Christmas a couple of years ago? Sort by date. And all the photos of your kids? Well, Apple and Google are going hard on auto-generated tags and facial recognition technology, so their platforms will automatically sort your photos according to who is in them. The systems aren’t perfect, but they work a lot better than spending months of your life categorizing images into discrete albums.
Build good habits
So you’ve sorted your photo library—you’ve culled a few thousand terrible photos and you’re left with the good stuff. Congratulations. Now, the next step is to not let things get out of hand again.
Apply a principle you were probably told growing up: the more often you tidy a room, the easier it is to tidy. It’s the same with photo libraries. You’re unlikely to stop taking terrible photos and taking screenshots of irrelevant memes, but you can at least get into the habit of purging them more frequently than once a decade.
Once a week or month (depending on how much you shoot) go through your photo library and get rid of anything you know you definitely won’t want in the future. It’ll only take you a few minutes and it’ll keep everything nicely sorted. At least until the big tech companies build an AI that can do it for you. In which case, hello robot overlords!
