Google Photos is better at image editing than you think
Manage, back up, and tweak without switching apps.
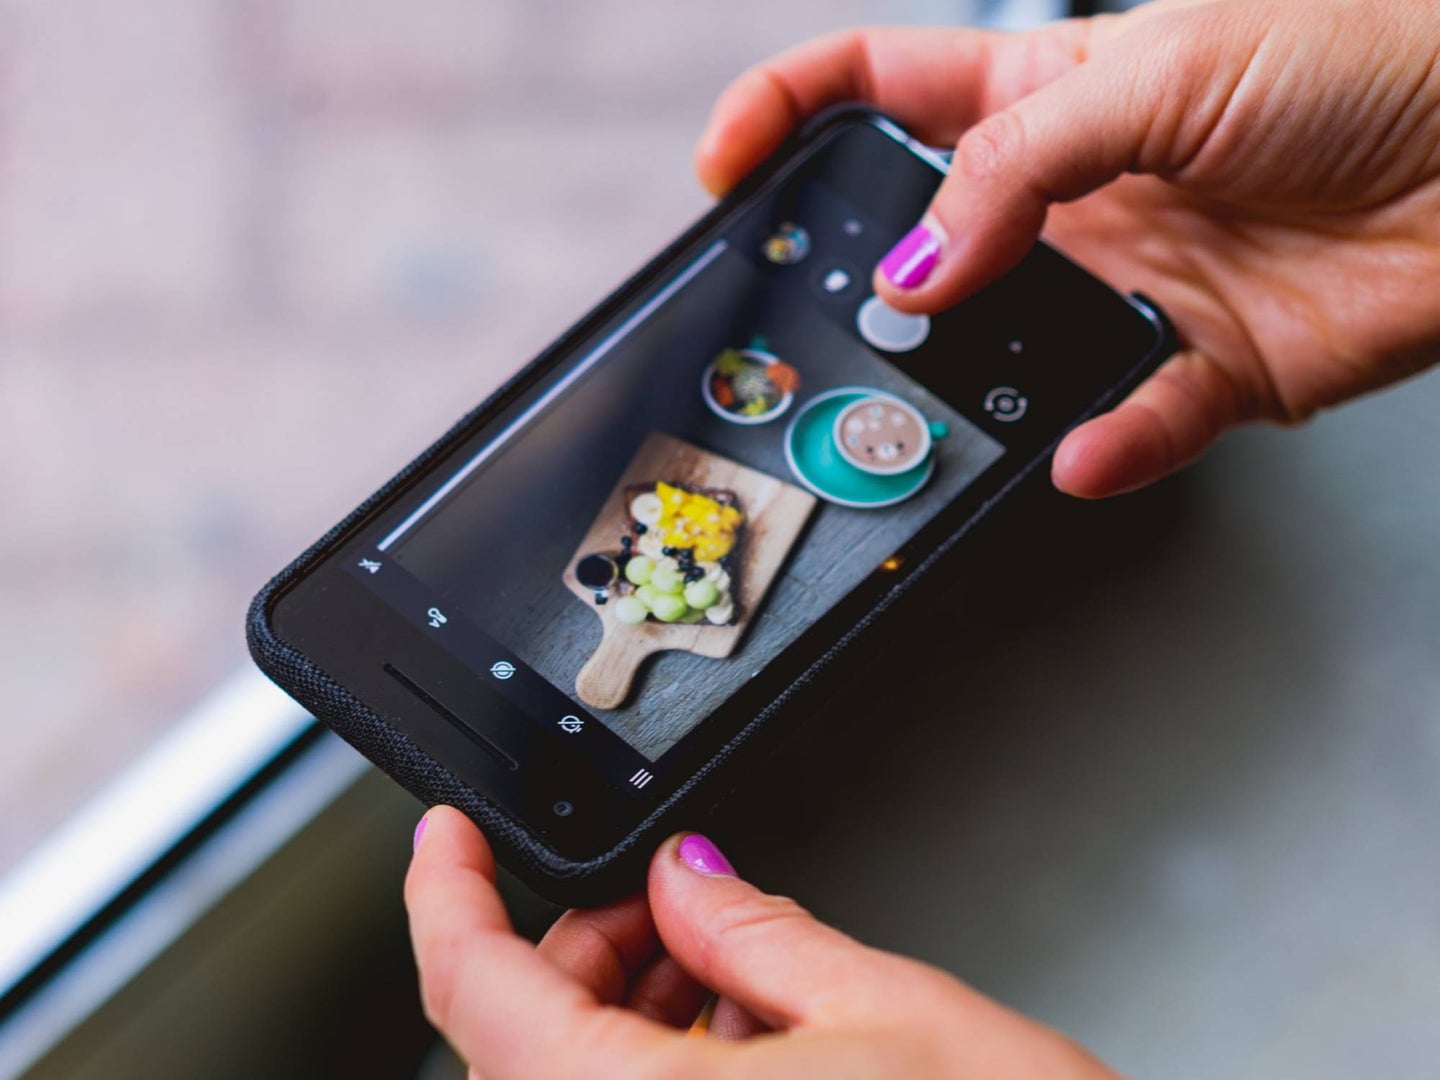
Google Photos has come a long way from the days when it was part of Google Plus. Once a simple cloud-based image manager, the platform has become an artificial intelligence-powered one-stop shop for storing, organizing, and tweaking your pics. It has continually improved upon its built-in editing features, and knowing how to use them will help you get your shots looking their best without switching apps.
Depending on what device you’re using to access Google Photos, you’ll find some differences in features and overall look—we’ll flag what you can use and where. But rest assured—when it comes to image editing, this platform is more than enough, no matter the operating system.
Let artificial intelligence do it for you
Google has been putting a lot of time, money, and developer resources into machine learning, and this technology is on full display in the Google Photos app.
On Android, open the photo you want to edit, then open the editor options by tapping on the three-slider icon (the second one on the left). You’ll see a Suggestions screen with one-tap editing options. In general, Enhance improves your image by enhancing the brightness, contrast, and colors as necessary; Black and White converts your image to grayscale; and Color Pop desaturates the background while saturating the subjects to make them, well, pop.
These suggestions aren’t generic filters, though. They use AI to make intelligent tweaks specific to your image, based on its content and the results of Google’s research. The options’ names remain the same from photo to photo, but the program adjusts how they work for each one. For the time being, the choices are limited to the ones mentioned above, plus some image-dependent suggestions like Portrait and Fix Brightness, but Google has said they’ll add more options for different kinds of images in the upcoming months.
Unfortunately, iOS users don’t get the Suggestions tab—at least for now. Instead, Enhance is baked into the Auto filter, which still produces great image-specific results. If you’re editing a photo shot in portrait mode, there’s also a Color Pop option—it uses depth information to separate the foreground from the background, saturating the former while desaturating the latter.
Google Photos was designed to be primarily a mobile app, so if you’re accessing it on the web, you’ll only get the Auto filter.
Slap a filter on it

Filter apps such as Instagram, Hipstamatic, and VSCO have been around for a long time and are still solid image-editing options. But if you’ve been swimming against the current all this time, you don’t have to miss out on filters—Google Photos has a limited, though tasteful, selection of 12.
On Android, open the editing options and slide the carousel on the bottom to find the Filters. Choose the one you want and tap on it to apply it. Tap on it again and you’ll see a slider that you can drag to dial up or down the intensity. The filters also set some default values for the adjustment tools we’ll look at in a moment, so you can take them as a foundation and build your own effects from there.
Perhaps the best thing about using an app like Google Photos to apply filters is that most other people don’t. Instead of working from Instagram’s stock set that many know by heart, or VSCO’s ridiculous number of hard-to-navigate presets, you’ve got a dozen strong options that people won’t recognize as easily.
Tweak things yourself
Google’s machine learning-based one-tap editing is great but, as a photographer, I’m honor-bound to declare it no match for diving in and doing things yourself, as it allows you to maintain creative control, and appease the restless spirit of Ansel Adams.
Google Photos delivers, both in terms of the options available and ease of use, but the layout and descriptions of features will be a bit different depending on your operating system. On Android, all the major controls are listed in the Adjust tab, and when you tap on one, a slider will appear. You can use it to increase or decrease intensity.
Among the options you’ll be able to tweak, you’ll find options such as:
- Brightness
- Contrast
- White Point
- Highlight
- Shadows
- Black Point
- Saturation
- Warmth
- Tint
- Skin Tone
- Blue Tone
- Pop
- Vignette
If you’re editing a photo shot in portrait mode or that otherwise has embedded depth information, you’ll also see Blur and Color Focus controls. If you’re on a Pixel phone, there’s an additional option called Portrait Light, which uses machine learning to artificially change the light source in your picture.
Things are arranged a little differently on iOS and the web, but the tools all do the same things. In the Adjust menu, there are two global sliders: Light and Color. You can tweak them to adjust everything at once or tap on them to play with individual sub-sliders.
Under Light, you’ll find the following settings:
- Exposure
- Contrast
- Whites
- Highlights
- Shadows
- Blacks
- Vignette
- Pop
And under Color you’ll have:
- Saturation
- Warmth
- Tint
- Skin Tone
- Deep Blue
On iOS, if you open a photo shot in portrait mode, you’ll also see a slider called Depth—though you won’t see it if you access the platform through a browser. Under it, there are two sub-sliders: Blur and Foreground Blur.
Got a Pixel phone? Go wild
Portrait Lighting, one of Google Photo’s newest editing features, is only available on Pixel phones from the Pixel 2 onward. It remains to be seen whether this tool comes to more phones in the future, or if Google’s devices get more exclusive features on this particular platform.
Portrait Lighting only works with photos that have depth data, and you can basically change how your face is lit to get a more flattering or dramatic look. To use it, select Portrait Light from the Adjust menu. Then, you can dial in the strength of the effect with the slider and position the light source by tapping anywhere on the image.
In the right circumstances, Google Photos’ effects are more than enough to add a little flare to your pics. You probably won’t be fooling any World Press Photo awards judges, but your images will look more than realistic enough to share to your Instagram story and impress your friends.
