A Clever Hack For Printing Photos Onto Wood From an Inkjet Printer
With just a standard inkjet printer, and a few common extras, you can put your images onto wood

Printing photographs onto wood is hardly a new idea—many professional printing services offer it, and it’s a unique alternative to more traditional printing mediums. But what if you want to do it at home? It’s easier than you’d think, and all it takes is just a few bits and pieces that you’re likely to have floating around anyway.
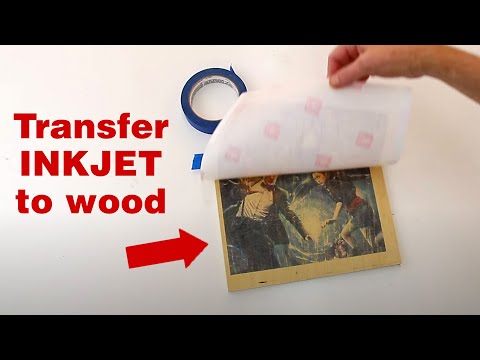
This tutorial from Steve Ramsey of Woodworking for Mere Mortals runs through the entire process in just two minutes. To do it, all you need to do is print on a piece left-over backing from self-adhesive labels. This provides a surface where the ink will sit, but not bond or dry. From there, it’s a simple matter of transferring the image over to the wood, and then fixing it in place.
As you might guess, there are some caveats. The resolution of the print is fairly low, and this process desaturates the colors substantially. Since there’s no white ink, white areas of the image will instead be the natural color of the unfinished wood—and since it’s a transfer, the final image is horizontally mirrored, unless you address that in editing before the print.
But for just a couple of bucks in parts, it’s a fun way to try something very different with your printing. Besides, you can use this technique to create some custom woodworking wedding gifts that will be appreciated by the couple.
[via PetaPixel, Lifehacker]