Unified Color Technology HDR Expose 3: Hands-On
This new software makes creating HDRs ridiculously simple and painless
We may earn revenue from the products available on this page and participate in affiliate programs. Learn more ›
Today, Unified Color Technology announced the 3rd iteration of their HDR processing software and I had some time with it to check out the new features. The update improves upon the overall workflow and performance of UTC’s software, making the act of compositing an HDR image incredibly simple. Version 3 features upgraded auto-alignment and de-ghosting algorithms, a whole new tone-mapping algorithm, as well as simplified file browser.
Some of the most common criticisms of HDR involve the often-over-processed aesthetic applied by some shooters, as well as the need for a tripod. HDR Expose 3 tackles both issues head-on.

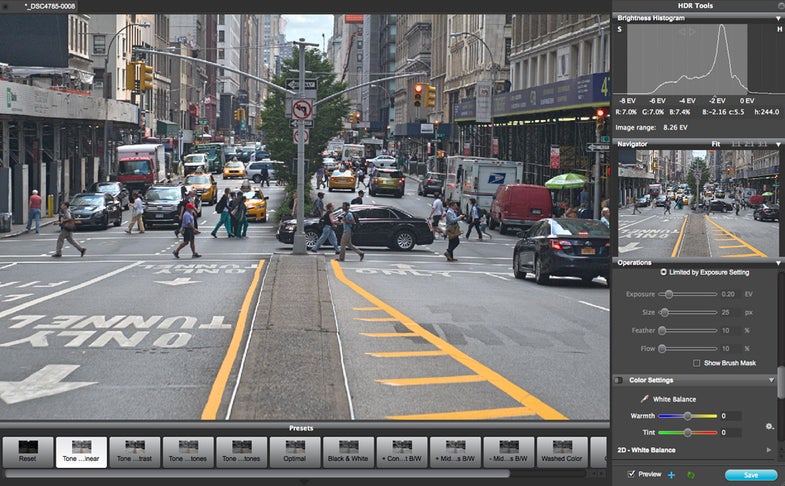
This image was processed using HDR Expose 3. Click for FULL-RES.
UCT touts that the HDR Expose 3 can composite images successfully, even if they are shot handheld of moving subjects. So we decided to put it to the test by shooting the above HDR, a composite of 8 images, without a tripod.
Despite my shaky hands the and hustle and bustle of New York’s Park Avenue, not a single person, car, dog or baby is duplicated in the image. For comparison, we composited the same HDR using Adobe Photoshop 5.1’s automatic HDR option. The results are less than acceptable (below).

This image was processed using Adobe Photoshp 5.1. Click for FULL-RES.
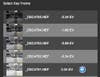
The magic is in the “key frame.” When selecting images to composite (regardless of whether your merge is automatic or manual), users are asked to select a key frame, or the frame that the rest of HDR is based off of. In manual mode, users can toggle via a slider how much emphasis that key frame is given compared to other frames. If there are few moving subject in your image, then you might want to put zero emphasis on the key frame.
For users who would like to align their images manually, Expose 3 offers a nifty tool that has you line up 3-8 different zoomed in points (the more un-aligned the images are, the more points you’ll need). It’s simple and effective. However the auto-align tool is so reliable, You could probably just stick with it.
The software also offers a selective de-ghosting tool which we found to be really useful. When merging manually, the tool is really effective at correcting small examples of ghosting, like a flag blowing in the wind, in an otherwise still image.
Expose 3 works in the UCT’s Beyond-RGB 32-bit proprietary colorspace, offering extremely precise control over your processing. You also get post-processing options similar to Lightroom like color-balance adjustments, curves, burning and dodging, noise-reduction and selective color control. The only thing missing is a history panel like the one on the left side of the Lightroom Develop module (hint hint for version 4).

A zoomed-in comparison of HDR Expose 3’s auto-generated HDR (left), versus Adobe Photoshopn 5.1’s (right).
The software itself comes as a standalone program, as well as a Photoshop and Lightroom plugin called Float 32. HDR Expose 3 is available for $120. Customers who bought Expose 2 after April 24th, 2013, can upgrade for free, anyone with an older version of the software can upgrade for $60. 32 Float V3 is available for $90 new, free for anyone who purchased version 2 before April 24th, 2013, and $50 for anyone with an older version. For more info head to UnifiedColor.com.
