Do it yourself: The $20 lighting kit
We’ll show you how to make the most out of $20 lights.
We may earn revenue from the products available on this page and participate in affiliate programs. Learn more ›
One of the biggest challenges both aspiring professional photographers and amateurs alike face is the steep price of photo gear. Once you have invested money in a camera body, a lens or two, a tripod, and those must-have accessories, you will likely be reluctant to spend another few thousand dollars on a studio lighting kit.
So how does one get professional-grade lighting on a tight budget? Thankfully there is an answer. For the price of a cheap haircut, you too can get good looking lighting and it’s much easier than you may think! All you need is a few supplies from your local hardware store and some stuff you likely have lying around your house.
Supplies:
- 2 clamp lights with aluminum shades…$6.97 each (can be purchased at your local hardware store)
- At least 2 Compact Florescent light bulb…$3.27 each
- Several rubber bands…$.25
- 1 old white T-shirt…free
When looking for light bulbs, remember, the higher the wattage, the more you will be able to alter and soften your lights. I would even recommend getting a bunch of bulbs at varying wattages to play around with. Also keep in mind that you want to use compact florescent bulbs. While they are pricier than their incandescent counterpart, they produce far less heat and therefore are not a fire hazard (Incandescent bulbs will definitely create a fire hazard, do not use them).
Once you have gathered your supplies, take the old white T-shirt and cut it into squares that measure about 8 inches by 8 inches. Ten squares should be more than enough. Now that you have something to diffuse your lights with, you are ready to set them up and shoot!
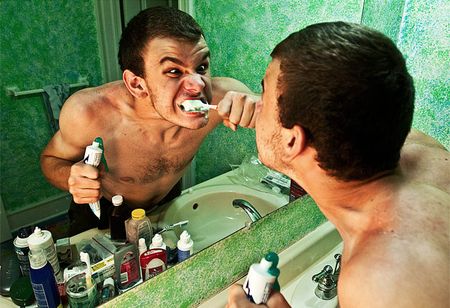
First, figure out where you want your light sources and clamp them down. I used a cheap tripod I had lying around as a stand for one of the lights. Now, use the different wattage bulbs to increase or decrease the amount of light your units produce. Additionally, use the rubber bands to wrap as few or as many pieces of white cloth over the ends of the aluminum light shades. The more sheets you put on, the softer the light will be. Most importantly have fun and be creative—photography is DIY by nature so don’t be afraid to adapt or expand on the concept!