How to get a blurry background in portraits
Shoot a 'professional-looking' portrait every time.
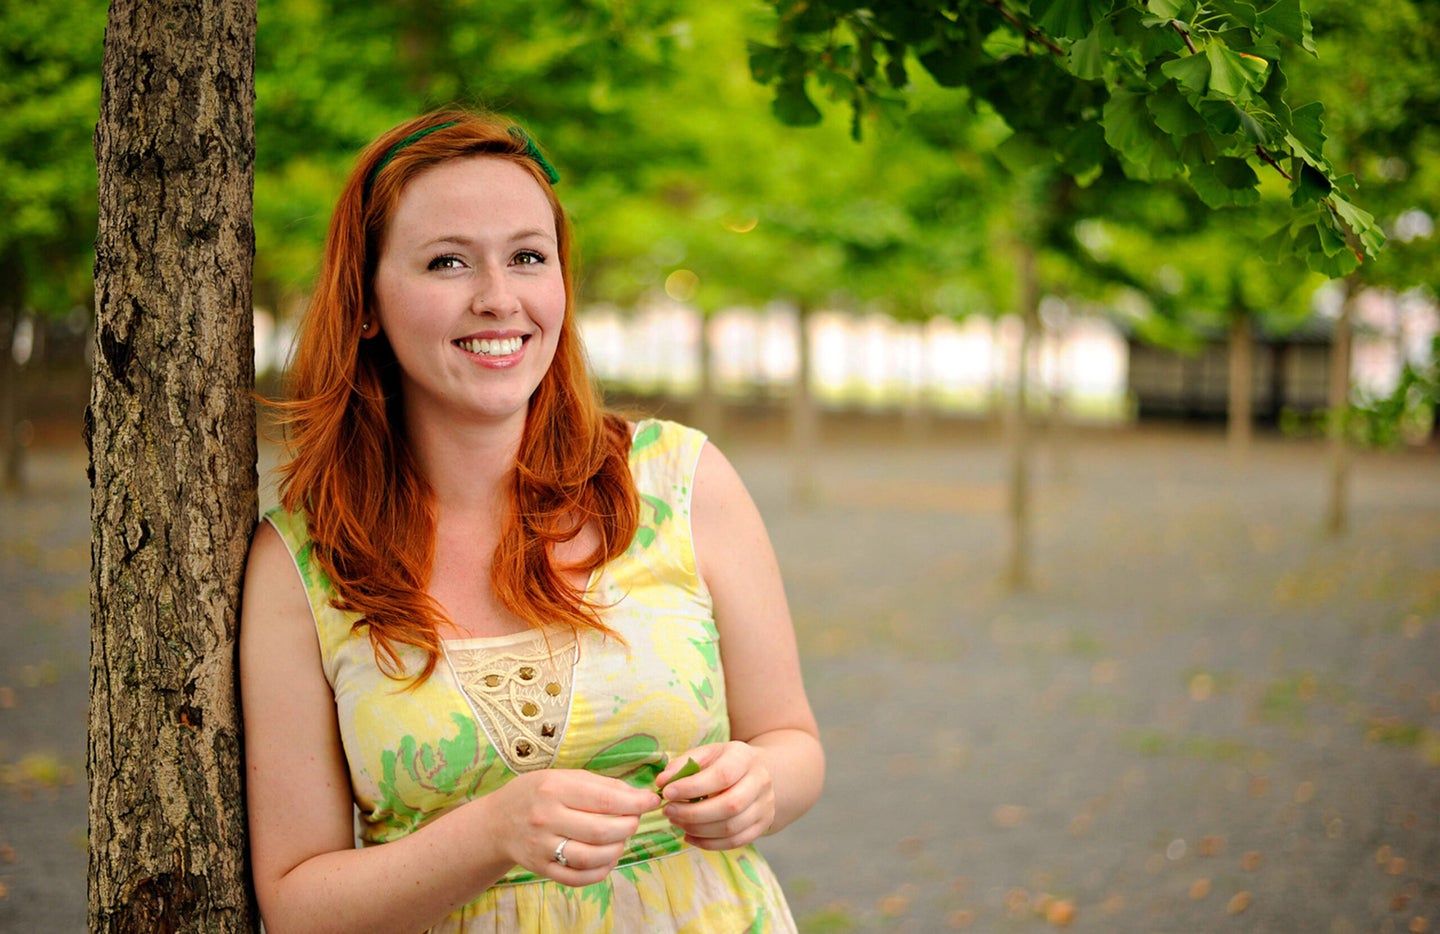
A blurry, out-of-focus background is often seen as a sign of a professional or high-quality portrait. While it’s certainly a bit of a simplistic take, it’s undeniable that portraits with a sharp subject and a soft, creamy background are popular, and a look that many photographers want to create. Here’s how.
What makes a background blurry
In photography, the “depth of field” of an image is the amount of it that’s in focus. Most smartphone snapshots and landscape photos have a large depth of field so (almost) everything looks clear and in focus. Portraits with a blurred background, though, have a really shallow depth of field; only the subject (or even a part of the subject like their face or eyes) is actually in focus.
The depth of field of an image is determined by three things:
- The aperture of the lens you’re using.
- The distance between you, your subject, and the background.
- The focal length of the lens you’re using.
Aperture and depth of field

All else being equal, the wider your lens’ aperture, the shallower the depth of field will be. The physics of this gets quite complicated fast, but the important thing to understand is that this holds true regardless of what lens or camera you’re using.
A wide aperture, like f/1.4 or f/2, will result in a noticeably shallower depth of field (i.e. a blurrier background) than a narrower aperture like f/8 or f/11. And very narrow apertures like f/16 or f/22 will result in nearly everything in an image being in focus. There are other tradeoffs that come with using a wide aperture (most lenses are sharpest stopped down a bit) but for a nice blurry background, the widest possible aperture is a good way to go.
Subject-background distance and depth of field
The further something is from the point of focus in an image, the more out of focus it will be. For portraits, this means the greater the distance between your subject and the background, the blurrier your background will appear.
The relative distance between you, your subject, and the background also matters here. The closer you are to your subject compared to the distance between them and the background, the shallower the depth of field will also appear to be.
Imagine taking a portrait of someone a few feet away with a wall behind them. If they’re leaning against the wall, it will be almost the same distance from the camera as they are, so it will probably appear pretty in focus. On the other hand, if they’re standing 20 feet in front of the wall, it’s going to be as out of focus as can be.
Focal length and depth of field

Related: An introduction to boudoir photography
Focal length doesn’t directly affect the depth of field of an image, however, it does affect the kind of images you can take. The longer the focal length of a lens, the more prominent the background will appear; when combined with a wide aperture and sufficient subject-background distance, you get a blurry background and in-focus subject. It’s not that you can’t get a blurry background with a wide-angle lens, but you have to stand very close to your subject which can create distortion and otherwise make for a weird-looking portrait.
Moderate telephoto lenses—between say, 50mm and 150mm on a full-frame camera—make it the easiest to manipulate the distance between you, your subject, and the background while getting a well-composed shot. This is why that focal range is so popular with portrait photographers.
How to get a soft background
Now that you understand what contributes to a shallow depth of field you should be starting to piece together how to get the effect you’re looking for. Let’s lay it all out, though.
First, choose a moderate telephoto lens with a wide aperture. A 50mm f/1.8 is ideal and can be picked up for most cameras for around $150. If you have a DSLR or mirrorless camera with a kit lens, you will get better results at 55mm (or longer if your lens has more reach) with the aperture set to f/5.6 than at 18mm with the aperture at f/3.5. (As with all things in photography, a shallow depth of field involves trade-offs.)
Put your camera in aperture priority mode and set the aperture as wide as it will go. Set your ISO to auto, since with the aperture wide open, getting a fast shutter speed for a good exposure won’t be a problem in most lighting conditions.
Stand close enough to your subject that you can take either a headshot (where just their face and shoulders are in the shot) or a half-body portrait. Position your subject so they’re at least as far from the background as you are from them. (While this isn’t a fixed rule, it works as a general guideline in most situations.) Get them to pose and take the shot.

As you play around with this technique you’ll notice that the background matters, even though it’s out of focus. Cool textures, like brickwork or leaves, make for nicer backgrounds than busy scenes, like a crowded street.
Can I get a blurry background with my smartphone?
Unfortunately, in most cases, it’s impossible to get a portrait like this with a smartphone without using a “portrait mode” which relies on computational photography to blur the background after the shot. The results from modern smartphones are getting really good, but it’s a totally different technique.
If you are trying to get this effect with your smartphone, some of the tips will still work though. For starters, position your subject so they’re as far from the background as possible. While your smartphone doesn’t use optics, it may use a depth sensor and/or machine learning to work out what part of your frame is your subject. The more they are separated from the background, the easier time your phone will have and the better the results you will get.
It’s also important to stand close enough to your subject to get a headshot, or at most, a half-body portrait. Again, we’re trying to maximize the chances that your smartphone will be able to clearly identify your subject and the background. The closer you are (and the further away the background is) the better.
Also, be sure to be mindful of branches, furniture, or anything else that is between you and your subject! They can throw off your smartphone and give you weird results.
