How to shoot better car photos
Take pride in your ride and make it shine, whether it's a Ford Probe or a Maserati Ghibli.
Many types of creative possibilities are available when photographing cars. You’re proud of your’s and what you may have done to it. But there are good ways and bad to show others the apples and oranges of your eyes. Follow our advice and you’ll be shooting better car photos in no time.
Car photography don’ts

Avoid parking lot lines
Avoid parking your car in a parking lot with the white lines peeking out from underneath. They tend to distract and take away from the vehicle’s natural beauty, especially when the car is from a classic era and is parked in a contemporary parking lot. Of course, there are exceptions to the rules, as in the case when there are striking graphics like big arrows or colorful grids, but generally, avoid stripes unless you like spending time doing post-shooting retouching.
Avoid busy backgrounds
Like distracting paint stripes, busy backgrounds can take away from the vehicle’s look. Remember, “the car is the star” and should be treated accordingly. Try shooting with a longer focal length above 120 mm and with a wider f-stop to minimize the depth of field. Of course, make sure your car is sharp from front to rear, but shoot wide enough so that the background sharpness falls off quickly.
Avoid poles growing out of your car’s roof
Just as you should avoid having a light pole, cellular tower, or a tree growing out of someone’s head, the same applies here. It may be unavoidable in certain situations but look around the entire scene before making the picture.

Avoid powerlines, too
This one is self-explanatory but easily forgotten. Always take a look around the car before taking the shot. If there are powerlines overhead, change your angle, the focal length of your lens, or any other trick that will eliminate the distractions in the background.
Try not to give it the Jimmy Durante effect
Jimmy Durante was one of America’s most popular entertainers from the 1920s to the 1970s. Sure, he’s an outdated reference, but he was also known for having a prominent proboscis, or in other words, a big nose. Using a wide-angle lens at an ultra-close distance may give you the same effect that many shooters used when photographing Durante. There are always exceptions to the rules that are ripe for being broken. A Tucker Torpedo with its centrally-located headlight is a prime example that just begs to be exaggerated in such a way!
Try not to photograph cars at a car show where they are bunched together
After years of attending hundreds of outdoor car shows, we’ve found that it is better to talk with the vehicle owner to make arrangements to photograph a car in a better location at another time. Sure, it’s a great idea to bring your camera, but realize that as tightly as they are parked together for display, great photo situations may not present themselves here. Instead, walk around, shoot for reference purposes and just enjoy the show.
Don’t show the treads
Unless you’re doing a comparison of the best tire treads for your off-road vehicle, it’s best to avoid photographing cars with the treads facing the camera. They are generally dirty, dull and occasionally filled with road grime. Instead, keep the tires straight or even turned slightly away, which presents a nice open face of the alloy rims to the camera.
Car photography dos
Use a polarizing filter
Sometimes reflections look good. For instance, when you are photographing a car with a large expanse of land to the side of the vehicle. But other times, you may find the vehicle serving as a large mirror to its surroundings. That’s where a polarizing filter comes in. Rotate it until the undesirable reflections disappear. Remember, though, as you walk around the car, you may need to rotate the filter again for each new position you shoot from.
Use strobes in daylight…if available/capable
Some vehicles need a little assistance to help bring out certain details. Many strobes offer built-in transmitters/receivers and can be operated off-camera, where the lighting angles become much more interesting. We have used as many as three strobes to light up a scene. And they aren’t just for nighttime either. There are many examples of strobe use in the middle of the day to open up the shadows of a vehicle.
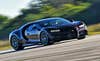
Make the engine a piece of art.

Related: Pro tips to take the best photos when trying to sell your car
Looking under the hood of many vehicles will show many pieces of what we’d call industrial art. Some of the latest examples include engines by Maserati, BMW and Mercedes-Benz. We can see that beauty is more than skin-deep through clever angling or even using a well-placed strobe.
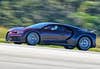
Photograph the interior as a million points of interest. The edge of the seats, carbon fiber trim, stitching, buttons, etc.
There are many points within the interior worthy of photography. The detail of a precision-knurled dial on the center console or the tactile beauty of open-pore wood trim and embroidered seat details are examples of worthy subjects inside the car.
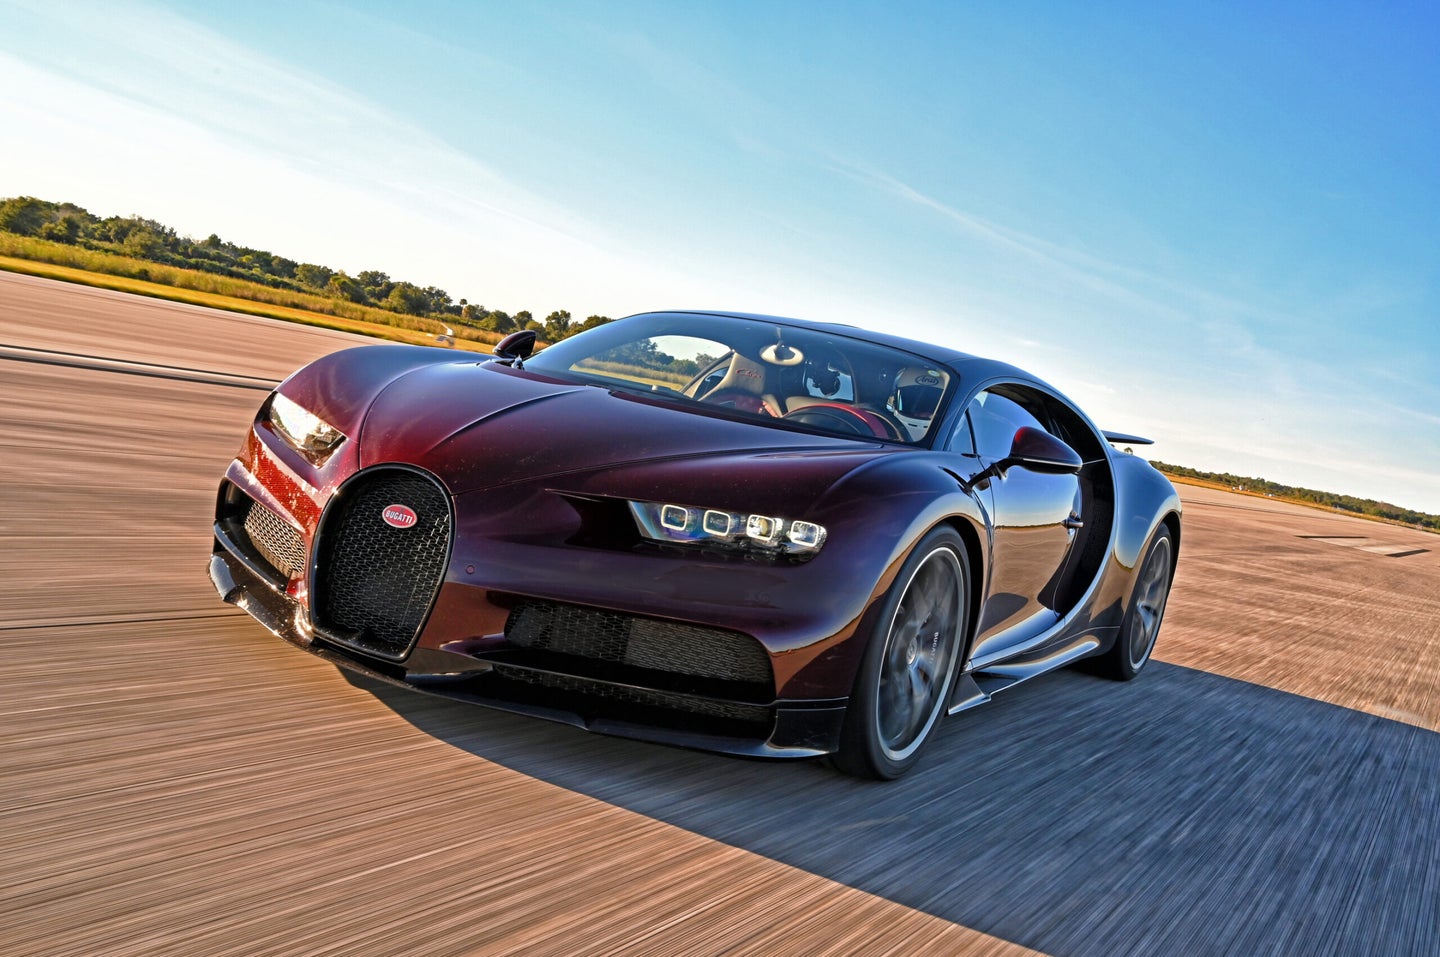
Plan a perfectly panned shot
Just as there is a “Sunny-16” rule, there are panning rules. The starting point is a shutter speed that’s in line with the speed that the subject car is moving. For example, if the car is moving at 40 mph, start with a shutter speed in the same neighborhood, like 1/40 sec. Shutter priority is a perfect setting for this type of shot, as it will automatically control the aperture once you have set the appropriate shutter speed. Practice if you like on a well-traveled street by picking up vehicles moving from your left to your right. Follow the car by twisting your body at the waist in a smooth motion. It will take a bit of practice, but eventually, your timing and movement will begin to sync with the cars resulting in smoothly panned shots.
These are the basic rules, but they can be broken for artistic effect. Setting an even slower shutter speed will blur things considerably but you may even love the results!
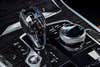
Tracking (Car-to-car Shots)
Another option, called tracking photos, allows you to blur the background while keeping the car razor sharp. Start with the same shutter speeds described in the Pan shot section, varying them for effect. You’ll also need a friend driving the camera platform vehicle (the vehicle you will be in) and another driving the subject car.
SUVs may work best because they offer two shooting points. The first is shooting out the side window, keeping your camera vehicle out of the shot. The other is by shooting out the rear of an SUV. A word about safety: The safest type is a three-row vehicle with you wearing a seatbelt in the third row. Otherwise, the use of a tethered safety harness is mandatory. These can be purchased through stores like Home Depot or Lowes.
Shoot past sunset
Just because the sun is done for the day doesn’t mean you should be, too. Some of our best photos have come from the reflections in the sky after the sun dips below the horizon. The effect is more pronounced on dark vehicles, although any color will do for an overall shot of a car.
Combine shots
Using a tripod-mounted camera, shoot a hero shot with a circular polarizer filter turned, so it removes reflections on the side of the vehicle. After you are sure you have that shot, turn the filter until reflections on the hood and front windshield are gone, all while making sure not to touch the tripod. Make that shot, too. Back at your computer, while in the editing platform of your choice, cut the hood and windshield portions of the second image and paste it into the shot of the overall car. Remember to feather the image for minimal artifacts.
It’s only the start of your automotive photography journey
These are by no means a definitive list of car shooting techniques. And they can be used for other types of photos as well. For example, the panning technique can be applied when dealing with motorcycles, bicycles, boats, trains, and even runners. Consider this a starting point for where your photography can take you. And along the way, remember to enjoy the ride.