How to use a trail camera for hunting
Here are some tips on setting up your trail camera for success.
Every hunting season, many hunters grab their trail camera and set up on a game trail in hopes of capturing glimpses of their next potential target. Using a trail camera can be highly rewarding, giving you insight into the animals that frequent a specific area. It can be the key to setting you up for a successful hunt. But, it can also be a very frustrating experience if the camera doesn’t capture anything useful. This guide aims to help mitigate your frustrations and aid in your pursuit of wild game.
Things to be aware of when using a trail camera for hunting
Before we jump into our how-to, it is essential to note that local laws will dictate the appropriate use of trail cameras in the pursuit of game. These laws vary from state to state. For example, some states make trail camera use during the hunting season illegal. In those locations, you can only use them for pre-season scouting. It is a good idea to check on rules and regulations pertaining to trail camera use for hunting before setting one up.
What to consider when purchasing a trail camera for hunting
When choosing your trail camera, features like battery life, image quality, and cellular capabilities will play a vital role in which one meets your needs. Trail cameras can vary wildly in price, so it’s important to know what you need from your trail camera before you make your purchase. Should you be looking for a budget option or cellular-specific camera, we have outlined some of the best options available.
How to set up your game camera for scouting and hunting
With your trail camera in hand, it may be tempting to just dump the camera right off of a game trail in hopes of observing all of the activity in that area. While this method may yield results, there are a few tips to keep in mind in order to achieve the best results. But first and foremost, if mounting your camera on public lands, you may want to consider purchasing a wire cable and lock to ensure your trail camera does not end up in the wrong backpack.
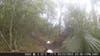
When deciding where to hang your camera, you’ll want to focus on areas that have lots of animal signs. At the very least, look for resources that they need, such as food and water sources. If you know of a hot spot, consider placing the camera there to see what is going on. Otherwise, look for things like bedded down grass, roughed up ground from scrapes, or heavily traveled game trails that serve as highways for the deer.
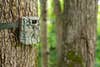
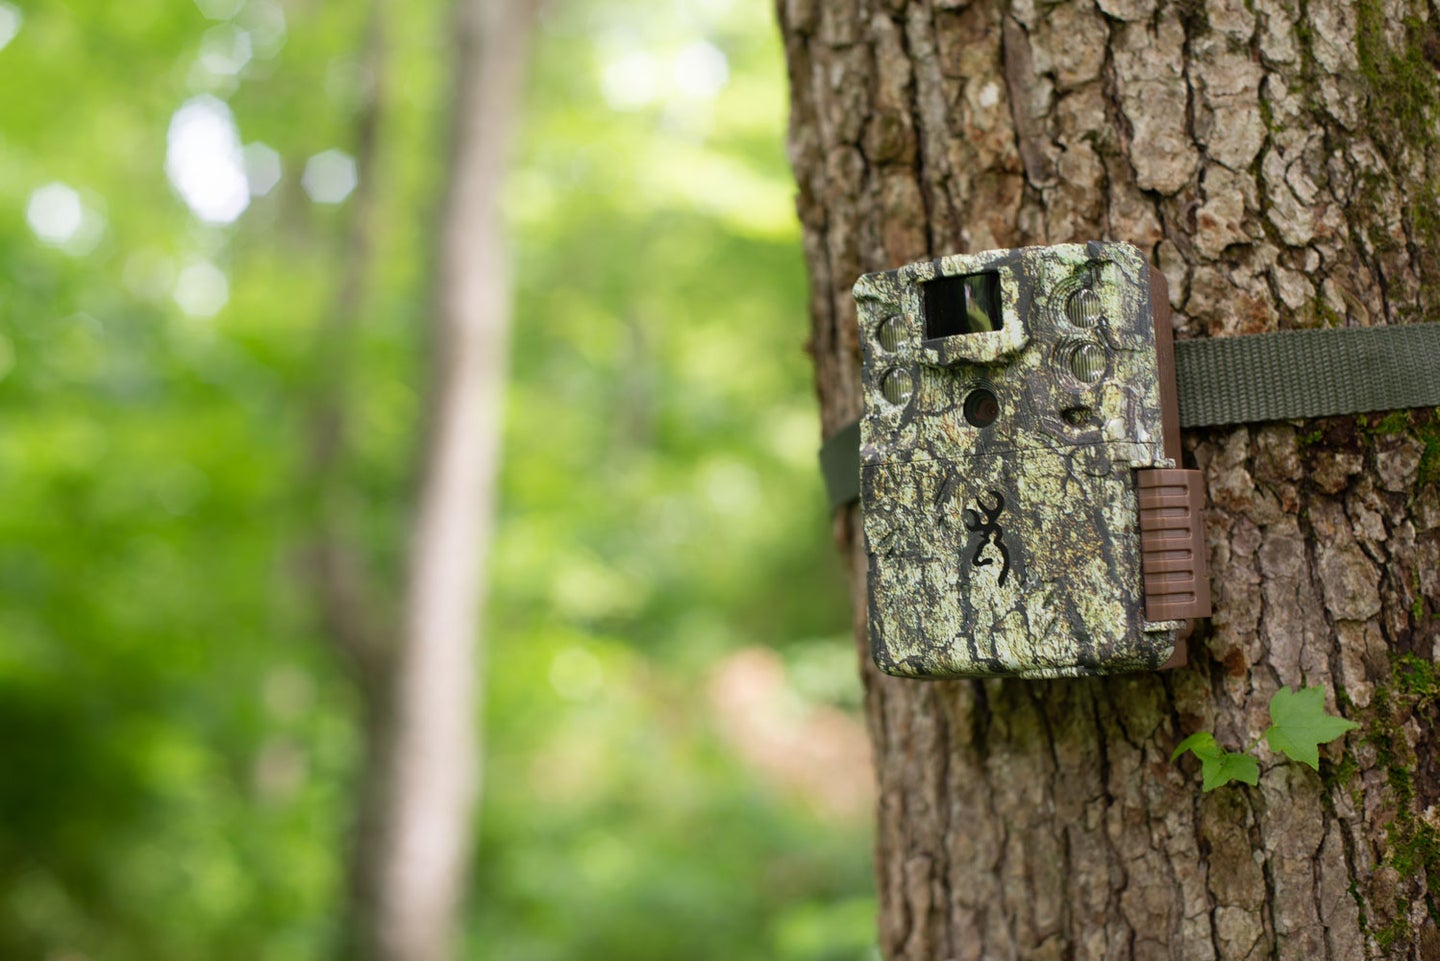
When mounting your camera, position is everything. Trail cameras aren’t exactly known for their ultra-wide viewing angle. Because of this, we recommend hanging your camera about four feet off the ground. We found this is the perfect height for capturing assets of most big game species. If you are unable or uncomfortable hanging your camera that low, try to find a position that allows you to hang your camera pointing downward. Trees grow with a natural taper to them, which can result in cameras pointed upwards when mounted flush to the trunk. So, getting the height right and tilting it down slightly will go a long way in capturing good, usable images. Otherwise, you may find your camera pointed upwards, so you better enjoy pictures of deer foreheads.
It’s worth noting that getting your camera positioning right is much easier with a cellular trail camera. It can upload a snapshot from the field so you can immediately see the camera’s viewing angle before leaving. It can be incredibly infuriating to hang your camera only to find out weeks later that adjustments were needed.
How to prepare for your hunt with the pictures from your trail cam
It’s important that your trail camera is a tool that finds its way into your scouting arsenal. This is especially true in states that don’t allow use during hunting season. A camera is your second pair of eyes in the field and will provide information that you wouldn’t otherwise get. Once you start looking at the images or videos of the wildlife that crossed your camera’s path, knowing what to do next is what will make your prep work worth it.
If you have a camera that captures video or even photo sequences, studying the animals’ behavior can provide clues on what to do come hunting time. Are the animals passing through between where they bed down, or is this a popular feeding location? With video, you can even determine the direction of travel. Obtaining this information early on gives you the edge to further examine the area for the best possible setups for your hunt.
Once you have some initial information, it may be beneficial to move the camera to further your insights. Adjusting the trail camera towards the direction of travel once you find a high-traffic area will also provide you with ample knowledge to track your target. It may also help you pick up on new patterns or notice different animals that frequent the area.
Final thoughts on hunting with a trail camera
Whether this is your first time using a trail camera or you are simply looking to up your game when it comes to these tools, if you keep these tips in mind, your next hunt could very well be your best one yet. First, choose an appropriate camera that meets your base needs, then consider additional desirable features if your budget allows.
Proper placement of your trail camera ensures that the images and video you capture best serve your hunting goals. Mount your camera in an area free from brush that could block the view. Or, mount it higher up and angled down towards the ground to get the best results. With images and video in hand, be mindful of animal behaviors which can give you clues vital to your next hunt. Hunting is one of the largest outdoor recreational sports and should be an enjoyable experience. But hunting often comes with a substantial expense. So, any tool you can use to give you an edge will help ensure you keep coming back for more.
FAQ
How do trail cameras work?
Trail cameras use a high-speed infrared sensor to activate the camera. While sitting in the field, they will go into standby mode in order to conserve battery life. The trail cam lies dormant until the environment in front of them changes, as sensed by the infrared sensor. The sensor then triggers the camera to take images or videos. Since infrared is based largely on heat signatures, any drastic changes in temperature in the environment can trigger the camera. This can quickly burn through data, storage, and batteries. For this reason, avoid hanging your trail camera around moving water or an area where pets and people may frequently travel.
How to set up a trail camera?
While each manufacturer is different, each trail camera is relatively the same. Insert batteries and storage medium before you head out into the field so you can check your device’s functions. If all looks well, take your camera to the location you want to cover. When hanging your camera, opt for a position around four feet off the ground. If you want to hang your camera higher, be sure to angle the camera down towards the ground to get the best field of view.
How much are trail cameras?
Trail cameras vary wildly in price, from just under $100 to $300 or more. For budget-minded people, there are plenty of feature-rich options if you are looking for the best trail camera under $100.
What size SD card for trail cameras?
The larger the SD card, the more images and video you can store. If you are simply capturing images of a location, a 32GB SD card should be more than enough space to cover a well-trafficked area for 1 to 2 months. However, you may need a larger SD card if you also plan to capture videos.