12 tips for photographers curious about DSLR video
Diving into video can confound even experienced still shooters; here are 12 tips to help you make the transition with ease.
Motion can flummox even the most experienced still shooters. To get you started making great video with a DSLR or ILC, here are some essentials. Grasp them and you’ll soon film like a pro.
Dan Bracaglia
Plan your shoot
Making a video people want to watch starts before you pick up the camera. “Storyboarding, shot-listing, and conceptualizing are ultimately what sets good motion work apart,” says photographer-turned-director Vincent Laforet. While you don’t need Hollywood-style storyboards to shoot a birthday party, planning your shots in advance will make editing simpler.
Film like a photographer
When you compose in video, many of the usual photography rules apply. Horizons should be straight and backgrounds uncluttered—and you’ll need to get it right in the camera, as you won’t have enough pixels to crop. Plus, since you probably won’t be shooting RAW, you’ll have less leeway with exposure and white balance.
And don’t forget the B-roll. When you photograph an event, you always shoot details to set the scene; in video, this is called B-roll, and it gives you leeway when you edit. “If possible, have at least one static master shot and then a bunch of details,” says Vu Bui of The Bui Brothers cinematography team. “If you’re shooting live music, you can have a camera that just shoots the musicians’ feet. You can cut to that at any point in the song.”
If you have just one DSLR or ILC, his brother Lan Bui suggests using it for the creative shots and shooting the static master with a compact or even a phone. “You can surprise a lot of people like that. It looks really good,” he says.
Consider the screen on which you’ll show your final video
In the age of cathode-tube TV sets, the boxy 4:3 aspect ratio was common in video cameras. But today’s widescreen monitors and HDTVs demand a 16:9 picture to avoid letterboxing; get this ratio with either 1920×1080 or 1280×720 HD resolutions. If you do want to shoot in 4:3, the HDV standard 1440×1080 gives you plenty of resolution in a taller format. Not all cameras offer this, but the Panasonic Lumix GH3 and action cameras such as the GoPro series do.
Pick the right shutter speed
In still photography, a fast shutter freezes action. But with video you need a little motion blur to help each frame blend seamlessly into the next. As a general rule, a shutter speed roughly double your frame rate will produce a pleasing look. So, if you’re shooting at 30 fps, 1/60 sec should be safe: Slower than that, things start to look a little sloppy, but go much faster and the footage will look jittery and unnatural. This naturally limits your options for exposure and depth of field in bright light.
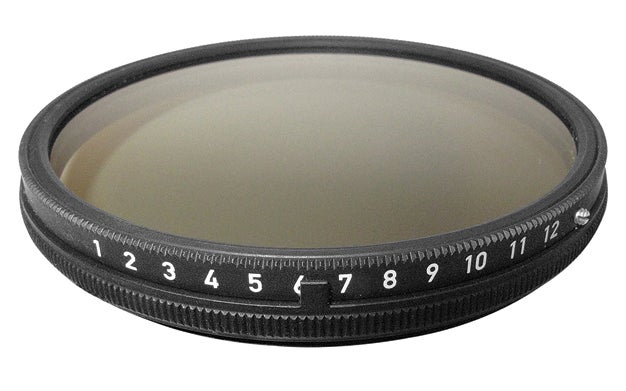
To reduce the amount of light entering the camera without changing the look of the image, use neutral-density filters. If you can afford it, go for a variable ND filter; fixed ND filters are less expensive, but you’ll need a few of them to be able to adjust the density.
Dan Bracaglia
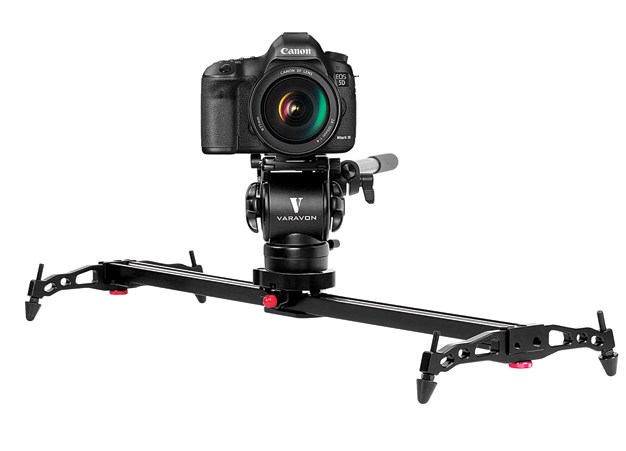
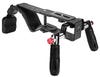
Move a mounted camera.
Dan Bracaglia
Pan and tilt shots are typically done while the camera is on a tripod (“on sticks” in videospeak). Panning involves rotating it from side to side; tilting goes up and down. The speed at which you do this can make a big difference: A slow pan can build suspense, while a quick move can surprise the viewer.But move too quickly and the shot can become uncomfortable to watch. Tracking shots involve moving the entire camera either forward and backward or from side to side. For the smoothest motion, use a slider, a set of rails along which the camera can glide.
“Moving the camera can add interest to a scene, especially if everything in the frame is static,” says Atlanta-based wedding shooter Todd Reichman. “And when you move the camera, you should always try to reveal something interesting, rather than hiding it.”
Pick a frame rate
Your camera most likely offers at least three frame rates: The classic 24 frames per second will give your footage a cinematic air, 30 fps will look like broadcast TV, and 60 fps can be viewed at normal speed or switched to half-speed for slow motion. The faster the frame rate, the slower you can play your video without introducing jitters.
Many shooters prefer 24 fps for its look, and fewer frames also means smaller file sizes and quicker rendering while editing. Try both 24 and 30 fps, then pick one and stick with it for each project. Switching can get ugly—visually, and in editing.
Work your zoom
While many big-time video shooters prefer prime lenses, zooms offer more versatility, letting you move quickly from a tight to a wide shot. It also allows some dramatic visual tricks.
For instance, try walking toward your subject while zooming wider—as you move to a shorter focal length, the background will look as if it’s retreating while the subject stays relatively stationary.
Focus manually
In stills, your subject needs to be in focus only at the moment the shutter fires, but with motion you need to keep things sharp continually. While autofocus in video mode is improving, manual focus remains valuable. An LCD magnifier, such as Hoodman’s Hoodloupe, or an external monitor can help.
So can setting a small aperture, since greater depth of field helps keep your subject sharp as the camera distance changes. At a wide aperture, keep both camera and subject as still as possible.
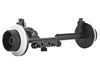
Next, you can try advanced techniques such as rack focusing, in which an object starts out blurry, then shifts into sharp focus. To help “pull” focus accurately, some shooters rely on a device called a follow focus—a set of gears connected to a knob that allows you to turn the focus ring on the lens more smoothly than you could by hand.
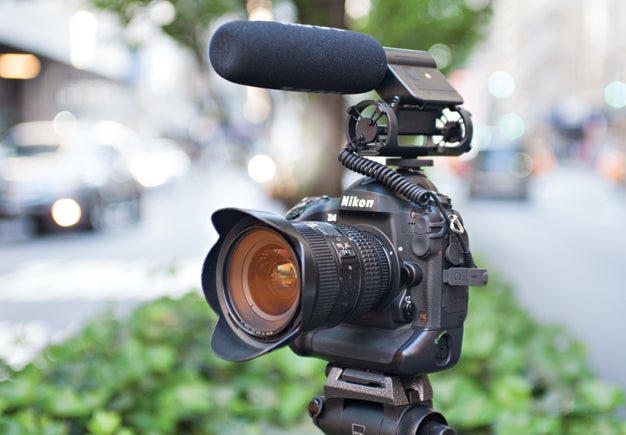
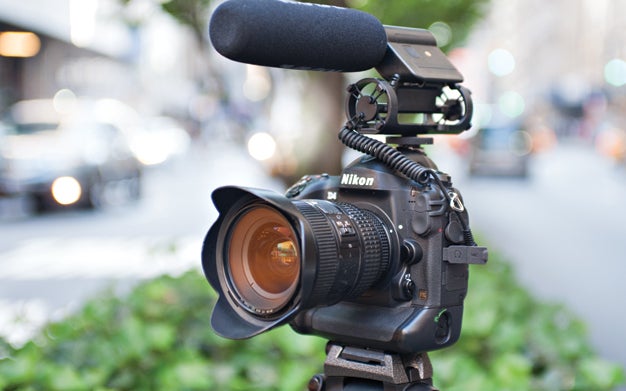
Invest in audio
Your camera captures stunning images out of the box. But sound? Not so much. “If you have a beautiful video but garbage sound from your camera’s microphone, no one is going to want to watch it,” says Vu Bui. “Get the best audio recorder you can.”
Handheld recorders such as the Zoom H4N record stereo audio to memory cards and excel when you’re shooting events. Lavalier mics attach directly to a person for voice recording—ideal for interviews. And when you’re shooting on the fly, try a shotgun mic, which can mount to your camera’s hot-shoe to record directional audio.
“Place any microphone as close to the source of the sound as possible,” says Lan Bui. “And don’t sacrifice audio quality just to get a slightly better-looking shot.”
Understand the Codec
The term codec, a mashup of “compression” and “decompression,” refers to the way your camera saves video footage. Many DSLRs use the H.264/MPEG-4 AVC codec with an MOV container. With this combo, you should be able to use modern video editing software without converting to another file format. Sony and Panasonic use the AVCHD format, which is more efficient in terms of storage space and image quality, but it uses a less common structure, so it can be more difficult to play back and edit. Many editing programs come with presets to optimize your file for different venues—use them. And sites such as YouTube and Vimeo offer guides for getting the best results, so refer to those before you upload.
Learn the visual language of editing
“Each shot needs to contribute to the story and be visually interesting,” says Reichman. “And if it’s not visually interesting, it needs to be short.” But not too short—don’t let intrusive cuts take the viewer out of the scene.
How? One way is to avoid jump cuts, showing the same subject from a slightly different angle. A rule of thumb: The camera should move at least 30 degrees between two adjacent shots of the same subject. You can also cut to B-roll to break up the shots. Another common rule is to cut while your subject is in motion, which helps make the cut less obvious.
Fortunately, the homework required for learning the rules can be fun. “Try to watch movies and television while paying attention,” says commercial photographer and cinematographer Cory Rich. You’ll soon discern the difference between a good cut and a bad one—and even come away inspired.
Master your software
Chances are your computer already has a basic video editor, such as iMovie on a Mac or Windows Movie Maker on a PC. From there, step up to a consumer application such as Adobe’s Premiere Elements, or just jump straight to Premiere CC or Apple’s Final Cut Pro X. Download the free trials to see which one suits your workflow. Once you know the software inside and out, cutting together your movies will be much faster.
