Software Workshop: Black and White Basics with Nik’s Silver Efex Pro 2
Good b/w can be surprisingly hard to do with Photoshop. A plug-in can help
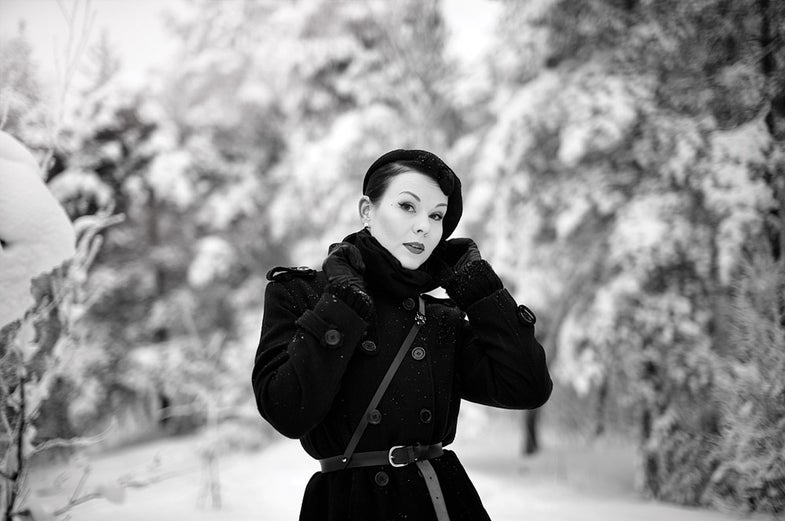

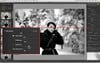
Photo: Mikko Reinikainen, mikkoreinikainen.fi
If you read our monthly Fix It Fast department you know how much we love Nik’s Silver Efex Pro 2 plug-in. It is simply the fastest way we know to create really beautiful black-and-white photographs from color image files.
But while it’s easy to make conversions once you get the hang of the software, Silver Efex’s tool names and selective adjustment controls aren’t necessarily intuitive to a new user. And if you’ve never used a plug-in before, the way it works can be confusing at first.
A plug-in acts as a program within a program, so to work with Silver Efex, you need to open it within one of its supported applications, such as Adobe Photoshop or Apple Aperture. In Photoshop, after you’ve made your adjustments, Silver Efex closes and can output your b&w conversion to a new layer. In RAW workflow programs such as Aperture or Adobe Photoshop Lightroom, Silver Efex can bring your converted file back in as a TIFF.
Here’s an intro to working with Silver Efex that will show you how and when to use some of its unusual features. You will quickly see how different (and more efficient) it is to make a b&w conversion in this plug-in compared with using one of Photoshop’s tools.
Step 1
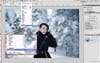
Open the image that you want to convert in Photoshop. This one, from Finnish photographer Mikko Reinikainen, is striking as a color photo, but its vintage style makes it a good candidate for the black-and-white treatment.** Go to Filter > Nik Software > Silver Efex Pro 2 to start working in the plug-in**. As you adjust your image, Photoshop remains running in the background.
Step 2
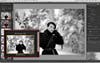
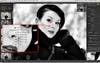
Silver Efex Pro starts you off with a neutral conversion—you’ll notice that all of the adjustment sliders on the right side of the screen are set at zero. From here, you can select one of the presets on the left as a starting point (each one is adjustable) or evaluate your image and begin adjusting manually.** If you don’t like any of the presets that you try, click the first one, Neutral, to get back to the default conversion**.
Step 3
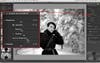
Each of the Global Adjustments on the right side of the screen have sub-adjustments. Click the triangle next to each to fine-tune. Begin with Brightness; Dynamic Brightness allows you to brighten or darken your image while maintaining overall contrast range. Move the sliders to adjust the brightness levels of your highlights, midtones, and shadows.
Step 4
Next, adjust the contrast. Use the Amplify Whites and Amplify Blacks sliders to isolate these tones, calculated according to the tonality in each section of the image. Bring up the Amplify Blacks slider to darken the shadows without turning the snow in the background gray, and turn up Amplify Whites to bring back some of the bright details in her coat. Now head to the Structure sliders, which can find objects and increase contrast within them, adding apparent detail. Move the Shadows slider to increase structure, but leave midtone and highlight structure alone—increasing it in those tones would make this portrait unflattering.
Step 5
Unlike in Photoshop proper, you don’t need to create masks to do selective adjustments; using Control Points, the program finds the edges for you. This model’s skin could use just a bit of brightening, so zoom in on her face, then click to add a control point to her skin, being careful not to apply it to any area with makeup. Use the top slider to decrease the adjustment circle so it encircles just her face; the app will use its tones to find its edges. Now move the Brightness slider to increase the brightness of her skin.