White Balancing Act
What you don't know about WB can kill your images
Budding photographers usually get the same sage advice: Learn to use your manual controls — shutter speed, aperture, focus, and meter pattern — for the desired effect in each individual scene. Still, most photographers leave one critical setting on automatic: white balance. That’s a mistake, because this control can have a profound effect on your photos — even monochrome images.
To understand white balance, first consider that light comes in different colors. A candle or wood flame will cast shades of warm orange and amber; fluorescent lights tend toward a cooler, sometimes even blue, tint. A consistent shift in color throughout the whole image is called a color cast.
The standard measure for the color of a light source is color temperature, measured in degrees Kelvin. It may seem confusing, but lower readings are associated with warmer tones while higher readings indicate cooler ones.
Without a camera, our brains adjust white balance. If we know something to be white, we’ll perceive it as white even when the color of the light changes. But a camera needs to be told what to do.
The white balance (WB) control on a digital camera allows you to compensate for differences in ambient color temperature. It adjusts the balance of red, green, and blue in the image so that neutral tones (white and gray) remain neutral, whether you’re in a hall lit by Tiki torches or in the depths of a shaded forest — or even underwater, where overall color can be very cool and blue.
Digital cameras offer WB presets for specific conditions (Daylight, Cloudy, Tungsten, etc.), as well as an Auto mode, which tries to determine and compensate for color temperature. For more accurate balancing, most DSLRs offer a custom setting, which lets you take a reference shot to base the correction on. Some cameras and most RAW converters allow even more control by letting you directly set the color temperature in degrees Kelvin.
In nature photography we generally rely on the sun as our primary light source. Color temperature outdoors changes throughout the day and may be affected by such factors as the position of the sun, the presence of clouds or haze, whether you’re in direct light or shade, and whether the light is reflected off something that absorbs parts of the spectrum.
The good news is that color accuracy is not as critical in nature photography as it may be for some types of commercial work in which, for example, a product’s image must match its color exactly or a bride’s dress must be perfectly white.
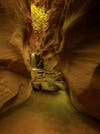
On a given day, color temperature may range from very low (yellow/orange) at sunrise, through neutral around midday, and up to very high (blue) shortly after sunset. Even at the same time of day, it may vary widely between direct sunlight and open shade, reflecting the blue sky.
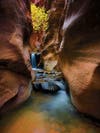
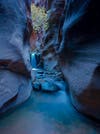
At a given WB preset, these differences will produce casts in light that do not match your preset. For instance, setting your camera to Tungsten and photographing a sunlit scene will result in a deep blue cast, since the camera assumes the color temperature is much lower than it really is — yellowish — and counters it by adding blue. Even with a neutral setting such as Daylight, you’ll get color casts under heavy cloud cover, in deep shade, or at sunrise or sunset.
Keep reading for four tips on using WB to your advantage in nature shots.
USING WB TO YOUR ADVANTAGE IN NATURE SHOTS
1. Avoid auto white balance.
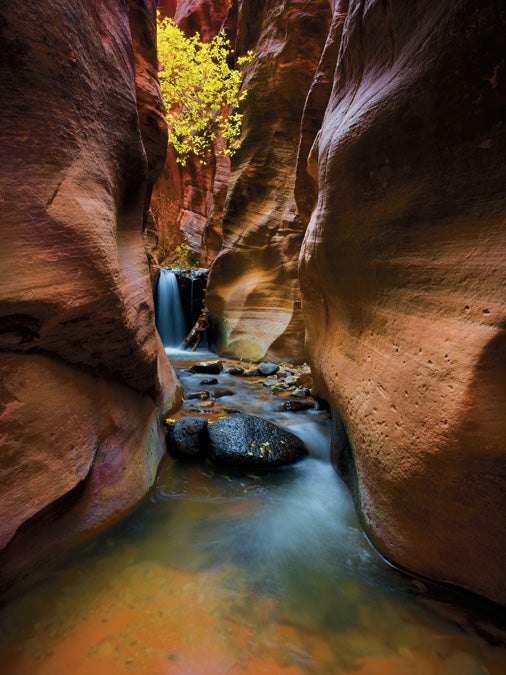
You may think you should eliminate color casts to maintain a scene’s natural look, but this isn’t always true. Color can be used very effectively to create or enhance mood. Imagine the cool blue of a clear winter morning, the warmth of the first rays of sunlight at dawn, or the rose and lavender hues in the sky after sunset.
Set to Auto WB, your camera may eliminate some or all of these desirable effects, resulting in a dull, lifeless image. That’s why it’s always best to adjust the WB setting individually for every scene rather than let the camera make the decision for you.
2. Shoot RAW and adjust WB later.
Differences in color temperature can be too subtle to judge accurately on your camera’s little LCD. It’s much better to decide on the correct WB setting while viewing the image on a large, color-calibrated monitor.
Capturing images in RAW mode, rather than JPEG, has the added advantage of letting you choose a WB setting while processing your images at home. This way you don’t have to commit to one in the field with limited ability to see the effect.
3. Use histograms for the best detail.
The vast majority of digital cameras use separate red, green, and blue sensor readings to determine the color and luminance of each pixel in the image. The differences between pixels are what make up image detail.
As each sensor has a limited range of values, sometimes one or more of the channels (red, green, or blue) will become saturated. When you are photographing a bright red flower, for example, all the red pixels may return their maximum value, and conversely all blue sensors may return a zero reading if no measurable amount of blue exists. This is called clipping, and these areas will contain no detail in the clipped channel. If all three channels are clipped, some areas in the image will have no detail at all — think of a blown-out white sky.
By looking at the histograms for each color, you can clearly see which channels hold detail and which are clipped — these will have the graph extending past the far left or far right edge of the histogram.
The WB setting determines the way readings from the three channels are blended together to produce the final picture. For example, when set to Cloudy (or to a high color temperature), the camera will assign greater weight to readings from the red and green channels, and reduce the weight of the blue channel in order to warm up the palette. By carefully adjusting WB, you can vary the blending ratios so that you take more data from channels containing image detail and less from ones that are clipped.
The obvious downside: You may gain detail but end up with unnatural-looking colors. But as long as the color casts are subtle, they can generally be corrected in Adobe Photoshop or other image-editing programs to restore the original hues without loss of detail.
4. Blend multiple WB settings.
Much like exposure compensation, WB is a global control, affecting the entire image. But in some situations, you may want to apply it selectively. This is not much different from using a split neutral-density filter to make up for differences in brightness, or blending multiple bracketed exposures to achieve high dynamic range.
Similarly, you can blend separate versions of the same image, converted from RAW using different WB settings. The technique is especially useful in images with strong blues and yellows — a given WB setting may significantly alter one or the other. Once you have made separate conversions from your RAW file, you can blend these images precisely using Layers in Photoshop.
Finally, and most important, don’t be afraid to experiment. A modern DSLR offers a wealth of creative controls and myriad ways to express your vision. The more you experiment, the more you’ll discover.
white-balance-001
white-balance-002

white-balance-003
white-balance-004

white-balance-005

white-balance-006