How-To Edit JPEG Files
Adjustment layers and masks let you fine-tune your JPEGs to make the most of your photos.
So you didn’t shoot RAW, and your photo’s got some problem areas. If you can’t take the picture again, you can still fix it. By doing repairs on Adjustment Layers, users of Adobe Photoshop and Photoshop Elements can use masks to designate which areas to fix and which to leave alone. Sound hard? It’s not.
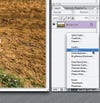
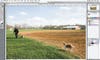
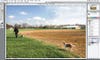
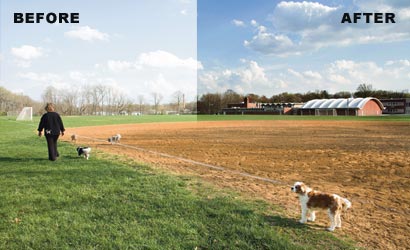
In the original image, the blacks and the shadows are fine, but the sky and the foreground are washed out. Since they’re not equally bright, you can’t fix all of them with one global correction. The dogs could use a bit more contrast, too.
Click here to launch the step-by-step instructions on editing JPEG files.
Quick tip
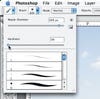
Want to reuse a mask? Hold down Alt (Option), then click on the mask you want to copy (your image will show your mask in b&w). Hit Ctrl (Command) + A to select it, then Ctrl (Command) + C to copy. Click the mask on the layer you want to put it on, and hit Ctrl (Command) + V to paste. Click on the layer thumbnail to show your image again.