Get Your Old Slides and Negatives onto a Scanner!
An editorial from Popular Photography & Imaging editor-in-chief John Owens.
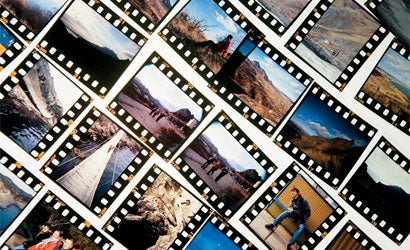
I know, you keep meaning to digitize those boxes, sleeves, and envelopes full of negatives and chromes. But somehow it doesn’t get done. You’ve checked out companies online that will scan them for you, and even fantasized that a slide duplicator on your digital SLR will do a high-quality job. The truth, however, is that you’ll probably be happiest if you scan them yourself.
If you’re serious about doing it right, invest in a new book by Munich-based photographer Sascha Steinhoff. Scanning Negatives and Slides (Rocky Nook, 2007; $45) is a 1.6-pound volume, with 240 pages of photos and step-by-step instructions. Follow it, and you’ll be a master digitizer and scanned-file Adobe Photoshop jockey. The trouble is, few of us want to make that commitment.
Recognizing that most of us want a shortcut on the long road to digitizing our film, I asked Steinhoff what the interested — but not fully committed — digitizer must know. Here are his top half-dozen tips:
1. Curb your enthusiasm.
Think you can do your whole archive in high-quality scans? Think again. Even a fast film scanner takes 20 seconds for each frame, plus loading, unloading, and image-editing time. I suggest choosing only the best pictures and scanning them carefully.
2. Film scanners rock!
Dedicated film scanners are best; the Nikon Coolscan V ED ($550, street) is a great choice. Also, the Nikon Scan software is superb. Got lots of film larger than 35mm format, and don’t want to spend $1,850 for the Coolscan 9000 ED? Some flatbed scanners are reasonable runners-up.
3. Flatbed basics.
While the gap is closing between flatbed and film scanners, don’t go by resolution numbers alone. They can be misleading. Just because a flatbed is rated to 4800 dpi doesn’t mean it will achieve that with film. I’ve seen “4800 dpi” units scan a transparency at no better than 1700 dpi, which means you can’t print the file much bigger than 5×7 inches at 300 dpi.
Here are two good flatbeds. Epson’s Perfection V700 Photo ($500, street) has two lenses — one for prints and documents, another for film. Microtek’s ScanMaker i900 ($430, street) scans film in a separate tray under the flatbed glass, so there’s no glass between film and sensor — just like on a film scanner.
4. Scratch that.
Software-based scratch-and-dust removal systems are okay, but I prefer a scanner with a hardware-based approach, such as Canon’s FARE or Kodak’s Digital ICE. These use an infrared scan to find problems and software to fix them. Due to the silver content of the film, ICE and FARE don’t work well with traditional b&w or Kodachrome film. (The Epson, Microtek, and Nikon units mentioned here have ICE.) The Coolscan 9000 ED does have a version of ICE that can handle Kodachrome to some degree.
5. Out, damn curl!
Don’t count on the scanner’s film holder to flatten your film. It won’t. Instead, wrap your curled negatives and store them between the pages of a heavy book. In time they’ll flatten.
6. Restrain your resolution.
Don’t scan every image at 4000 dpi or higher — you’ll get monster-sized files (130 megabytes for a single 35mm frame!) that you won’t need except for poster-sized prints. Scanning at 2000 dpi is enough for standard scans and means less grain.
Ask John
Q. Are there any nonprofit groups specializing in teaching disadvantaged kids photography?
A. The most famous is Kids with Cameras (www.kids-with-cameras.org). Founded by Zana Briski, it grew out of her work in Calcutta and is the subject of the Oscar-winning documentary Born Into Brothels. This program conducts workshops around the world. For details on other groups, see our Web exclusive article Photography for a Good Cause.