How-To-Make-Dreamy-Images-Using-Blur-Step-1-The
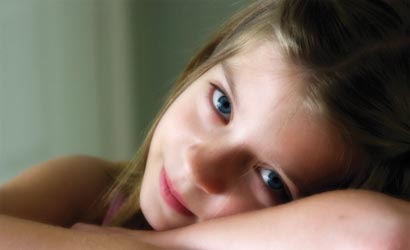
The first thing to do is find a picture that could stand a little prettying up. When you’ve got one open, duplicate the background layer: Go to Layer > Duplicate Layer and click OK.
How-To-Make-Dreamy-Images-Using-Blur-Step-2-Next
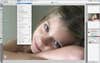
Next, change the Blend mode of your duplicate layer to Multiply. You can switch it by grabbing the pull-down menu in the upper-left corner of your Layers palette (initially, it’s set to Normal).
How-To-Make-Dreamy-Images-Using-Blur-Step-3-Don
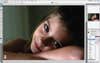
Don’t worry if your image looks much too dark — we’ll fix that later. Now, go to Filter > Blur > Gaussian Blur.
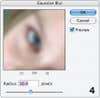
How-To-Make-Dreamy-Images-Using-Blur-Step-4-This
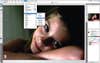
This is a fairly big file, so go for a Radius of 16.4 pixels. Images that have lower resolutions require less blur; if you add too much, you’ll lose the effect.
How-To-Make-Dreamy-Images-Using-Blur-Step-8-The
The key to adding saturation is subtlety, so don’t go overboard! Gently drag the saturation slider to the right. In this case, 8 is enough.
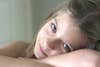
How-To-Make-Dreamy-Images-Using-Blur-Before
How-To Make Dreamy Images Using Blur*Before*
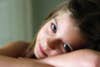
How-To-Make-Dreamy-Images-Using-Blur-After
How-To Make Dreamy Images Using Blur*After*