The farther the source, the harder the light
2. The closer the light source, the softer the light. The farther the source, the harder the light. This stands to reason: Move a light closer, and you make it bigger—that is, broader—in relation to your subject. Move it farther away, and you make it relatively smaller, and therefore more narrow. Think about the sun, which is something like 109 times the diameter of the earth—pretty broad! But, at 93 million miles away, it takes up a very small portion of the sky and hence casts very hard light when falling directly on a subject. Tip: When photographing people indoors by available light, move lamps closer to them or vice versa for more flattering light.
Diffusion scatters light
3. Diffusion scatters light, essentially making the light source broader and therefore softer. When clouds drift in front of the sun, shadows get less distinct. Add fog, and the shadows disappear. Clouds, overcast skies, and fog act as diffusion—something that scatters the light in many directions. On overcast or foggy days, the entire sky, in effect, becomes a single very broad light source—nature’s softbox. Tip: Materials such as translucent plastic or white fabric can be used to diffuse a harsh light source. You can place a diffuser in front of an artiflcial light, such as a strobe. Or, if you’re in bright sun, use a light tent or white scrim to soften the light falling on your subject.
Bouncing light acts as diffusion
4. Bouncing light acts as diffusion. Aim a narrow light source at a broad, matte surface—such as a wall, ceiling, or matte refiector—and it not only refiects the light but also diffuses it by scattering it over a wider area. Use a shiny refiector, though, and the light will stay fairly narrow on the bounce. The most extreme type of shiny refiector—a mirror—will keep the light focused pretty much as narrowly in the refiection. Tip: Crumple a big piece of aluminum foil, spread in out again, and wrap it around a piece of cardboard, shiny side out. It makes a good reflector that’s not quite as soft in effect as a matte white surface—great for adding sparkly highlights.
The farther the light source, the more it falls off
5. The farther the light source, the more it falls off— gets dimmer on your subject. The rule says that light falls off as the square of the distance. That sounds complicated, but isn’t really. If you move a light twice as far from your subject, you end up with only one-quarter of the light on the subject. In other words, light gets dim fast when you move it away— something to keep in mind if you’re moving your lights or your subject to change the quality of the light. Also remember that bouncing light—even into a shiny reflector that keeps light directional— adds to the distance it travels. Tip: Set your camera’s flash (pop-up or hot-shoe) to fill flash for outdoor portraits on harshly lit days. This will lighten shadows on your subject’s face but won’t affect the background exposure—it will fall off by then.
Light falloff can be used to vary the relationship
6. Light falloff can be used to vary the relationship between the light on your subject and your background. If you place a light close to your subject, the falloff from the subject to the background will be more pronounced. Move the light farther from your subject, and the background will be relatively brighter. The same holds true for sidelighting: With a light close to the side of your subject, the falloff of light across the frame will be more pronounced than if the light is farther away. Tip: If your subject is frontlit by windowlight, keep the person close to the window to make the room’s back wall fall off in darkness. If you want some illumination on the wall, though, move the person back closer to it and away from the window.
Frontlighting de-emphasizes texture
7. Frontlighting de-emphasizes texture; lighting from the side, above, or below emphasizes it. A portraitist may want to keep the light source close to the axis of the lens to suppress skin wrinkles, while a landscapist may want sidelighting to emphasize the texture of rocks, sand, and foliage. Generally, the greater the angle at which the light is positioned to the subject, the more texture is revealed. Tip: To retain detail in your fluffy pet’s fur, position the light source somewhat to the side rather than straight on.
Shadows create volume
8. Shadows create volume. That’s how photographers describe threedimensionality, the sense of seeing an image as an object in space, not projected on a flat surface. Again, lighting from the side, above, or below, by casting deeper and longer shadows, creates the sense of volume. Still-life, product, and landscape photographers use angular lighting for this reason. Tip: Try “Hollywood lighting” for a dramatic portrait. Position a light high above and slightly to the side of your subject, angled down, but not so much that the shadow of the nose falls more than midway down the upper lip.
Backlight can be used as highly diffused lighting
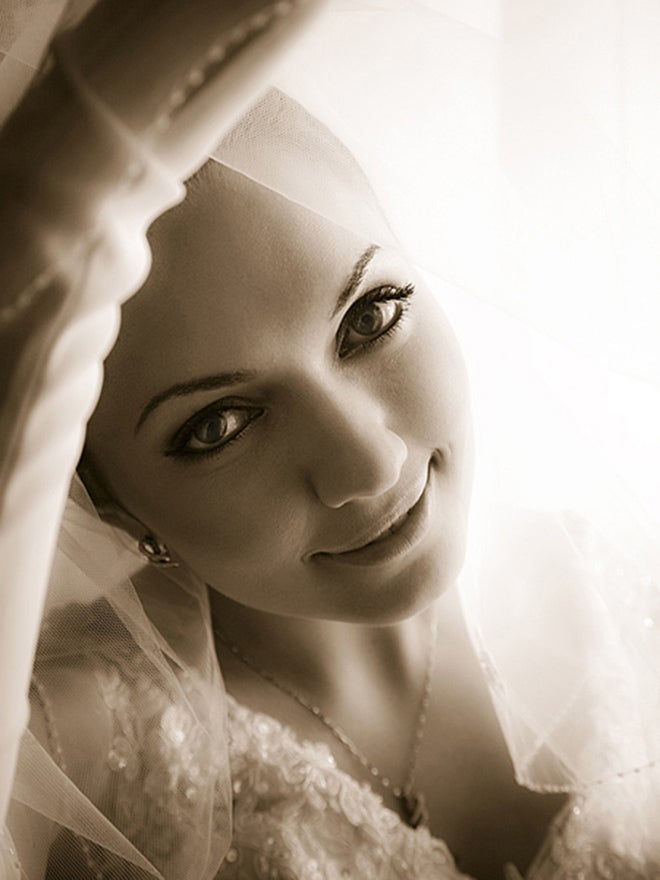
9. Backlight can be used as highly diffused lighting. Very few subjects are totally backlit, that is, in pure silhouette, with no light at all falling from the front. A person with his back to a bright window will have light reflected from an opposite wall falling on him. Someone standing outside with her back to bright sunlight will have light falling on her from the open sky in front of her. In either case, you’ll need to increase exposure to record the light falling on the subject—and this light will deemphasize facial texture and dimensionality. Tip: For spark in a backlit portrait or silhouette, try compositions that include the light source. This can drive your meter crazy, though, so bracket your exposures.
Light has color, even when it looks “white.”
10. Light has color, even when it looks “white.” This is called color temperature, and our eye/brain computer is very adept at adjusting our perception so that we hardly notice it. Digital sensors and film, though, may record color casts where our eyes didn’t see them. The color of early morning and late afternoon sunlight is warm in tone, while open shade at midday can be quite bluish. Tungsten light bulbs cast very yellow light. And any surface that light bounces off can add its color. With digital cameras, you can use the white-balance control to neutralize color casts or to emphasize them—for example, to add a warmer tone to a landscape or portrait. With slide film, you had to choose the right film for the light you’d be shooting in, or compensate with filters. Tip: Landscapes shot on clear days can be very blue, especially in the shadows. Set your camera’s color balance to Cloudy, which acts as a warming filter for a more golden glow.