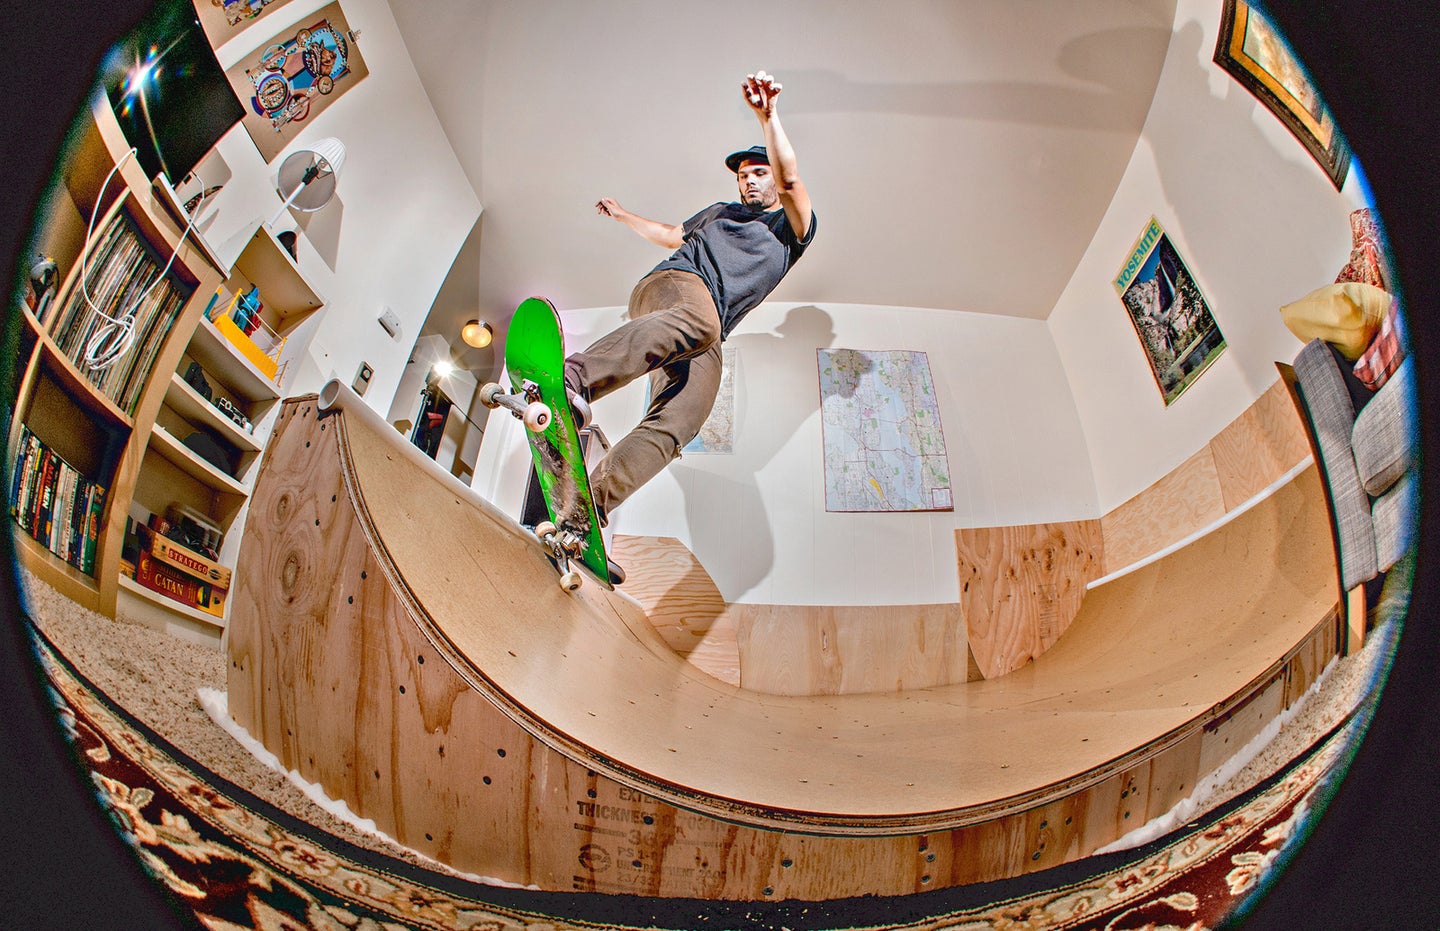
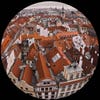
This photo was created using an actual fisheye lens, but with a little editing magic, you can make any image look like a fisheye shot. Dan BracagliaSHARE
So often, we use Adobe Photoshop just to fix pictures—to correct white balance, add contrast, or remove elements that don’t belong. But sometimes it’s fun to do something wacky, taking an image to an entirely different place. One quick and easy trick: Make an ordinary photo look like it was shot with a circular fisheye lens, with its telltale shape and black background. To do it, use the Warp tool, introduced in version CS2. The technique works best on images that have lots of horizontal and vertical lines, so the distortion really stands out.
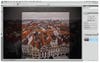
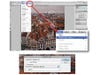
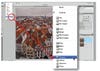
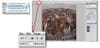
Step 1 Begin by cropping your photo to a square shape, ensuring the distortion you’ll add later will look more realistic. Get the Crop tool by typing C on your keyboard. Hold down the Shift key to keep it to a perfect square, and crop your image with a circular final product in mind. Note: When cropping, keep in mind that you’ll lose a bit of the information on all four sides in the transformation to a fisheye look.Step 2 Since the Warp transformation can’t be applied to the Background Layer, work on a duplicate. Go to Layer > Duplicate Layer. Name it Fisheye, and click OK. Shortcut alert: A quick way to duplicate your Background layer is to drag it down to the New Layer button in the Layers panel.Step 3 Now it’s time to add some distortion to your photo. Go to Edit > Transform > Warp. Then, in the pulldown menu in the Options Bar, choose Warp: Fisheye. The default usually provides enough distortion, but if you want more, increase the Bend percentage. (With a real fisheye lens, the closer you are to your subject, the more distorted it becomes.) When you like the way it looks, hit Enter on your keyboard to keep your transformation. Note: Another way to increase the Bend is to grab the small square in the center of the grid’s top line, and pull it upward.Step 4 With the distortion all set, now we’ll add the black circle. Get the Elliptical Marquee tool, and set a very slight bit of feathering: 2 pixels should do it. Then put your cursor in the top left-hand corner of your photo, just inside the border. Hold down the Shift key and drag the cursor diagonally to make a circle that fits inside the image. If your selection isn’t in exactly the right place, use your arrow keys to nudge it so that it encompasses all the important elements of your picture.Final Step Now reverse your selection by typing Control (Command on a Mac) + Shift + I on your keyboard. Doing this will make sure your selection encloses everything outside the circle you just drew. From the Adjustment Layer menu in the bottom of your Layers Panel, choose Solid Color. Select black in the color picker, and then hit OK to see how your faux fisheye photo looks. Note: Whenever you have a selection and you make a new Adjustment Layer, Photoshop automatically converts the selection into a mask.Finished Product