You should buy a sous vide machine and develop your own color film
It’s not as hard as it seems and it’ll save you a ton of money.
We may earn revenue from the products available on this page and participate in affiliate programs. Learn more ›
Developing black-and-white film is easy. It requires an up-front investment, and you have to practice loading film in the dark a few times before you get the hang of it, but once you’ve done it a few times, it’s a cakewalk. You can see a full, step-by-step guide here.
Developing color film, on the other hand is slightly trickier. It’s partially the chemicals that make the process more challenging—specifically the “blix” which has bleach in it and brings all the counter-staining, nose-offending trappings that come with it.
The real tricky part, however, is managing temperature. Black-and-white film requires a rather comfortable 68 degrees or optimal development. It can go up into the ’70s and down as cold as 65 degrees if you make some minor adjustments to developing time. Most color film developing kits (like the Cinestill C-41 kit), require a consistent temperature of 102 degrees, which is far above room temperature.
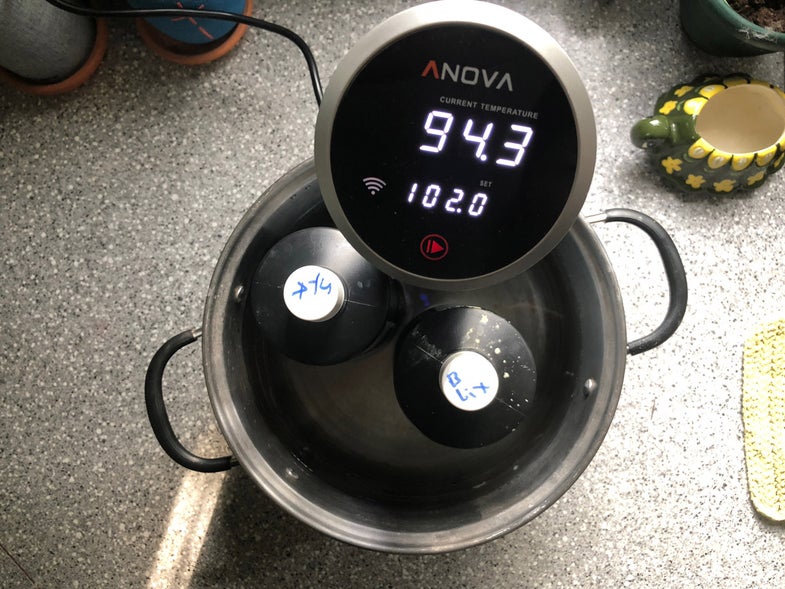
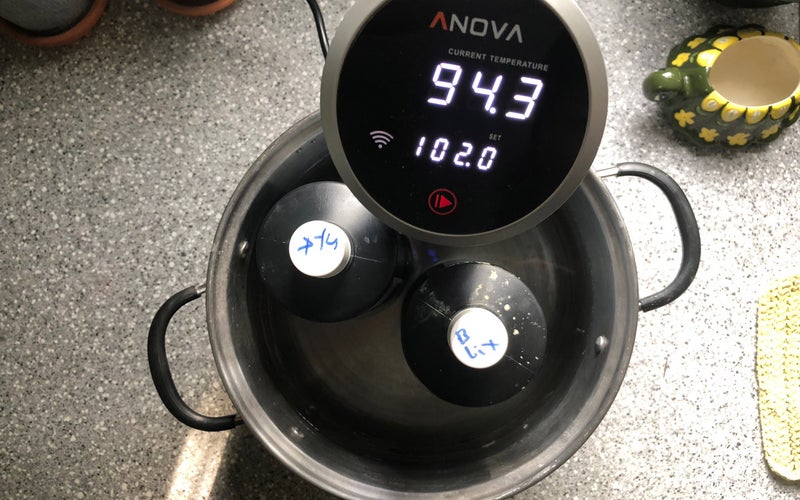
Enter the sous vide machine. I use the Anova, which you can control via app or simply rotating a dial on its face. It can both heat up and cool down liquid and keep your chemicals at the correct temperature throughout the developing process.
Here’s my typical process:
Before I load my film, I fill up a large pot with water and set the sous vide machine to 102 degrees. Once the liquid hits the right temperature, I set the bottles of chemicals inside the pot, so the water covers most of them. It shouldn’t cover all of them, and using the 1 liter bottles instead of gallons makes them a lot easier to fit into the pot and quicker to heat up.
With the chemicals warming, go and load your film. The color film developing process typically requires three chemicals: developer, blix and stabilizer. Only the developer and blix need to maintain the 102-degree temperature.
Once the developer reads the right temp, start the developing process. Most of the C-41 kits I have used only require 3.5 minute developing times, but I still keep the developing tank semi-submerged in the sous vide pot to maintain consistent temperature throughout. The fixing process is typically around 8 minutes and I don’t always keep it semi-submerged for that entire time, mostly out of laziness. It hasn’t noticeably affected my results, at least as far as I can tell.
The wash and the stabilizer don’t require hot water, so you can leave both of those at room temperature.

C-41 Film scan
It sounds like an intimidating process and you will absolutely stain your sink or counter if you’re not careful with the blix, but I’ve been able to process more than 20 rolls of film from a single C-41 kit, which makes it roughly a dollar per roll. That’s serious savings when it comes to development.
Once the film comes out of the stabilizer, hang it in a warm, dry place without a ton of dust. I hang mine in the bathroom with the air vent on. Make sure to clip something on the end to weigh it down and keep it straight or it might curl up on you and make it challenging to scan.
Right now, my Sous Vide of choice is part of Amazon’s Prime Day for $70, which is a fantastic deal. And, even if you don’t end up enjoying the color film developing process, you can still make some pretty killer salmon with your new cooker.
Stan Horaczek
