Camera Hack: Capture Invisible Light with Your Sigma SD14
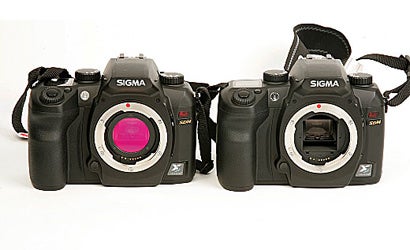
With its easy to remove IR cutoff filter, this new digital SLR can be quickly and easily transformed into an infrared capture device.
We may earn revenue from the products available on this page and participate in affiliate programs. Learn more ›

Sigma-SD14-IR-Hack-Gallery