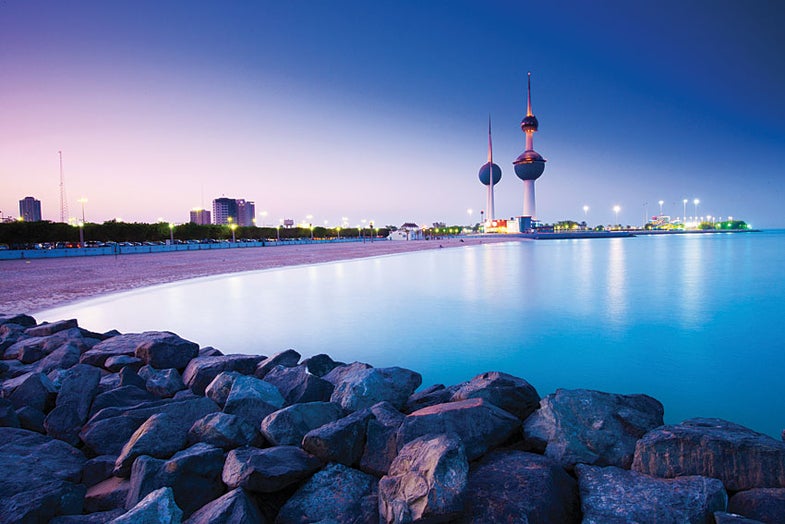
Software Workshop: Masking 101
Learn the basics behind this most important skill.
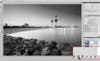
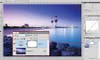
Masks can be confusing because you can’t see them, so here’s a demo that will make learning the basics simple. First, duplicate your background layer. Then go to Image > Adjustments > Desaturate. This will take all the color out of your Background copy layer. Now add a mask. To do so, just click on the mask button. (Desaturate is a terrible command for converting to black- and-white, but it works for the purposes of this workshop) Saleh Alrashaid
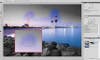
Click on the thumbnail for the mask to make sure it’s selected. When it is, you’ll see an extra box around it. Now type B on your keyboard to get the Brush tool. Unless you elect to see your mask (see F.Y.I.), it will be invisible. But since it’s selected, you can use it to hide and show the layer underneath. Make sure black is the foreground color in the toolbar, and paint on your image to reveal the layer below. (As long as your mask is selected, only black and white will show up in your color swatches in the toolbar.) Saleh Alrashaid
Black hides, white reveals—understand that and you’ve got masks cracked. Check out the thumbnail for your mask; it shows you a map of where you’ve painted. Most of Photoshop’s usual tools work on masks as they do on normal layers. With your mask still selected, go to Edit > Fill. Choose Use: Black from the pulldown menu and click OK. Since your whole mask is now black, you can only see the layer below. Switch your brush to white, and paint to reveal the top layer. (This technique is great when you want to make a change to a small area.) Saleh Alrashaid
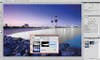
While masks work great with normal layers, with Adjustment Layers they’re a match made in heaven. Delete the Background Copy layer you’ve been practicing on, and create a Curves Adjustment Layer by clicking on its icon in the adjustments panel. When you make a new Adjustment Layer, a mask is automatically created with it. Now adjust the curve. In this case, the towers could use some more contrast. Saleh Alrashaid
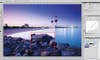
The contrast really helps the elements in the background of the image, but it is far too strong for the foreground. So use the technique from Step 2 to hide the adjustment on the rocks. Grab the Brush tool, make sures your mask is selected, then paint on the rocks to hide your contrasty adjustment. To see the effect before and after, click the eyeball icon for the layer (in the Layers Panel) on and off. Often, you’ll need multiple Adjustment Layers, with masks on each. Saleh Alrashaid