Tips From a Pro: Know Your Subject
Pro photographer Ryan Matthew Smith explains how he got this sizzling shot
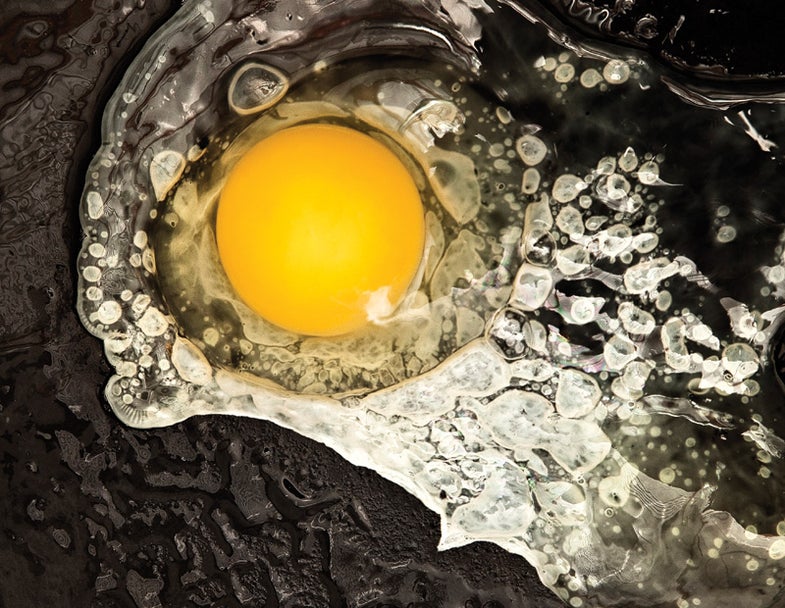
This frying egg has appetizing color and contrast, and its shape defines a trajectory across the pan—more like a comet arcing through space than a breakfast staple sizzling on a griddle.
The concept may seem easy, but shooting it wasn’t, and the strategies that Seattle photographer Ryan Matthew Smith employed illustrate how important it is to fully understand your subject. “The bubbles in frying eggs are created by the water that occurs naturally in egg whites,” says Smith.
“The moment egg white hits a hot pan, that water boils and gives off steam. The spattering bubbles form as a result of steam being trapped under the egg.”
So that the bubbles would stand out against the black pan, they had to form almost instantly as the egg hit the hot surface. Otherwise, the egg white would solidify, lose its transparency, and render the bubbles invisible. To force the egg’s water to boil on contact, Smith rented a high BTU burner to heat the pan to around 450 degrees.
Another concern: sharpness. The heat produced an almost explosive reaction as the egg hit the pan. To freeze it sharply, Smith’s strobes had to have extremely short flash durations—an instantaneous 1/4000 sec. To get them, he used Broncolor Grafit A4 power packs and two Broncolor Pulso heads.
The steps Smith took to get this deceptively simple picture illustrate a photographic truth: It pays to know how even the most familiar subject will react at the critical moment.
Follow Smith’s steps below to get a shot the sizzles as loud as his:
Step 1: Shop for the shoot
When buying the eggs for this photo, Smith looked for fresh ones and lots of them. “Fresh eggs have the most stable yolks,” he says. the yolks of older eggs tend to break as the egg is dropped onto the hot pan. “Also, I always have way more product than I think I’ll need. For this shot, we went through several dozen eggs,” he says.
Step 2: Determine flash output.
To freeze the furiously bubbling egg as it hits the heat, a minimum flash duration was required from the strobe lights. to get it, Smith set his strobes at or near their lowest, dimmest output. “My Broncolors pulse at about 1/9000 sec at their lowest setting, but that was a little too dim, so I pumped up the power a stop or two.” Result? A flash duration of about 1/4000 sec.
Step 3: Coordinate egg drop
Timing the drop—and having his assistant/ stylist manage it quickly but gently— were critical here. “Preventing the egg yolk from breaking was all about the height of the drop,” says Smith. The eggs were poured onto the pan fast and from a minimal height. Smith shot from directly overhead, handholding the camera.
Final Step: Tweak in software
Smith’s postproduction steps included a light sharpening and localized curve adjustments. “Since the white of the egg was so bright compared to the pan, I needed localized curve adjustments to specific areas in order to bring out the details in the lights and darks separately. I did it with masks,” the photographer says.