Digital Toolbox: Back to Basics
Understand Layers, and you have Photoshop cracked.
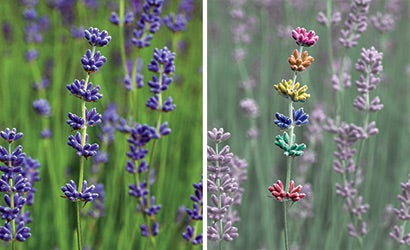
Ever try to fix part of an image without messing up the rest? Want to add a bit of contrast here, a bit of color there, or a border around the whole thing? Wary of screwing up your whole picture in the process? Adobe Photoshop’s Layers are the key to making a multitude of changes while leaving your original picture untouched. Master them, and you’re well on your way to mastering the mother of all imaging programs.
Grab a similar picture and follow along as I work with this photo. When you’re done, you’ll have an understanding of layers that will not only help you in your quest to fix parts of your own pictures, but also help you follow along with future editions of this column.
Although I used Photoshop CS3, everyone who has CS or CS2 can use this technique. Mac users should substitute all instances of the Ctrl key with the Command key. And Elements users, this works for you, too — your icons and their placement will be slightly different, but they should be easily recognizable.
Click here for tutorial steps.
QUICK TIP: If you need to unlock the Background layer, double click on the words “Background Layer” and change its name. Then you’ll be able to adjust its opacity and move it up or down in the stack, just like a normal layer.