How-To: Inspect Vintage Cameras and Lenses Before Buying
Don't waste your money on broken gear.
We may earn revenue from the products available on this page and participate in affiliate programs. Learn more ›
If you’re a collector, your criteria will be more stringent than a photographer who simply wants a camera that works. If the camera isn’t fully functional, be sure to research the cost of the repair and factor that into the price.
Look for dents & scratches
Major dents and dings may indicate that the camera has been dropped and damaged. Small dings, dents, and scratches on the body are probably okay.
Inspect the skin
Check to see if the leatherette is lifting from the camera body. If it is peeling, it’s best to replace it either through a decent repair center or with a DIY kit rather than trying to re-glue the original material.
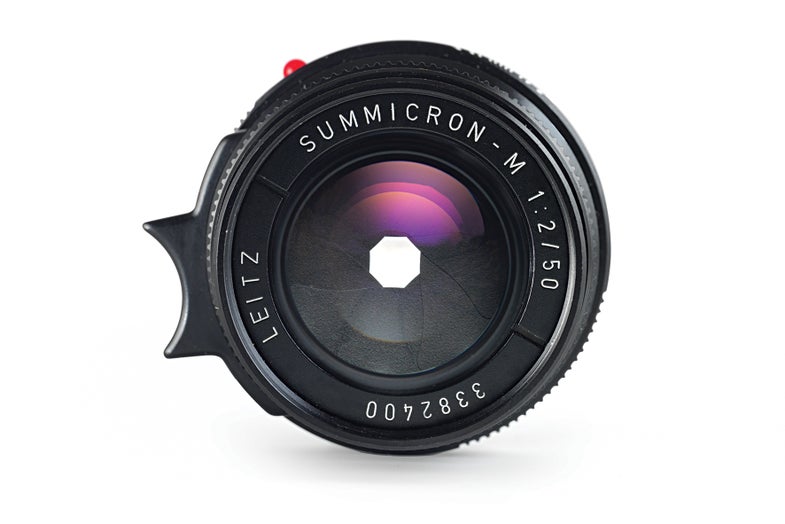
Bring a flashlight
Get the lens off the camera, shine an LED penlight into the lens, and look for scratches or coating issues. Also check for fungus and mold! Light scratches are probably OK and a little bit of dust is OK, too, but heavy scratches, haze, fungus, and mold are not.
Test the aperture ring
If the aperture on a lens is not performing well, it will feel loose and not well connected.
Try the lens’s focus
Are there any dull spots where the focus mechanism doesn’t feel as smooth or gets slightly stuck? This might be degrading grease and could need to be repaired. Make sure the focus doesn’t stick slightly at either extreme.
Time the shutter speed
If in doubt, shoot the camera side by side with a camera that is known to be accurate or use a stopwatch for slower shutter speeds (where problems are usually most evident). Generally, if one speed is off, they are all off.
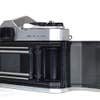
Look at the light seals
If they’re bad, note that they can be cheap and easy to replace using a DIY kit. And any issues may give you a bargaining chip.
Make sure the meter is working
Repairing a meter can be really costly.
Look up the battery type
Is it still in production? If not, make sure you can get an adapter to use modern batteries.
Listen to the motor
In cameras that have a motor, noise is a dead giveaway. Any squeaks and you should walk.
Try the lens’s focus
Are there any dull spots where the focus mechanism doesn’t feel as smooth or gets slightly stuck? This might be degrading grease and could need to be repaired. Make sure the focus doesn’t stick slightly at either extreme.
Time the shutter speed
If in doubt, shoot the camera side by side with a camera that is known to be accurate or use a stopwatch for slower shutter speeds (where problems are usually most evident). Generally, if one speed is off, they are all off.
Look at the light seals
If they’re bad, note that they can be cheap and easy to replace using a DIY kit. And any issues may give you a bargaining chip.
Make sure the meter is working
Repairing a meter can be really costly.
Look up the battery type
Is it still in production? If not, make sure you can get an adapter to use modern batteries.
Listen to the motor
In cameras that have a motor, noise is a dead giveaway. Any squeaks and you should walk.