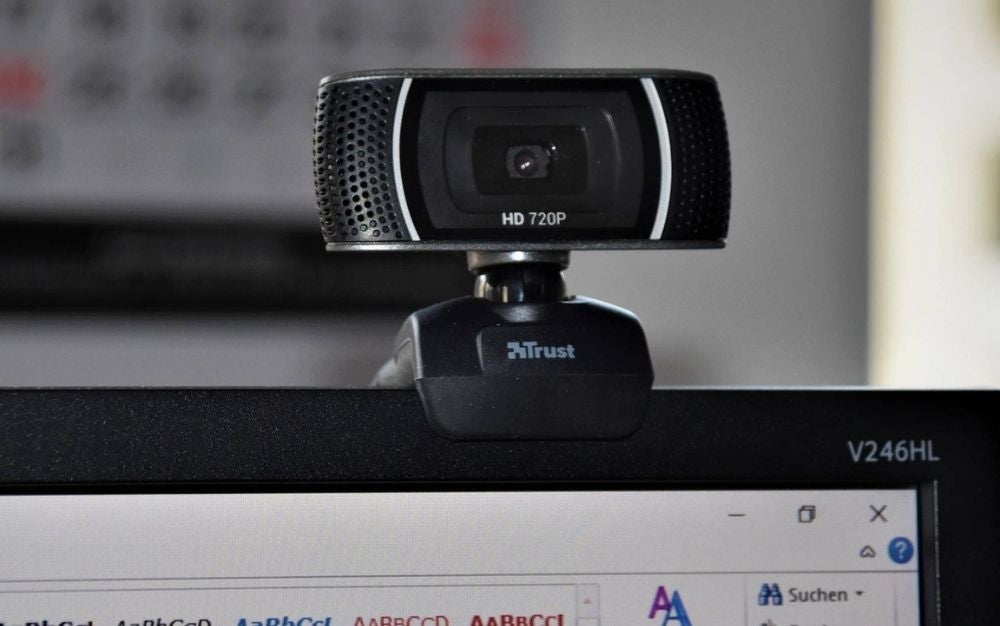
It’s time to upgrade your webcam
Blow your unspent 2020 pants budget on a fancy camera.

We may earn revenue from the products available on this page and participate in affiliate programs. Learn more ›
This story originally featured on Popular Science.
The COVID-19 pandemic and many industries’ subsequent transition to remote work meant many of us quickly became familiar with our webcams. Now, after hours spent staring into those little camera lenses, it’s time to upgrade.
It might not be the first part of your computer setup that you think about upgrading—a webcam generally just… works—but you might be missing out on the extra quality and flexibility that a new webcam brings.
And not every computer has a webcam right out of the box anyway. If you’re running a desktop PC or Mac that doesn’t have one, you’ll need to make yourself aware of what you’re looking for and why you need it.
Upgrades with benefits
If you do have a built-in webcam, paying for another one may seem like a frivolous expense, but there’s more than one reason to invest in better hardware. The first is better quality video—identify how many pixels your current webcam is pushing. This is usually referred to by the number of horizontal lines in each frame, so either 720p or 1080p on most devices.
Making the jump up to 1080p or 4K means a clearer, more detailed picture, with the main beneficiaries being the people who are watching you—from family members who get to see you in a higher resolution, to potential employers who come away with the impression that you know what you’re doing when it comes to technology.
Don’t forget the audio quality either: No matter the purpose of your video call, you’ll want to be heard. External webcams that plug into your computer will generally offer better mics than the built-in one you’re currently using, and some even come with advanced features like on-board noise cancelation.
Let’s talk about angles, too. A webcam built into your laptop or all-in-one computer is fixed—it can’t move unless the whole device does. Plug in an upgraded webcam over USB, and you can choose any angle you like (and any backdrop you like, too, perfect for showing off your carefully curated bookshelves).
At the more expensive end of the scale, you can get webcams with wide-angle lenses for fitting more in the frame, and with their own lights for keeping your face well-illuminated during your video chats. Some also come with bundled software for adjusting the color, contrast, and other attributes of your video feed.
Not every webcam has all of these features, but this should give you an idea of the sort of upgrades that are available. Look out for specific privacy features as well, such as physical covers that slide across your webcam and block the lens while you’re not using it—this is easier than sticking tape over your webcam, anyway.
Choosing and installing a webcam
We’ve mentioned most of the key features to look out for in a new webcam, so pick the ones you like the sound of and shop accordingly. Video and audio quality should perhaps be your main considerations, and the price of each model will naturally play a part in your choice. You should also check out the kind of mounting options on each webcam, and the length of its USB cable—this will determine where you can and can’t place it.
[Related: The best webcams for crystal-clear video calls]
Make sure you double-check that the device and setup you’re planning works with your operating system, whether it’s Windows or macOS. Most webcams are compatible with both, but some aren’t, so check the specs and reviews carefully before purchasing.
You don’t actually have to buy a webcam to get an upgrade, either, because numerous digital camera manufacturers have released software that lets you turn their devices into webcams. Canon, Sony, and Fujifilm are three of the big names that have this kind of software. If you own a DSLR, check with the manufacturer to see if this webcam functionality is available.
It’s even possible to use your smartphone as a webcam, if you have the right third-party app. DroidCam for Android and iOS is one of the best options we’ve come across, and it’s free, though it only works with Windows. We also like Camo for iOS, which isn’t available on Android but does cover Windows and macOS. (If you want video quality higher than 720p, you’ll also need to pay $5 a month for Camo Pro.) Install one of these apps on your phone, and the equivalent desktop program on your PC, and they’ll take care of the necessary communications required between the devices.
Once you’ve purchased your webcam, the hard part is done. Installing the device simply involves plugging it into your computer: After a few seconds, Windows or macOS should recognize it, and it will then be available in your apps (Google Meet, Zoom, Microsoft Teams, Skype, and all the others will let you choose your webcam if several are available).
[Related: Look better on video calls using pro photography techniques]
You can use the Camera app on Windows or FaceTime on macOS to get the position and framing right for your new webcam, but to actually adjust key settings—such as the quality of the video feed and any available enhancements—you’ll need to delve into the software that came with the webcam or the configuration settings inside the application you’re using to make video calls.