Fix It Fast: Improving Backlit Tones
In 20 minutes bring out more detail in a subject without blowing out the background
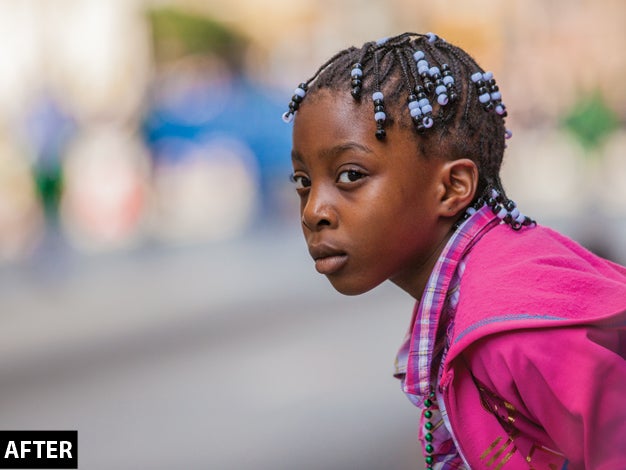
Shan Jiang’s shot of this little girl makes good use of negative space and shallow depth of field. But we wanted to bring out more detail in the girl’s face without blowing out the background.
Working with Jiang’s RAW file in Adobe Camera Raw, we raised the overall exposure, then brought up the shadows and pulled down the highlights using the Basic sliders. We added Clarity and Vibrance for midtone contrast and saturation, and warmed up the color balance.
Then, in Photoshop CS6, we cropped the image to a 4:3 aspect ratio, getting rid of most of the out-of-focus blur in the lower right corner. We masked off the remaining blur, used Curves to increase the contrast, and boosted the saturation to disguise the blur as part of the sweatshirt. Total time fixing: 20 minutes.