Software Workshop: Maximize Depth of Field by Focus Stacking
Blend shots with varied focal points using Helicon Focus to get the deepest focus
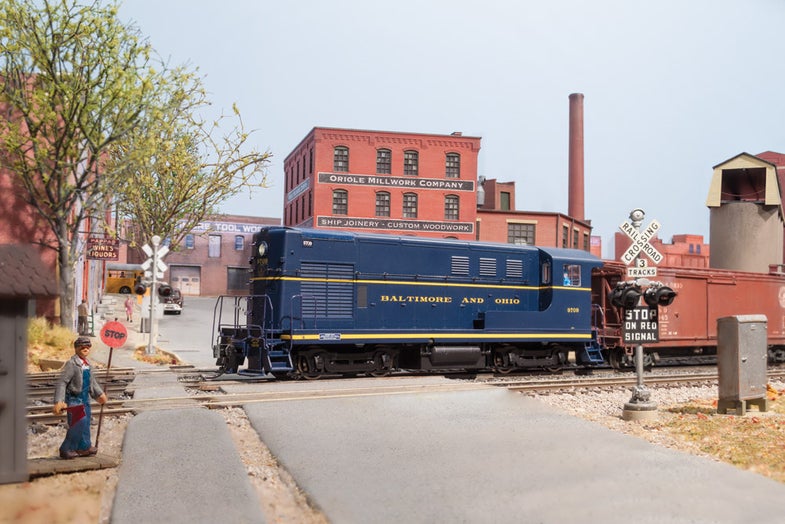
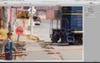
Photo: Paul Dolkos
Lately, it seems like the idea of focus stacking—combining a set of focus-bracketed images to create a single, deeply focused one—keeps coming up. Paul Dolkos, whom we profiled in our March issue’s I, Photographer column, and whose picture we’re featuring here, uses this technique. And in our April issue’s You Can Do It, photographer Bruce Peterson, who shoots a lot of macro, recommends focus stacking as well, particularly for larger macro subjects.
Shooting a series of focus-bracketed images can be simple, though it does get more complicated as your subjects get tinier; at the microscopic scale, special gear is necessary for fine focus adjustment. But at the scale of these model trains, Dolkos is able to shoot with a tripod-mounted Canon EOS Rebel T1i and an 18–55mm f/3.5–5.6 IS kit lens. He simply sets the camera to manual and adjusts the lens barrel between shots to capture the requisite number of in-focus images. Focus stacking allows him to stop down to f/8 for better image quality, yet still create an image with both the forground and the background sharp.
Dolkos uses standalone and plug-in application Helicon Focus to create his focus-stacked model train photos. Here’s how to get your images ready for the program, how to use it, and what to do once they’re stacked.
Step 1
This image requires seven bracketed files. Be sure to shoot each element of the scene in focus in at least one frame; a little redundancy is good, so don’t worry about over-shooting. Capture in RAW to ensure that each shot will have the same conversion settings. In Adobe Bridge, select your images and go to File > Open in Camera Raw.
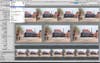
Step 2
Start your conversion on an image with an important subject in focus. Head to the Lens Corrections panel, choose the Profile tab, and check the box to Enable Lens Profile Corrections. It’s especially useful to get rid of vignetting before stacking. Make the usual adjustments to exposure, contrast, and white balance. Then synchronize. Choose your adjusted image from the column of thumbnails on the left, click the Select All button, then click Synchronize. Use the pulldown menu to choose Synchronize: Everything, and click OK. Finally, output TIFFs via Save Images.
**Synchronize and Convert **
Sync settings to make images match, then export. Helicon Focus can open RAW but can’t read RAW adjustments, so output to TIFF is necessary.
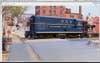
Step 3

Open Helicon Focus, and go to File > Add Images. Start by rendering using the default method, which Dolkos swears by. Hit the Render button in the top-right corner and wait. Then zoom in to inspect the edges; some fuzziness can occur around the edges, particularly where a foreground object meets one in the background. Here, the default method, Method B, leaves a halo of blur around the stop sign. Method C renders the sign beautifully, but makes the lettering on the blue train car look oddly blurry. Method A is the best compromise, though it leaves a little blur on the shed on the left.
Step 4
When you have a rendering you can live with, save your files. It’s often worth saving multiple renderings so that you can compare them in Bridge.
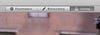
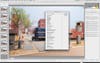
Helicon Navigation
The program has three modes: Parameters, Retouching, and Saving. Retouching can help you with dust spots, but most retouching is best left for Photoshop. Click Saving to output.
Final Step
A little retouching is usually in order after focus stacking. Dolkos uses it to add realism to his models; here, the buildings cast shadows on the background wall. Clone them out to make the sky seem more natural. Since the edge of the train table shows, extend it into the foreground. Go to Filter > Vanishing Point to create a grid and clone the road and sidewalk in perspective, making the picture still more believable.