An Introduction to Tiltshift Photography
Tiltshift lenses provide so much more than the selective focus-look we all know so well.
Meet the optical superheroes: They can straighten tall buildings with a single shift, give you insanely deep focus without insanely small apertures, or limit focus to a single eyelash. And tiltshift photography cameras do it as you shoot, with no messing around in software.They’re popular with architectural, product, portrait, and nature shooters who strive for perfect perspective, and treasured by others for the unusual effects they can produce.
The Anti-Topple Shift

PHOTO:TRENT BELL
Bell shifted his 17mm f/4L Canon TS-E lens from top to bottom to take three separate horizontal images of the Phillips Exeter Academy library, later stitching them together in Photoshop CS5, Exposure in a Canon EOS 5D Mark II, 0.3 sec at f/11, ISO 500.
Tilt your camera up to take in a tall building or other structure and it will seem to topple—the parallel lines will appear to converge as they rise. With a tilt/shift lens, you can keep the camera back parallel to the building, and shift the lens upward to take in more of the structure and less of the foreground.
How it works: A T/S lens casts a much bigger image circle than conventional lenses, so much so that you have ample leeway to move the sensor or film plane up, down, or sideways within the circle.
How to do it: It’s an intuitive action. To take in something higher than camera position, just shift the lens upward. (A bubble level in the accessory shoe will help keep the camera squared with your subject.) Conversely, to take in something lower—if you’re photographing a structure from an elevated position—shift the lens downward. And yes, you’ll run into a limit to how far you can shift.
Scheimpflug Effect

Photo: IAN PLANT
Plant used shift (to keep the trees vertical) and tilt (to keep all the trilliums in focus) on his 24mm f/3.5L Canon TS-E lens on a Canon EOS 5D. Exposure, 2.5 sec at f/16. For more on this technique, go to PopPhoto.com/tiltshift.
This funny though real term refers to the apparent near-infinite depth of field achieved by tilting a T/S lens in a certain way relative to the subject. Besides the great depth, it has another advantage: You can achieve the effect with fairly moderate apertures, and hence use faster shutter speeds. That’s why nature photographers like T/S lenses—they allow a fast enough shutter speed to keep wildflowers from blurring on a breezy day.
How it works: By tilting the plane of focus in the same direction as the plane of the subject, you get much more of that subject plane in focus, near to far. Technically this isn’t increased depth of field, which is simply the zone of “acceptable” sharpness for a lens focused conventionally. With Scheimpflug, the image is actually in focus at various points along the subject plane.
How to do it: Trial and error. To start, zero the lens tilt, and focus about one-third into the zone you want to keep sharp. Then tilt or swing the lens toward the subject plane: For the flower in the foreground and tree midground, you’d tilt downward; for a picket fence at an angle to you, you’d swing the lens sideways toward the fence. Then fiddle with focus again. Then fiddle with tilt again—and repeat. Check depth of field by stopping down the lens to shooting aperture. A tripod, of course, is mandatory.
The Reverse Scheimpflug

PHOTO: SATORU MURATO
Murato threw most of a Boston street scene out of focus by tilting his 80mm f/2.8 Hartblei Super-Rotator lens up rather than down. Shot with a Canon EOS 5D, 1/250 sec at f/2.8, ISO 200.
This one isn’t actually an official term for this look, but it fits. Here, you deliberately tilt the lens in the opposite direction to that which will give you extended depth, and thus severely limit the focus to one small area of your image. Popular uses include portraiture, for those images with just part of one eye in focus, or the miniature effect, where the limited focus can make street scenes look like a toy city.
How it works: By tilting or swinging the lens opposite to the plane of the subject, focus gets confined to the narrow pivot point on the plane of focus. Again, this is technically not a limitation of the depth of field, because the blurry parts of the image have been thrown out of focus, not just out of the depth of field.
How to do it: As with the Scheimpflug Effect, educated trial and error. Start by focusing with the lens straight, centered on the one feature you want to keep focused—a portrait subject’s near eye, for example. Then tilt or swing the lens in a direction counter to the subject plane—here, the plane of the subject’s face. For toy-miniature landscapes, it helps to shoot from a high vantage point, so that you look down at the view. Larger apertures more severely limit the area of focus, so check with depth-of-field preview, as well.
The Vampire Effect

Photo: MIKE BAXTER
Baxter kept his Canon EOS 5D out of sight with a lateral shift of a Pentax FA 33–55mm f/4.5 lens, mounted via a Zörk shift adapter; 1/2 sec at f/16, ISO 200.
OK, we’ve made up this term, but it’s appropriate. You can use shift on the lens to shoot into a mirror without—shades of Dracula!—you or the camera appearing in the mirror. It’s a handy trick for shooting interior decor, as well as for artistic photography of still lifes with mirrors. Handy for some product photography, too, as it lets you literally shoot around objects.
How it works: If you keep a camera parallel to a mirror, but off to the side, and then shift the lens sideways toward the mirror, the picture will appear as if taken head-on. Objects in front of the mirror, though, will look rearranged from a head-on perspective. Crazy!
How to do it: Exactly the way it sounds. Set up the composition (a tripod is a near-must), then step the camera to one side or the other until you and it are out of the reflection. (You can sometimes also do this by lowering the camera and shifting the lens upward.) See which new view in the mirror looks better in your image—left, right, or up. In the case of a very wide-angle T/S lens and/or very large mirror, you may not be able to shift enough to dematerialize yourself.
Now that we’ve shown all the wonderful uses for a tiltshift lens, how are you going to go about getting your hands on one?
Tilt For Sale
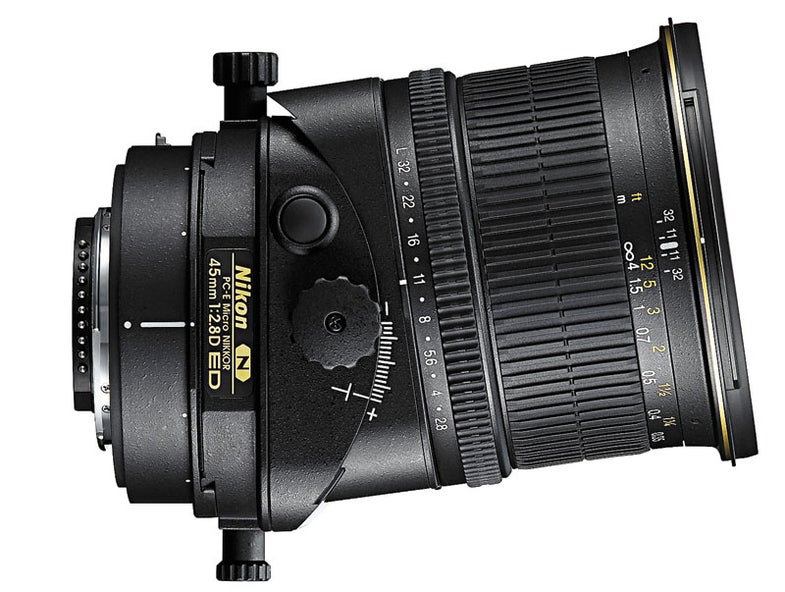
Canon and Nikon practically own the tilt/shift lens field for DSLRs. Canon makes 17mm f/4, 24mm f/3.5, 45mm f/2.8, and 90mm f/2.8 TS-E lenses. Nikon offers 24mm f/3.5, 45mm f/2.8, and 85mm f/2.8 PC-E Nikkors. These are all manual-focus lenses, although they can be used in autoexposure modes. Hartblei makes 35mm f/2.8, 65mm f/3.5, 80mm f/3.5, and 120mm f/2.8 Super-Rotator T/S lenses for many makes of DSLRs, plus a 45mm f/3.5 for several medium-format cameras. Schneider makes a shift-only lens, the 28mm f/2.8 PC Super-Angulon, that can be fitted to a variety of cameras via T-mounts.
Tilt For Rent
Tilt/shift lenses are expensive, a stiff financial commitment for a tool that you may find little use for, after all. If you want to try a T/S lens without melting your credit card, rent one. Prices can be as low as $35 for a three-day rental of one of the less-expensive Canons or Nikons. Here are some outlets that rent these lenses (check also with camera retailers in your own area).
Adorama: New York-based, will ship throughout the U.S. (adoramarentals.com)
BorrowLenses.com Online service also rents through nine stores in the San Francisco Bay area. (www.borrowlenses.com)
Calumet: Rents through nine stores across the U.S. (www.calumetphotographic.com/rentals)
Foto Care: New York-based, will ship throughout the U.S. (www.fotocare.com)
Lens and Repro: New York-based. (www.lensandrepro.com)
For more on tiltshift photography, check out:
How To: Create a Faux Tilt-Shift Effect
Mini-Tutorial: Focusing, Tilting and Shifting