How To: DIY Tripwire Photography
An easy setup to catch the action.
Early last year, I entered a major wildlife photo contest in which the top three finalists won using high-speed, infrared tripwire images of wildlife in midair. I took the hint-now I specialize in the technique.
It’s based on a simple tool: an infrared tripwire which casts an invisible beam that-when broken by a moving frog, bat, or bird, for example-automatically fires your camera and flash. I really like the technique for its cool pictures, but also because it lets me make exotic, natural-seeming wildlife studies in the comfort of my own kitchen.
Four challenges stand between you and studio-based, tripwire success.
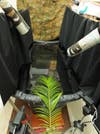
1. The set. It can be as simple or complex as you like. Some of mine have had cloth walls, directing a subject’s line of travel, and shallow “ponds” made of plastic-lined trays.
For the pictures here, the set comprises potted plants and backdrops made from 11×17-inch photos of out-of-focus vegetation, with plenty of shadows, midtones, and dappled highlights. These provide the illusion of blurred natural environments and also serve to isolate my subjects.
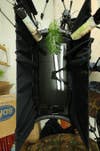
You can build your set anywhere warm, but make sure you’re able to dim the ambient light so your subjects are lit solely by instantaneous strobes-otherwise, subject movement will record as blur.
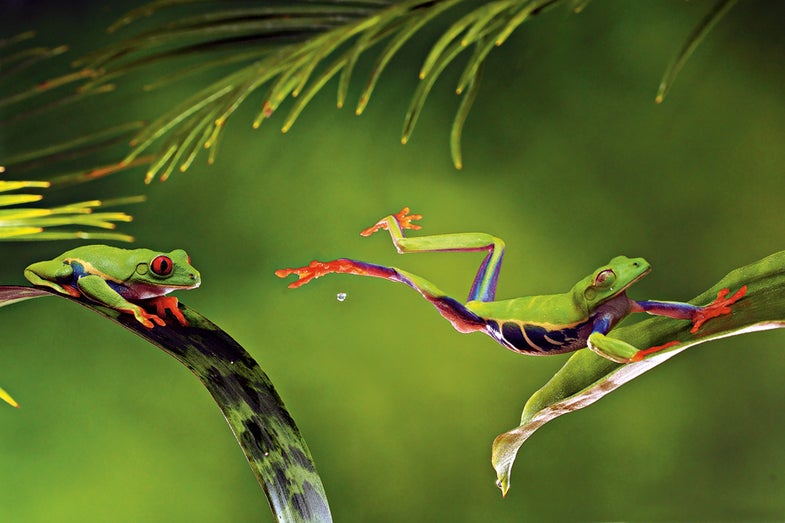
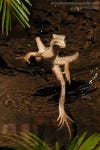
2. The tripwire (and other gear). For the above image, the infrared beam fired my camera and flashes as the frog took off. I used the Phototrap Model 33 ($460, direct; phototrap.com), aiming its beam across Kermit’s expected path. I shot with a Nikon D300 and 60mm f/2.8 Micro-Nikkor lens, plus four Nikon SB-800 Speedlights. Almost any strobes-even inexpensive, non-TTL units-will work, as long as you sync them with optical, radio, or infrared flash triggers.
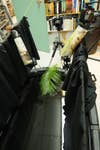
3. The lighting. I mounted my Speedlights on tripods, using manual flash mode so I could tweak the output of each flash individually for natural-appearing, dappled light with implied dimension. I aimed for light levels that permitted exposures of about 1/250 sec at f/16 and ISO 400 or less. To tweak the dappled effect even more, I diffused the background fill flashes, and kept the mainlight direct and undiffused. To check exposure, I monitored the LCD on the camera, making sure my images were bright enough, with no blown highlights. When the scene seemed dark, I opened up to f/14. I didn’t want to raise flash output much above 1/16 power, which translates to a flash duration of about 1/8000 of a second. Longer durations (i.e., higher flash output) would invite unwanted motion blur.
4. The subject. The trickiest part of setting up a jungle in your kitchen is finding subjects you can work with. The veiled chameleon (above) is one of the most commonly sold chameleons in pet shops, and it costs about $100. The often-photographed red-eyed tree frog (opening spread) is also readily available for about $40. I try to choose species that are not averse to being handled and pick those that exhibit a photogenic behavior repeatedly, whether it’s eating, jumping, or running. The staff at a top-notch pet shop can be invaluable here.
When you arrive home with a prospective subject, try inducing the desired behavior before building your set. A study of the nuances of the creature’s character and behavior will provide clues as to how to build a set-if at all. For further inspiration, scope out the work of tripwire master Stephen Dalton, stephendalton.co.uk.
001
002
003
004