Software Workshop: Better Blur with Photoshop CS6
Increase your focus control using the latest greatest version of Photoshop
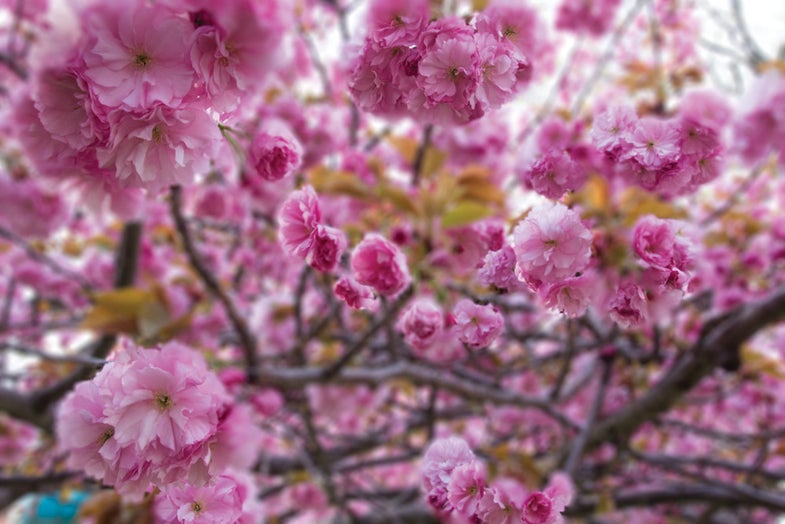
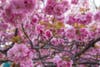
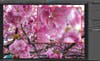
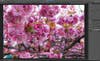
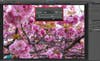
CS6’s new Blur Gallery is like a program within a program. Photo: Debbie Grossman
Even though we were still working with the beta version of Adobe Photoshop CS6 at press time, we couldn’t resist writing about one of the program’s most useful new features, the Blur Gallery. Photoshop never did blur particularly well; the legacy blur tools, such as Gaussian and Motion blur, have a tiny preview window and few adjustable parameters. Things improved with the introduction of Lens Blur, but to apply it locally you had to first create a selection or a mask, which made it difficult to use on the fly.
The new Blur Gallery provides three methods: Field Blur, which can blur a whole image, Iris Blur, which lets you blur your picture but designate one or multiple areas of sharpness, and Tilt-Shift, which creates a miniature-toy effect. You can apply all three at once or one at a time, and add and adjust the amount of bokeh.
The Gallery may look familiar to those who have tried OnOne’s FocalPoint tool, which has a similar (though more sophisticated) method for adding selective focus. As in OnOne’s program, you adjust Iris Blur using a floating tool. In Photoshop, you can adjust the size, shape, and edges of the area of sharpness as well as the amount of sharpness in a given sharp area. The tool is great for achieving a Lensbaby-like look or creating an image with varying areas of sharpness that couldn’t exist in reality. Here’s how to use the Iris Blur feature; the other two methods work in a similar fashion.
Step 1
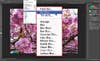
Start by duplicating your background layer; it’s always a good idea to keep an untouched version of your original file on its own layer. Then go to Filter > Blur and choose Iris Blur from the menu. There’s no Blur Gallery menu item per se, but choosing Field, Iris, or Tilt-shift opens the gallery and gives you access to all three methods.
Step 2
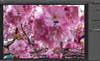
When you first open the Gallery in Iris Blur mode, you’ll see an oval of sharpness in the middle. Grab it by its center to place it.** To adjust the blur level, move the slider in the toolbar or grab and move the circular slider in the center of the floating blur tool.** As you adjust, you’ll see a heads-up display showing you the level of blur. You can always go back and modify it using either method.
Step 3
Now adjust the size and shape of the sharp zone.** Click and drag anywhere on the outer circle to enlarge and shrink the area.** Drag one of the two small dots to go elliptical and rotate the orientation of the ellipse. Pull out on the square to square off the corners. The four interior dots indicate the beginning of the transition between sharpness and blur. You can pull them inward for a slower transition, which can be a good idea if you chose a high amount of blur.
Step 4
Next add another area of sharpness. Click on another spot that you’d like to be sharp, then adjust its size and shape. Add as many areas of sharpness as the image needs. To get rid of an area, click on a point and tap the Delete key on your keyboard. With all the circles and points, it can be difficult to get a sense of your image’s progress. To hide them all, use the keyboard shortcut Ctrl (Command on a Mac) + H.
Step 5
Having too many areas with the same levels of sharpness looks strange, so modify their sharpness individually. Click on a point to select one of the in-focus areas, then use the Focus slider in the options bar to dial down the sharpness in some of them. When you’re done, click OK to finish. To save your mask for further modification, check the Save Mask to Channels box at the top of the screen.