How To Fix the Sky
Retouch the sky the realistic way without resorting to obvious fakery.
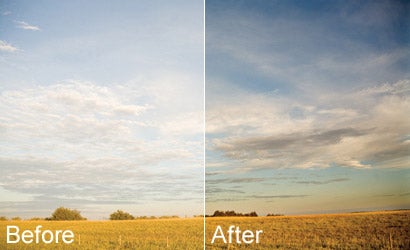
One of the toughest aspects of landscape photography is getting a rich, deep sky without underexposing the ground. Sure, there are camera-based solutions such as optical filters, but sometimes these aren’t practical. It’s easy enough to add drama to the sky in Adobe Photoshop — the hardest part can be doing it realistically and avoiding the telltale white halo that screams, “I totally faked my sky!”
Here’s an easy way to double the density and power of your whole sky, with a concurrent trick to disguise your work. You’ll need Photoshop for this one (sorry, Elements users), but any fairly recent version will do.
Ouick Tip
Selecting a range of colors is just one way to get the sky selected. For a quicker but rougher selection, grab the old Magic Wand tool, set the tolerance to at least 100, and click on your sky. You may get something that’s close enough to work with. Photoshop CS3 users can also give the Quick Selection tool a shot. If you go that route, be sure to make your brush size extra large.
Opposite Effect
If you got the sky right in your original photo, but the ground is too dark, you can still use the techniques in this article. In Step 4, use the Color Range selection to pick the ground. Then, in Step 6, choose the Screen Blend Mode instead of Multiply. This will lighten the ground. If you’ve gone too far, decrease the layer’s opacity when you’re done with Step 8.
Click here for tutorial steps.
More of Debbie Grossman’s Photoshop tutorials can be found in the Digital Toolbox archive.

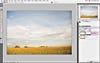
Before
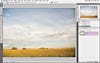
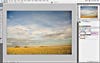
Digital-Toolbox-1.-First-things-first-Duplicate
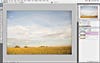
Digital-Toolbox-2.-Isolate-the-sky-Type-L-on-you
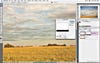
Digital-Toolbox-3.-Go-to-Select-Color-Range.-In
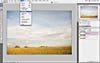
Digital-Toolbox-5-Next-click-the-Add-Layer-Mask
Digital-Toolbox-6-Next-for-great-clouds-grab-th
Digital-Toolbox-8-Slide-the-Radius-to-the-right-u
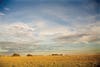
After